Add an Item to the Matter History (App)
Updated Jul 25th, 2024
Who is this guide for?
Any Users
This guide will take you through adding an item to the matter history in the case management app
Any digital files you have stored locally, or on a network drive, can be uploaded to the matter history against your clients to enable a fully paperless office.
To add a new document, you can use either of the methods below.
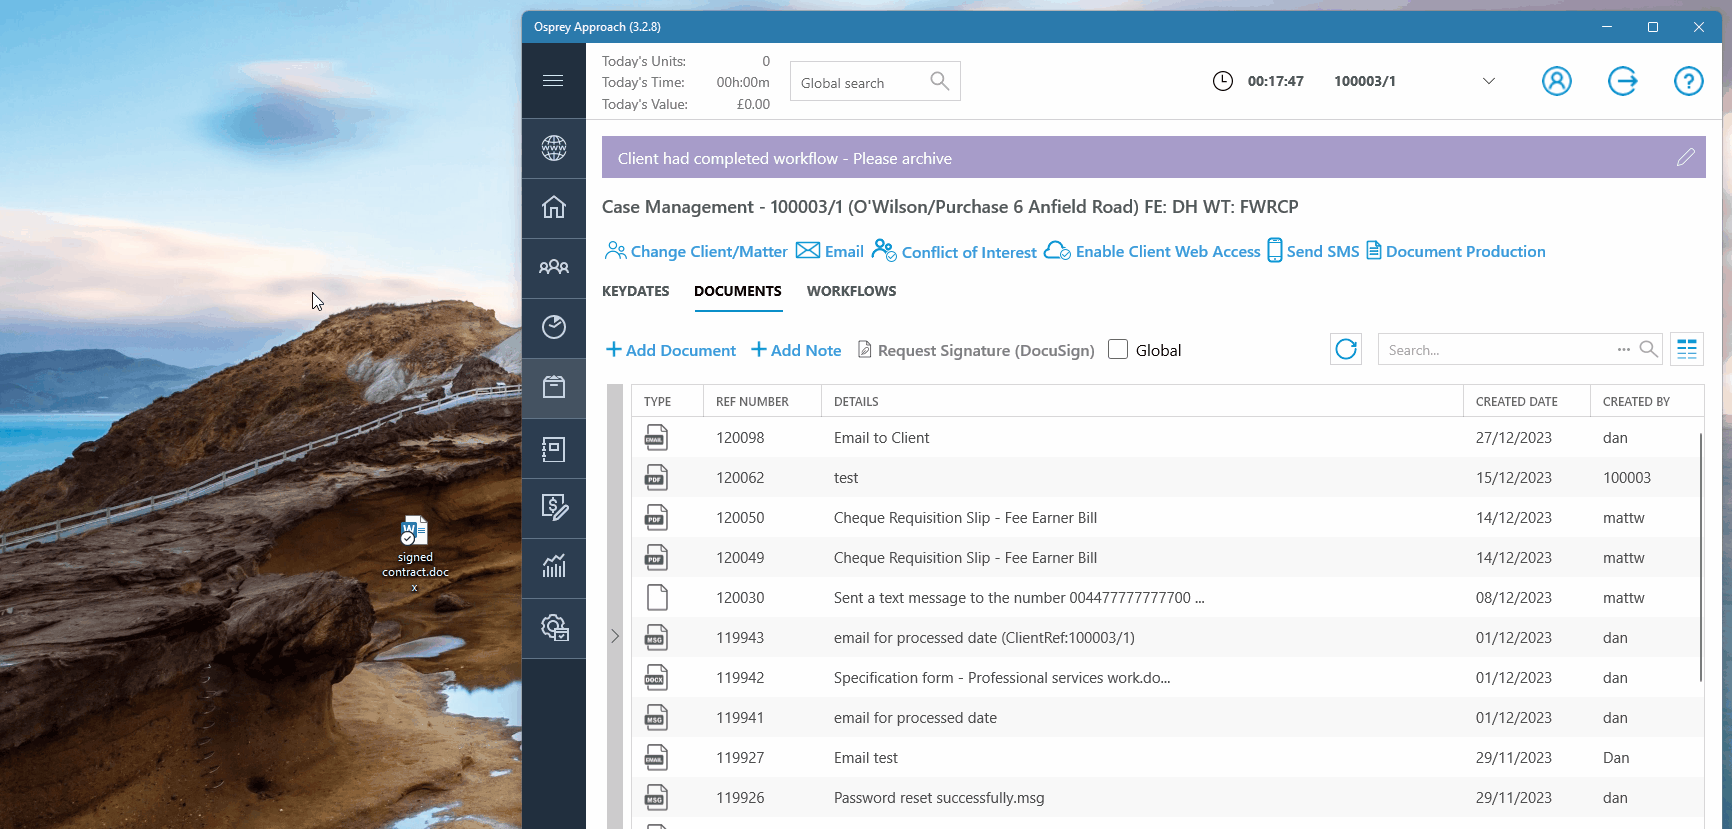
Drag & Drop files
You can quickly and easily upload files to a client’s matter history with drag & drop.
Load the client and matter to which you’d like to save the file.
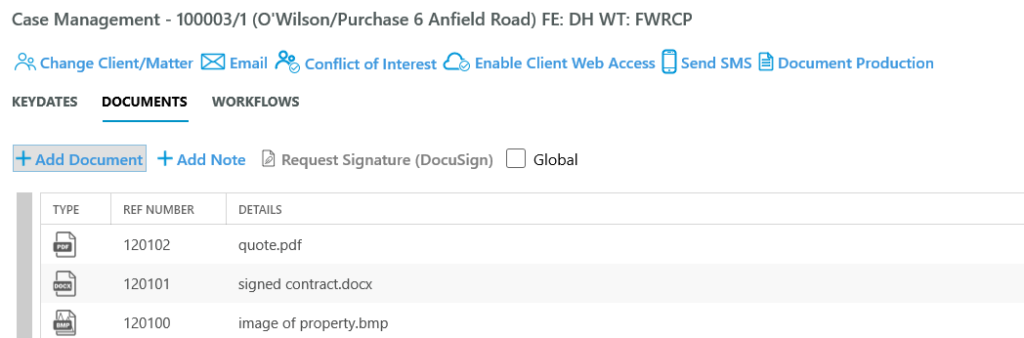
Once loaded, access the Matter History by clicking Case Management.
If you wish to upload to a Matter History folder, ensure you have the correct folder selected.
Ensure you can view the file from a Windows File Explorer window or can see the file on the Desktop.
Left click using your mouse, and whilst continuing holding the mouse button down, drag the file(s) into the matter history. Release the mouse button, and an upload confirmation will appear.
You can also select multiple documents to upload.
Please note that Osprey will not upload folders of files. All folder contents must be uploaded separately.

Manually add a document
Click the Add Document to open your Windows File Explorer.
Locate the file and click Open. Osprey will now display the Save File Window.

Feel free to add any further details such as assign to a Matter History folder, add a retention period, or update the description if required.
Click Save. The file will now be uploaded to the Matter History.