Adding a Check Box into a Word Document
Updated Mar 31st, 2026
Who is this guide for?
Case Management Supervisors and System Supervisors
Microsoft Word allows you to make selections using check boxes. This guide will go through the process of creating check boxes
Within Supervisor > Case Management Setup > Standard Documents, locate your document and open in design mode.
Place your cursor where you would like the check box to appear in the document, then navigate to the Developer menu.
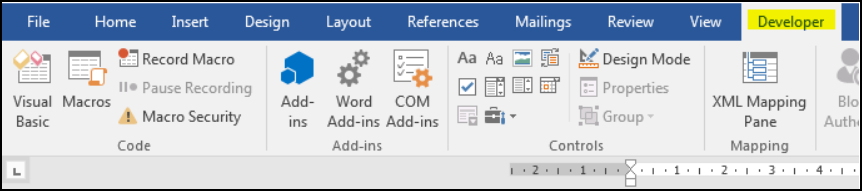
If the Developer menu does not appear, you may need to add it:
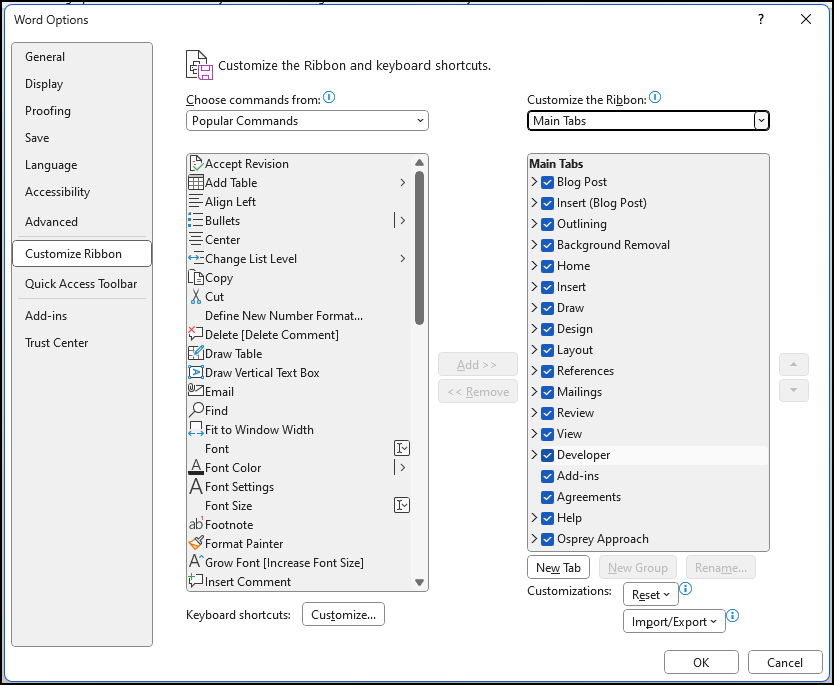
- Go to File > Options and select Customise Ribbon
- Ensure that the Developer menu is ticked
Click the Check Box option within the Controls section.
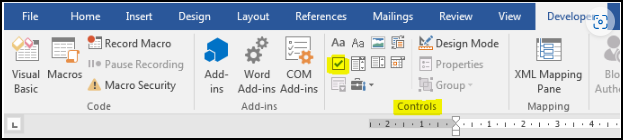
The check box will appear in the document at the cursor point.