Adding and Editing Matters
Updated Mar 24th, 2026
Who is this guide for?
Any Users
This guide will take you through adding new matters and editing existing ones in Osprey
If an existing client has instructed you upon a new matter, simply add a new matter to the existing client. This avoids having to duplicate any information you have already saved against the client.
If you need to edit an existing matter, everything other than the client and matter numbers (and branch/department, if there are financial postings on the matter) can be edited.
Matters on Criminal Cases
Please note that for Criminal files, you will need to ensure that each stage of your proceedings is created as an individual matter.
The reason to add matters for each stage is due to the way disbursements work in Osprey. There is no mechanism for the disbursements to be attached to a particular stage, so they would all be included within the investigations bill. You could therefore have a court related disbursement included on a bill for investigations.
The majority of our clients operate criminal cases using separate matters for each stage. Therefore, we would recommend you use separate matters for all criminal cases. If you choose to conduct cases on one matter, it is your responsibility to ensure that disbursements are billed correctly. We will not be able to assist in rectifying billing issues which arise from cases being concluded on one matter.
Add a new matter to an existing client
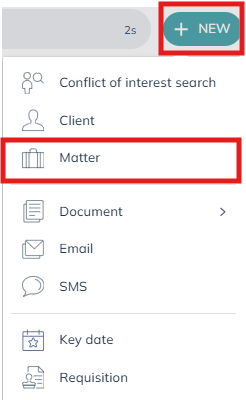
Select the New Action Button and then select Matter.
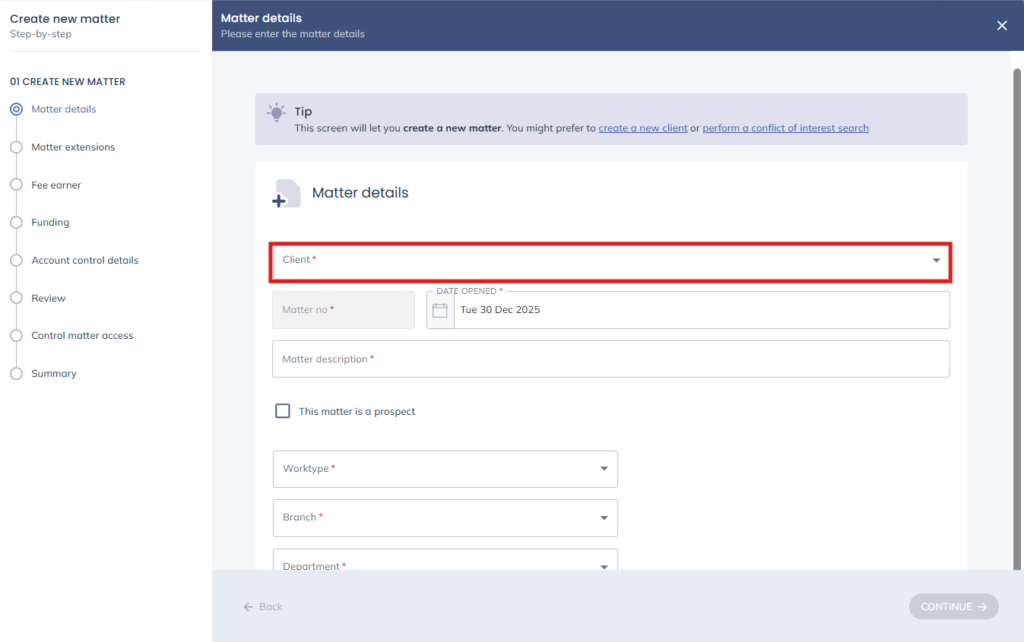
You can now search for a client in the client field. Once you’ve selected the client, enter all the details for the new matter as explained here.
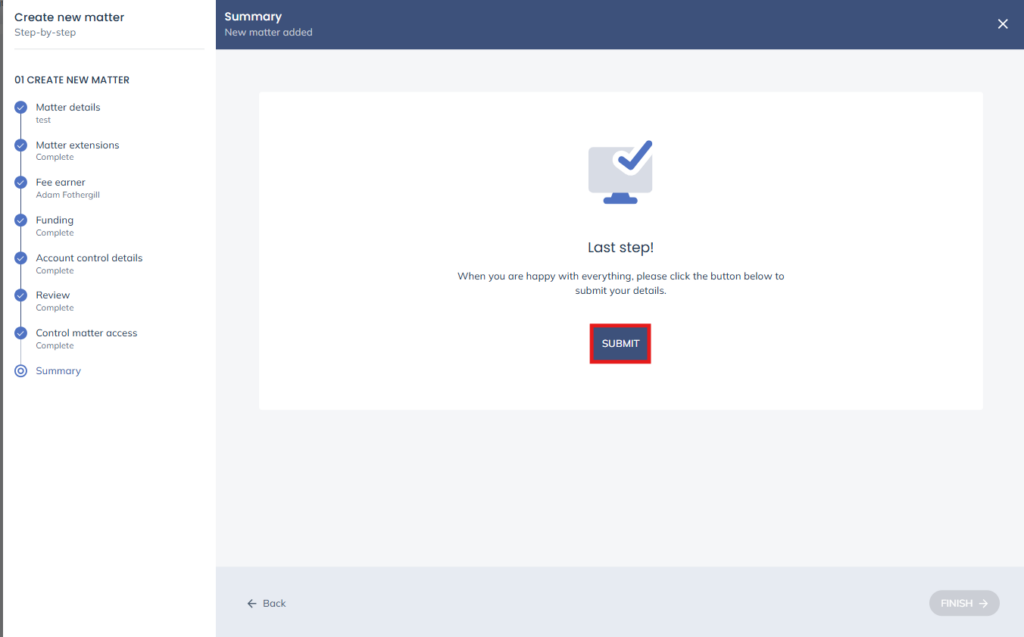
Click Submit when you are done.
Edit an existing matter
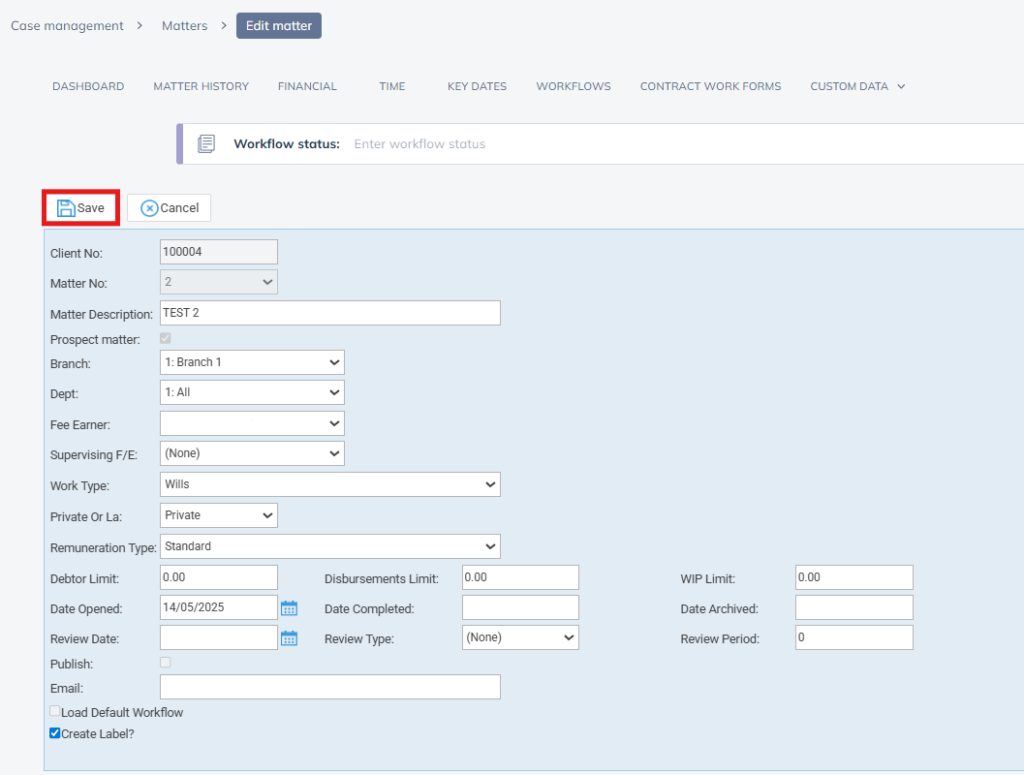
Navigate to the Matter Workspace and select the icon in the details panel. Then select Edit Matter.

Make any amendments you need to and click Save when done.