Check Out a Document for Editing (App)
Updated Jul 26th, 2024
Who is this guide for?
Case Workers
This guide will go through checking out a document for editing in the case management app
Osprey’s check out functionality allows you to “check out” a document for editing, preventing other users from also making amendments, and keeping a history of revisions available for preview and downloading.
Checking out
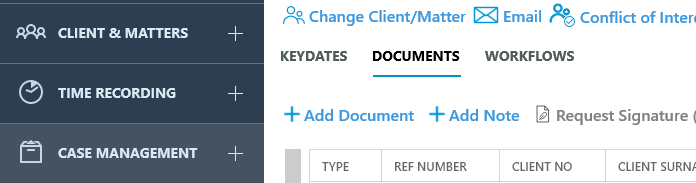
To check out a document, Navigate to Case Management and select the Documents tab.
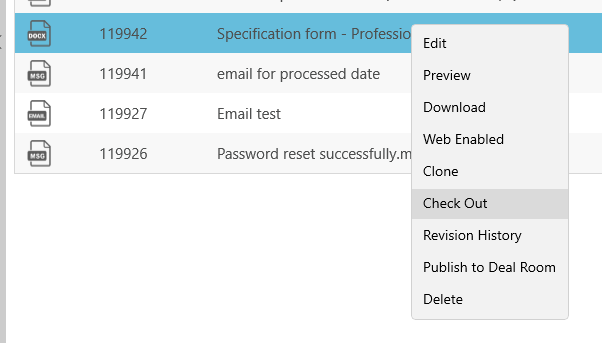
Right-click the desired document, and select Check Out
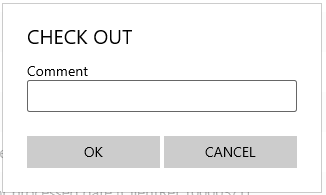
A prompt will appear. You can leave an optional comment, then click OK
Word will now open, allowing you to continue editing the document.
Checked-out document options
Documents that are checked out for editing will show within the Type column, with a tick.

If you right-click this document again, you will see a new set of options.
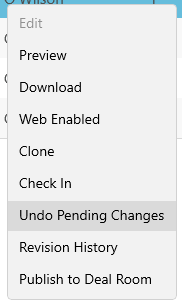
Saving in options
When you have finished with any amendments, close the document.
Osprey will then present a Check In screen. You are required to leave a comment at this stage.
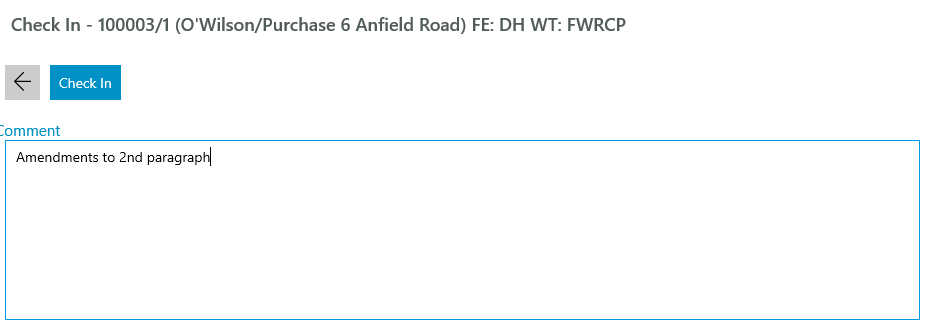
Click Check in. The document will now be saved, with previous versions visible within the Revision History
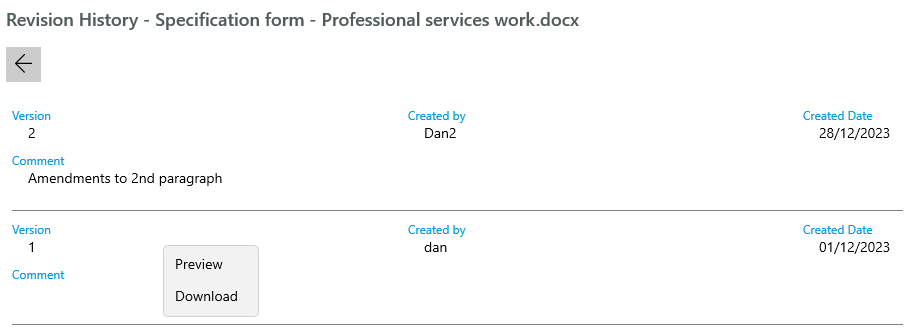
Revision History
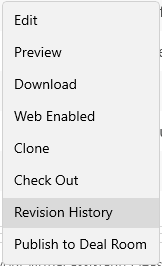
To view the Revision History, right-click the document, and select Revision History.
A history of the amendments to the document will be visible, along with any comments.
Previous versions can be downloaded or previewed by right clicking the relevant version.