Convert2Client Setup
Updated Jul 1st, 2024
Who is this guide for?
Case Management Supervisors and System Supervisors
This guide will look at the settings available to Supervisor users in the Convert2Client portal
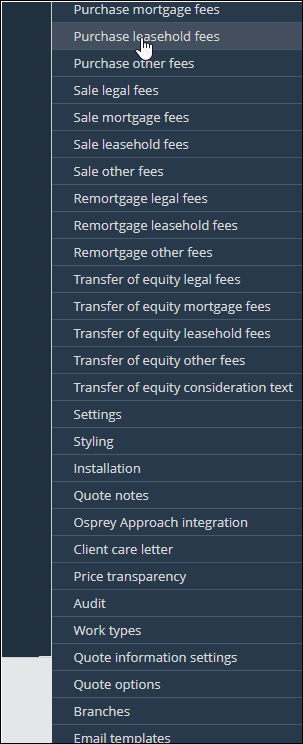
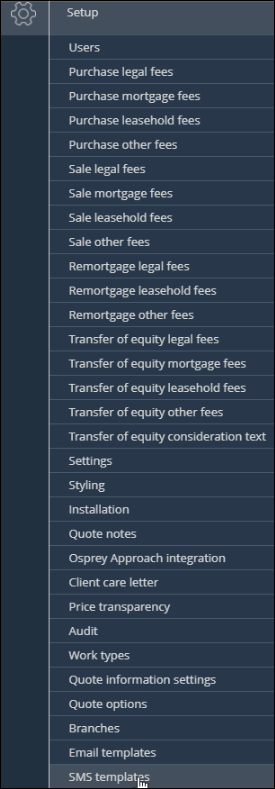
Portal setup options
Click Setup in Convert2Client portal, you will see a number of options
Managing users
You may set up an unlimited number of users, by clicking Users and then selecting New. Simply enter the basic details and choose a role.
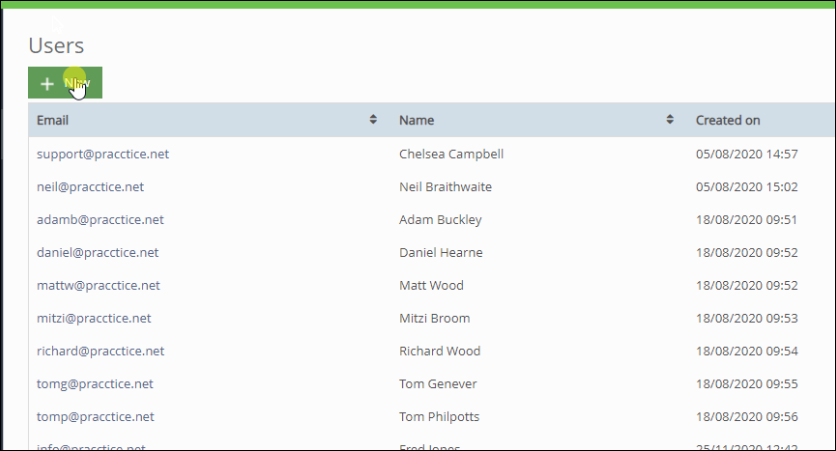
A Solicitor will be one of your internal users.
A Collaborator will be a third party, e.g. an Estate Agent, who would then be able to create quotations while the customer is with them.
An Administrator user will have access to the supervisor area and will be able to change any of the settings available.
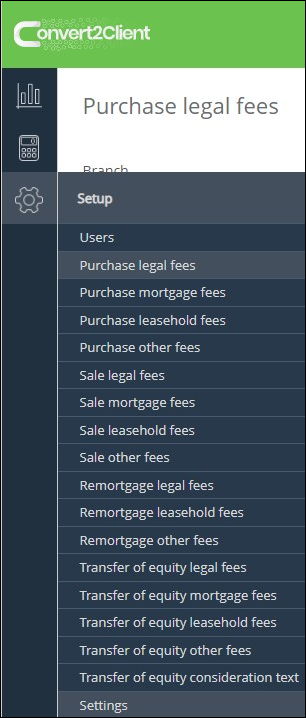
Setting up legal fees
Supervisor level users can amend the fees areas to set up legal fees. Simply add an End Value and a Fee, then click Save.


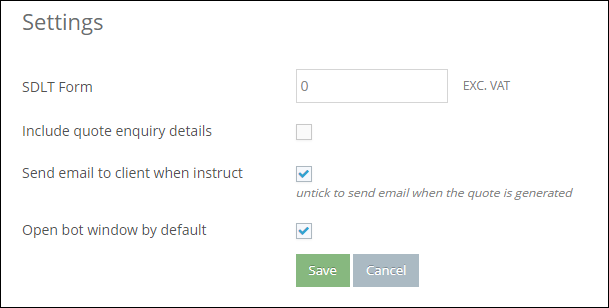
Amending fixed fees
Clicking Settings will allow you to amend fixed fees if needed.
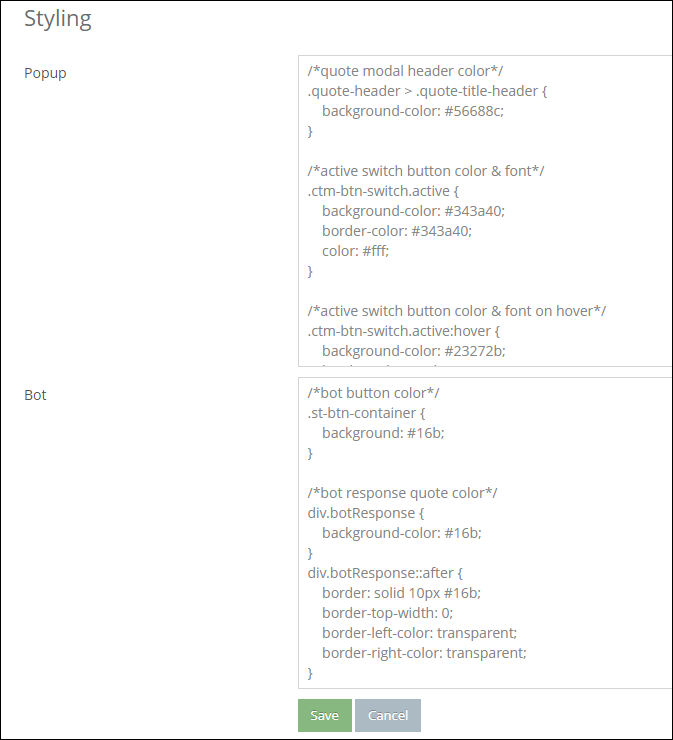
Customisation
Styling will affect the button styling on your website,
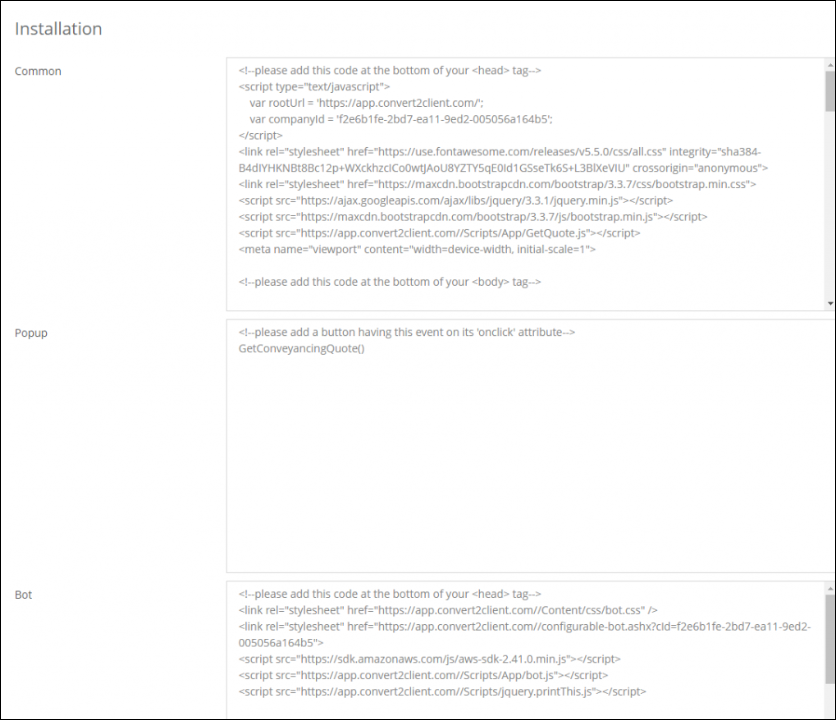
Adding Convert2Client to your website
The Installation area shows the code to be copied to your website to use the Convert2Client services. The code in the Common box is required by both the chatbot and the form. This code in the Popup box relates to the form only. The code in the Bot box relates to the chatbot only.
Your domain hosts will be able to assist with amending this.
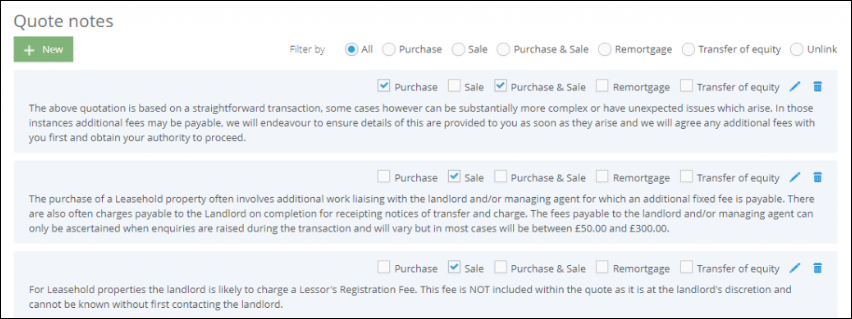
Quote notes
The Quote Notes are the notes which appear on the pop-up quote. You may add new notes, and customise the existing notes as required and define which type of quote they will appear on.
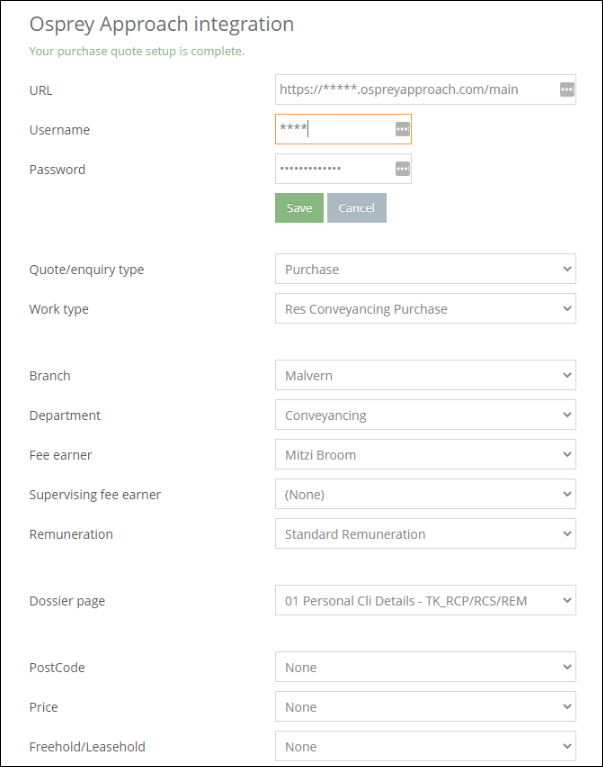
Setting up Osprey integration
You can set up Osprey integration by clicking here. Fill in the relevant fields, e.g. work type and dossier page, and then click Save to set up the integration.
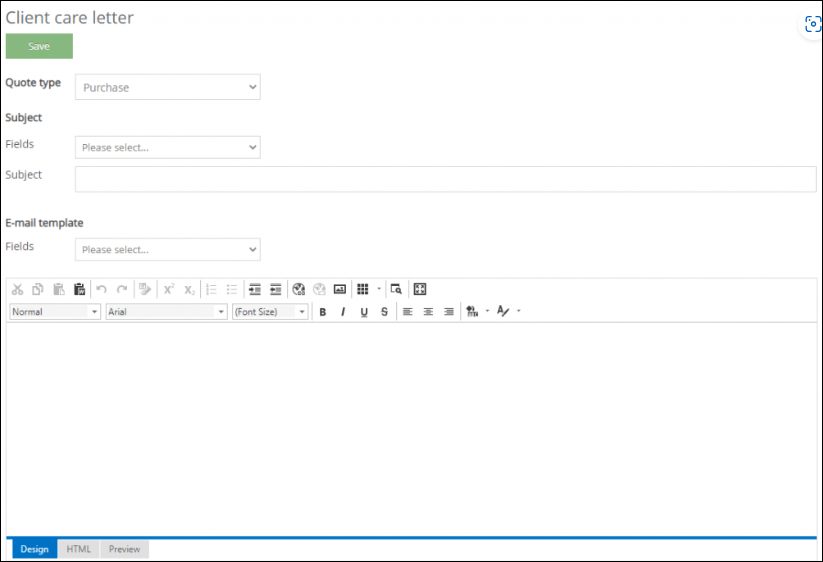
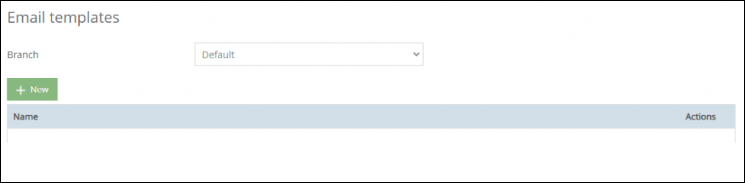
Email templates
C2C has email templates that can be amended as required, as well as the Client Care Letter. You can also include extra files to be sent alongside the client care letter should you wish. Simply drag and drop them.
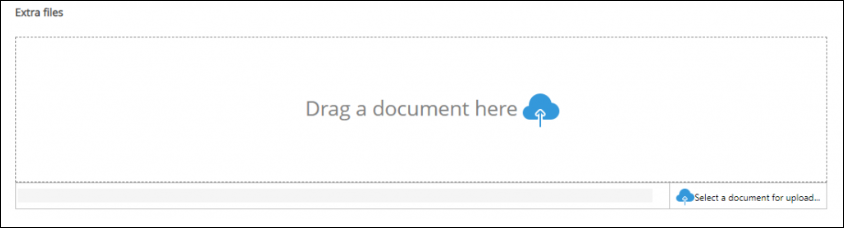
Additional documents will be listed which can be downloaded or removed.

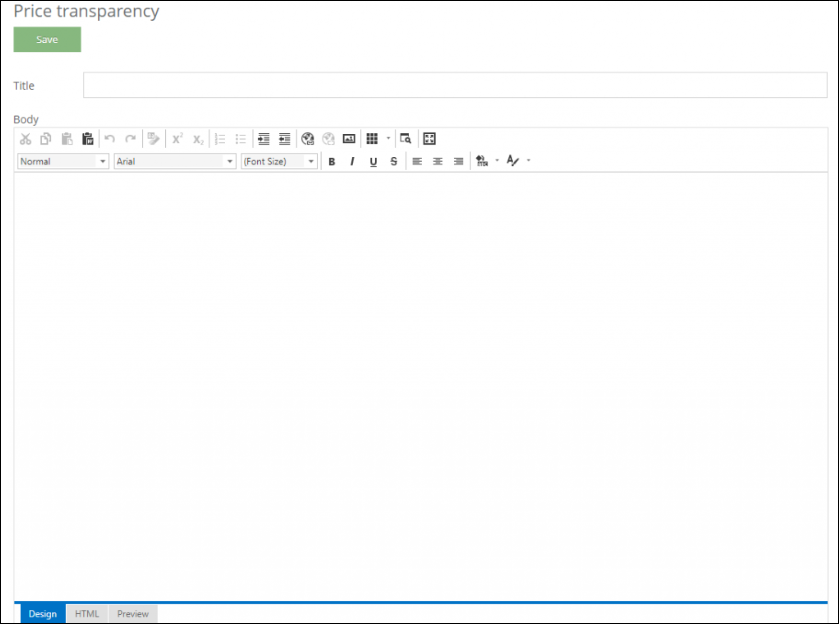
Price transparency
Price Transparency allows you to link to a page containing price information, which is a legal requirement from the SRA. You can amend and save this as required.
You also have access to an Audit area, select the Action buttons for more information.

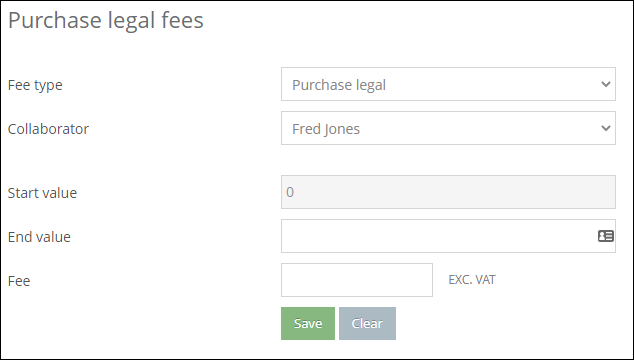
Collaborator fees
Collaborator Fees can be set so their fees are applied rather than yours when the quote or enquiry is made. Select a Fee Type and Collaborator and add a Start Value, an End Value and a Fee, then click Save.
Predefined Email Templates can be created to make communication more efficient
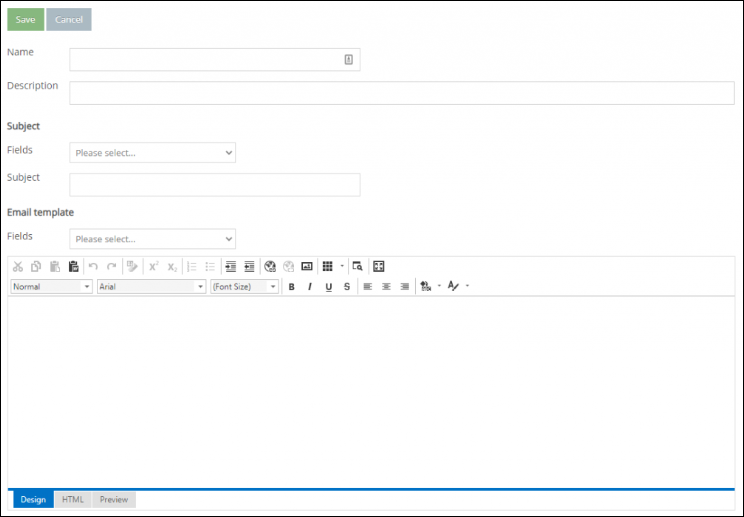
Please fill in a name and description, you may then fill in the subject and body content to use, to insert merge fields place the cursor and from the Field list select the desired field
Click Save when finished
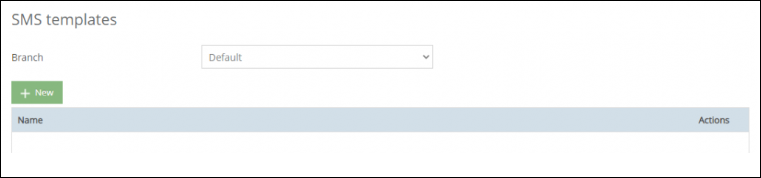
SMS text templates
Predefined SMS Templates can be created to make communication more efficient
Click ‘New’ to create a template
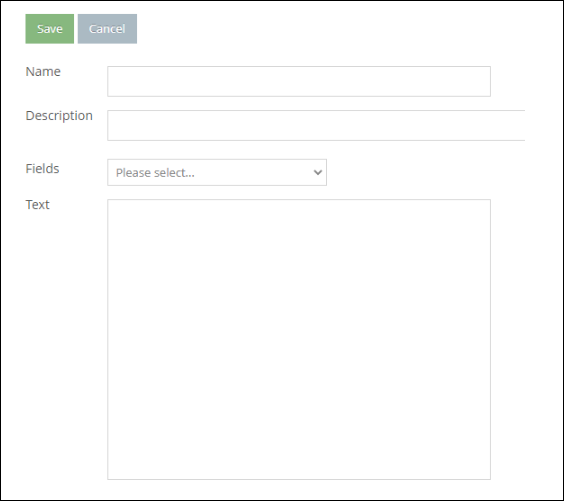
Please fill in a name and description, you may then the content to use, to insert merge fields place the cursor and from the Field list select the desired field
Click Save when finished
Updating details
Select the drop-down arrow next to your username to view your user and company profile options.
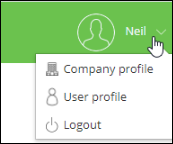
The Company Profile will allow you to amend your firms details, including contact details and Text Anywhere credentials. You can also specify where instructions and enquiries are sent.
Don’t forget to click Logout to end the session in portal