Check and Change Purchase Ledger Allocations
Updated Dec 3rd, 2025
Who is this guide for?
Accounts Users and Accounts Supervisors
You can clear and reallocate your purchase ledgers should you find that they are reporting incorrectly. This guide will take you through the process
The Aged Creditors report relies on the allocations being accurate, as a purchase invoice is considered unpaid if its total amount is not allocated to a payment or payments. If your allocations are inaccurate the balances may be in the wrong column or could even be incorrect themselves.
The report is available under the Reports tab. Select Financial Management and then run the Aged Creditors report.

Osprey compares the balances against the total of all ageing columns. Where the ageing columns total does not match the Balance column, the Mis-Alloc column will display a ‘Yes’, indicating that the allocations should be corrected.
On occasion you may also see an error message when viewing the allocations in the Purchase Ledger – EXISTING ALLOCATIONS ARE INCONSISTENT, PLEASE CLEAR AND REALLOCATE – this will also require you to reallocate the ledger.
Clear Allocations
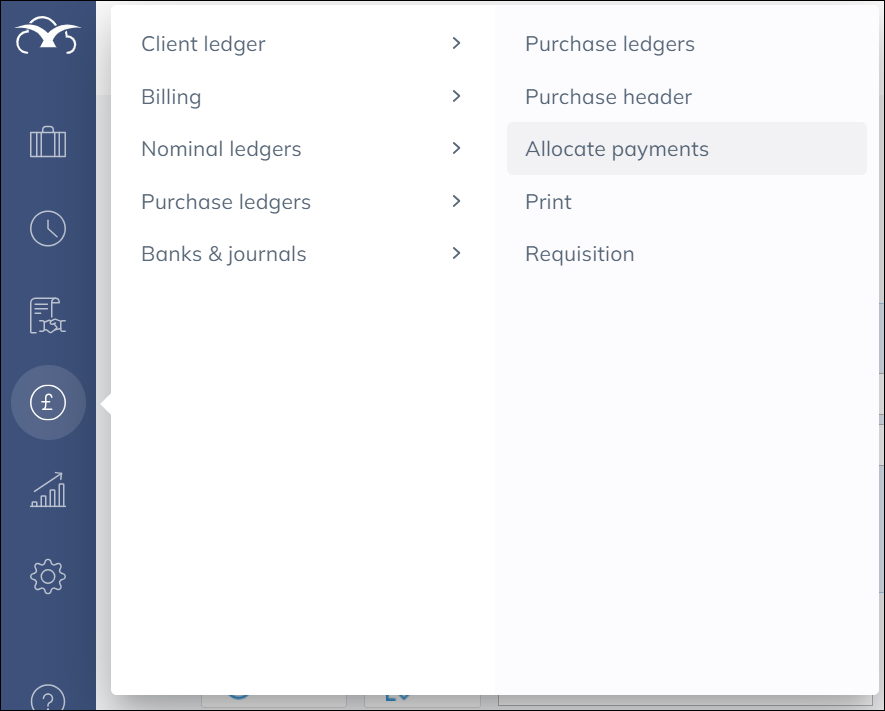
To clear the allocations on a purchase ledger, navigate to the Accounts menu, then Purchase ledgers and Purchase ledgers again, select the purchase ledger you require, and then choose Allocate Payments from the left hand menu:
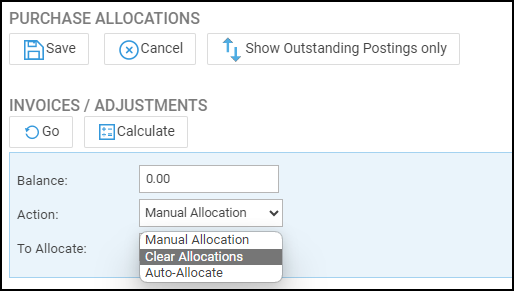
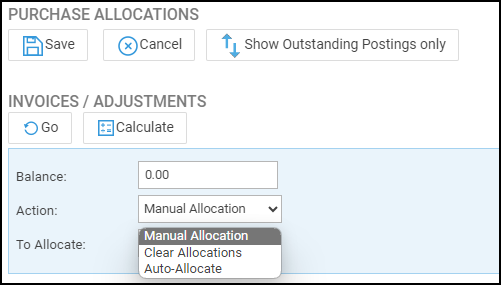
Select Clear Allocations from the Action drop-down menu, then click Go. Wait for the screen to reload and then click Save. You will be returned to the main purchase ledger screen:
You now have two options. The Auto Allocate feature can be used which automatically links all possible payments to invoices starting with the oldest first. It also includes the option to “Hold” any invoices or payments you don’t wish to mark as allocated. You can use the Manual Allocation option to manually select which payments correspond to which invoices.
Auto Allocate your Purchase Ledger
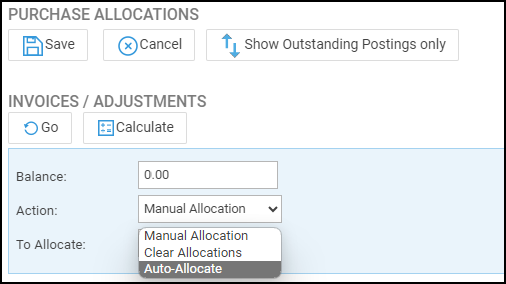
On the Allocate Payments screen, select the Auto-Allocate option from the Action drop-down list.
Tick the Hold box corresponding to the invoices or the payments not to be allocated. Those that make the outstanding balance. Now click Go and select Save.
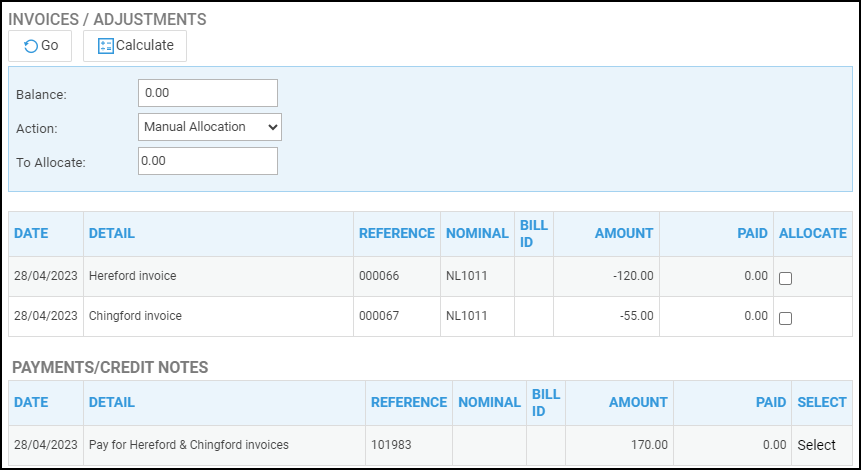
Manually Allocate your Purchase Ledger
On the Allocate Payments screen, select the Manual Allocation option from the Action drop-down list.
Tick the Allocate box alongside the first invoice or invoices you wish to allocate. Then click the Calculate button to see the total value we’ll be allocating.
Now, click the Select link alongside each payment you wish to allocate until the To Allocate box shows 0. Click Save.