Create Client Extensions
Updated Jun 7th, 2024
Who is this guide for?
Case Management Supervisors and System Supervisors
This guide will take you through creating client extensions
You can create client extensions which allow you to link your dossier fields to the client details screen to fill in when create a new client or editing an existing client.
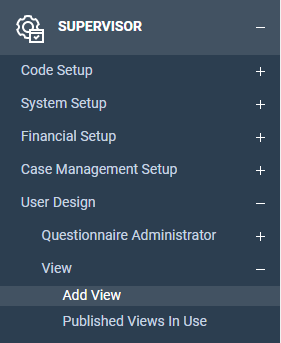
To add a new Matter Extension, navigate to the ‘Supervisor’ area and select ‘User Design’. Now click on ‘View’ and then select the option to ‘Add View’.
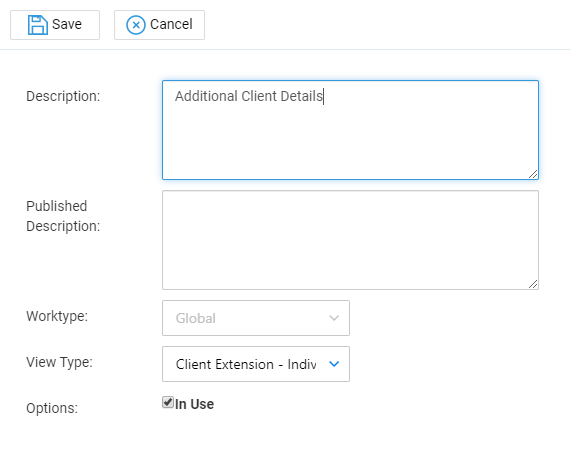
The new screen will allow you to enter the details for your new client view.
- ‘Description’ will be the name shown against the new view created. Please note that the ‘Published Description’ is only to be used if you have purchased the client portal. It will be the description shown to your client against this new view created.
- The ‘Work Type’ option will greyed out and set to ‘Global’ when you choose to create a ‘Client Extension’. This is because this is held at client level rather than matter level.
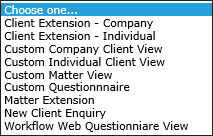
- The ‘View Type’ option will show you a list of views available to create. In this case we are looking at the ‘Client Extension’ option shown.
You will see that you have the option to create either a ‘Client Extension – Individual’ or ‘Client Extension – Company’.
These work in the same way but depend on if you have set up a client as company or individual.
Once you have completed the fields, select ‘Save’.
You will then be taken to your list of views. Your newly created client extension will now be available in this list. You may filter by ‘View Type’ if you wish.

Right clicking the view will give you the option to “Edit”, “Link” or “Delete”
- The ‘Edit’ option will allow you to change the description of the extension created. However, ‘View Type’ has been greyed out so this is not able to be altered once saved.
- The ‘Delete’ option will allow you to delete the client extension created.
- The ‘Link’ option shown will allow you to link any global dossier fields created to be shown within this client extension.
Please note that you will only be able to link dossier fields that have been set at client level (Global). You are not limited within client extensions to the amount of fields you can link.
After selecting the ‘Link’ option, you will see the following screen:
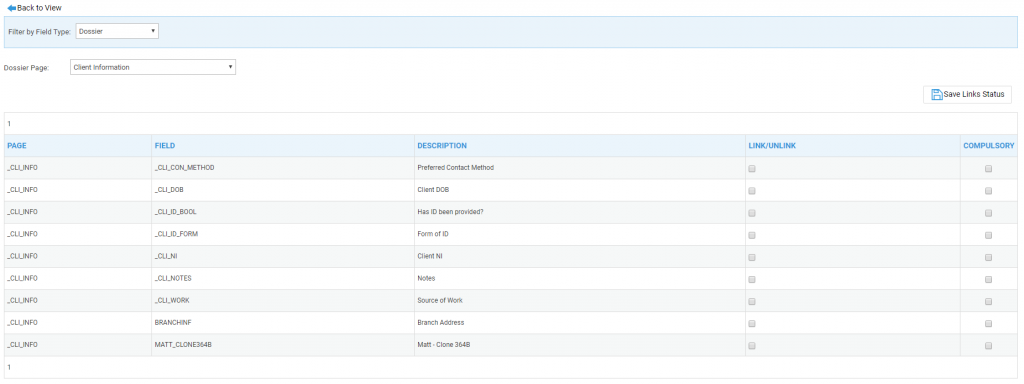
The ‘Filter by Field Type’ drop-down list will allow you to select if you wish to include details from ‘Dossier’ and/or ‘Notes’.
The ‘Dossier’ option shows you all dossier fields/pages that have been setup under the work type the matter extension has been created under.
Once ‘Dossier’ has been selected you will see the option to select which dossier pages you would like to pull through fields from if more than one dossier pages are available. Select as appropriate.
The ‘Notes’ option shows you any text notes which have been set up within supervisor. Adding Standard Text – Osprey Academy (pracctice.com)
Once selected, you will be shown a new screen with all notes available. Here you can select the relevant notes to be linked to your new matter extension.
In order to link the notes required, tick the relevant boxes. Then select ‘Save Links Status’ shown to the top right hand side of the screen.
Click ‘OK’ when prompted to save your changes.
You will see the option to ‘Design Client View’ once all relevant fields and notes have been linked.

Click this and a new screen will be shown displaying the available fields and notes linked.
You will be able to drag and drop these into any order required by holding down the left-hand mouse button on the small grey box to the right of the fields and then dragging them to their new location.
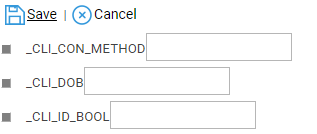
Once fields and notes have positioned accordingly, select ‘Save’ to keep your changes.
You will then be given an option to ‘Preview Client View’ to see how your matter extension will look with full field descriptions rather than the field ID’s.

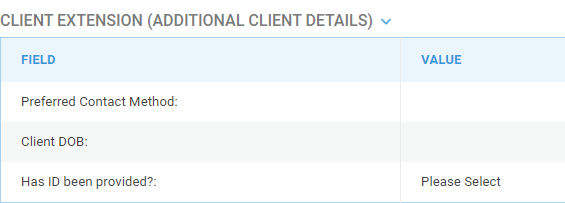
Your new client extension will now be available under your client details screen. In order to fill out these details select ‘Edit’ on the client overview. You will then be able to fill in these details.