Creating Case Bundles
Updated Feb 25th, 2026
Who is this guide for?
Any Users
Case bundles can be created within Osprey and can include documents, emails and images from the matter history. Case bundles are fully indexed to the specifications required by the courts. This guide will show you how to create them
Osprey will allow you to create an indexed case bundle that conforms to the specifications required by the courts.
Creating a new case bundle
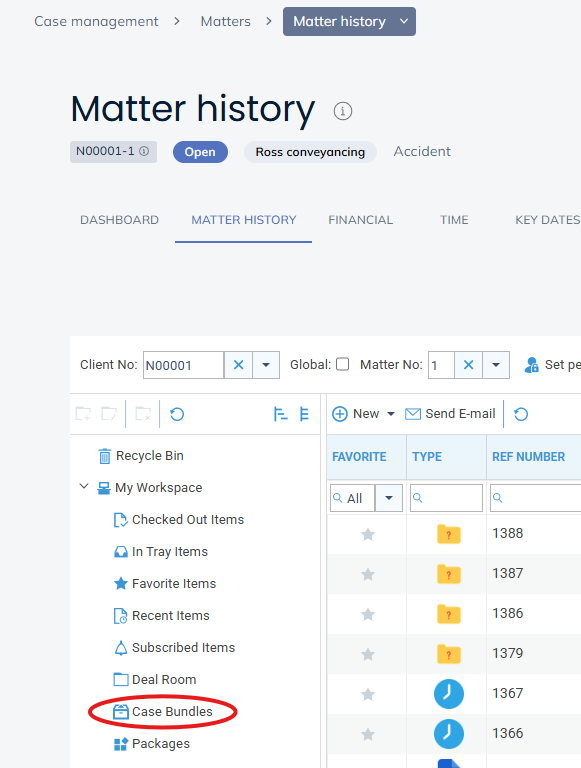
To start creating a new bundle navigate to Case Management > Matters > Matter history > Case Bundles
To start creating the bundle click on ‘New’ in the top left corner. You may then add the details for your new bundle.
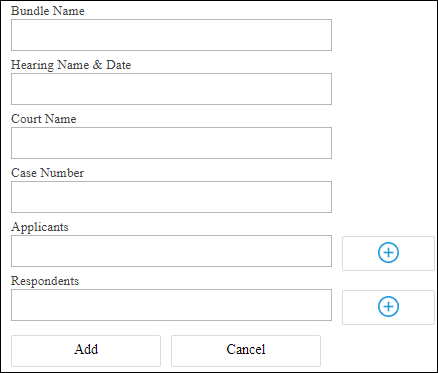
Click ‘Add’ once complete. This will then create the base of the bundle and you will see a line added to the main grid.

Adding folders to the case bundle
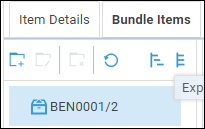
Click on to the newly created line to open the side panel to the right hand side of the screen. If you do not see the side panel it is minimised. Navigate your mouse to the right-hand side of the screen and locate the arrow as shown in the image below. Hold down the mouse button to expand this panel.
Now click on ‘Bundle Items’.

To start adding content to your bundle, click the new folder icon to create folders.. You can add as many folders as you wish and you can can create sub folders within each folder.
If you want to create a sub folder click on the main folder that you have already created and then click the new folder icon. When you click on the new folder symbol, a pop up will appear prompting you to give the folder a name, fill this in and click ‘ok’.
Adding files into your folders
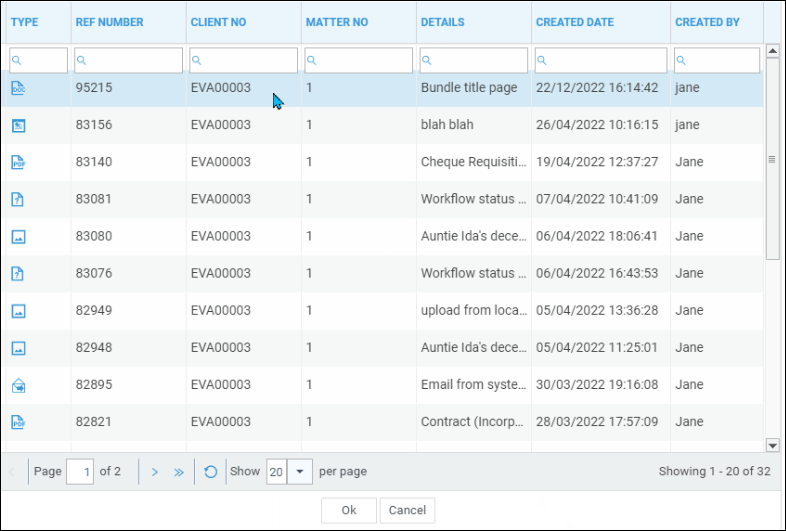
Once you have created all of your folders, you can then begin adding content to each folder by selecting it and then selecting ‘New’.

You can add a single document by clicking onto it and clicking ok. Or you can add multiple documents in one go by holding down the Ctrl Key and clicking on several documents then click ok.
When you select a folder now the documents will be displayed in the second column of the side panel. Ensure the documents are added in the order in which you need them to appear as this cannot be changed later.
Now you have added items to a folder there are some other options available. You can use the icons at the top of the second column in the side panel, to delete, preview or download the selected document. You can also see these option by right clicking on a document.
The items can also be moved up or down using the buttons on the left hand side of each one and we have added the ability to drag and drop folders in Case Bundles to change their order.
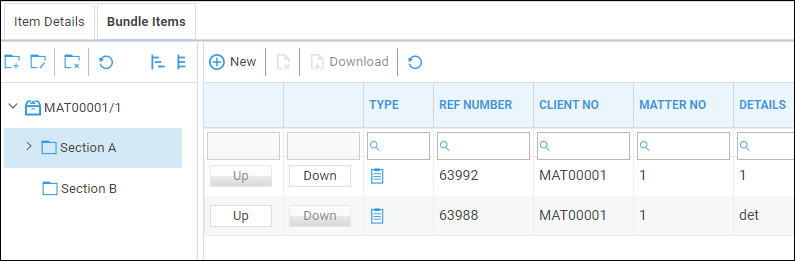
You can also filter items by folder when adding items to a Case Bundle or Package.
Downloading the bundle
Once you are happy with the content of your bundle you can use the download button (shown above) to see the bundle as a pdf. Clicking this open up the pdf of your bundle in your pdf viewer.
Amending your case bundle
All the bundles you create are stored within Osprey, so you can view or amend them at any time.
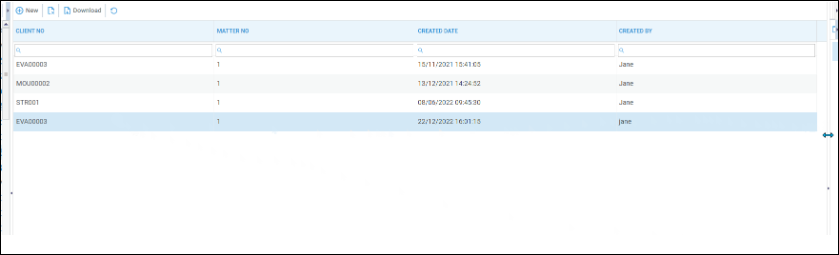
Navigate to Case Management > Case Bundles, as shown at the beginning of this guide.
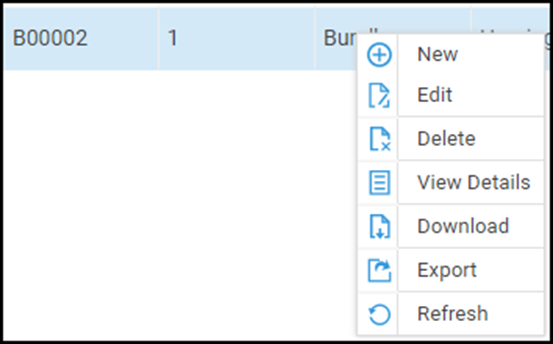
You will see a list of all the bundles you have created within Osprey. Right clicking on a bundle will give you a sub menu where you can choose Delete, View Details or Download.
You will also have an option to export the bundle straight to the Matter History.