Creating Case Bundles (App)
Updated Jul 30th, 2024
Who is this guide for?
Case Workers
This guide will go through creating a Case Bundle in the app
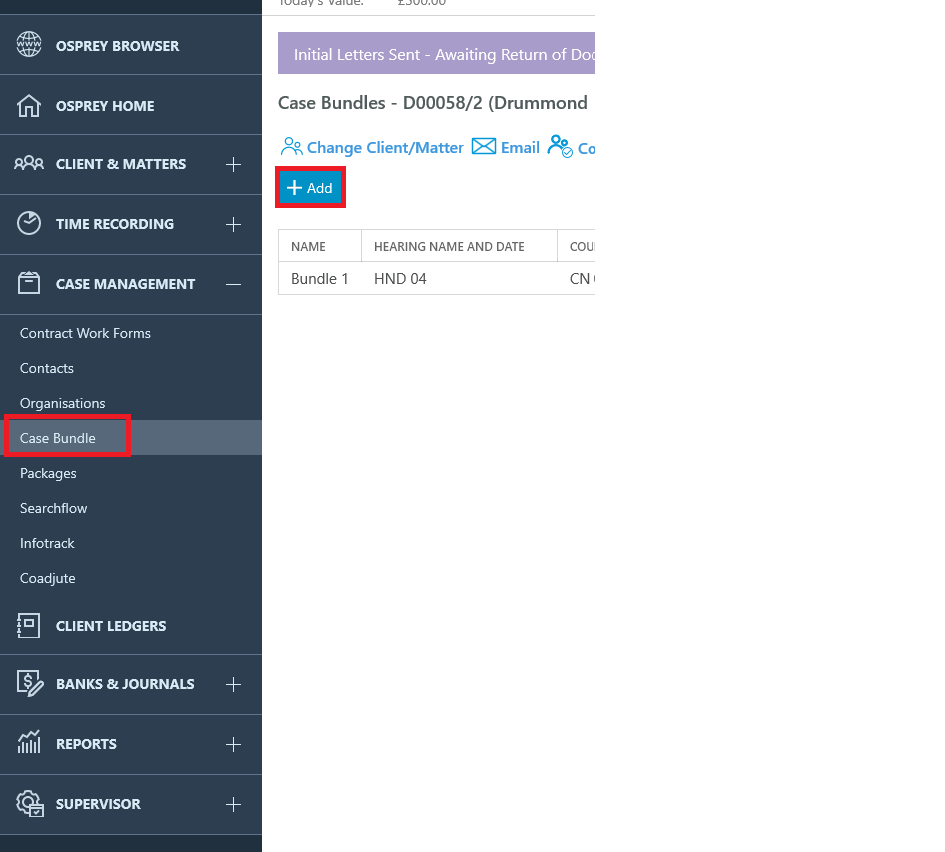
Within the Desktop App, ensure the relevant client and matter is loaded.
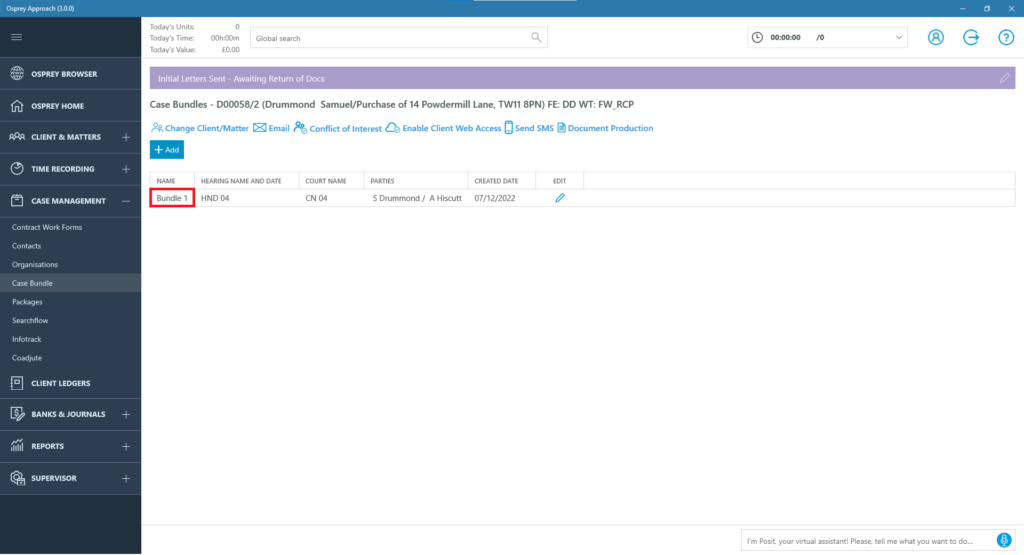
Next, click Case Bundles. To create a new bundle, click Add. Created bundles will be visible only to the user who created it.
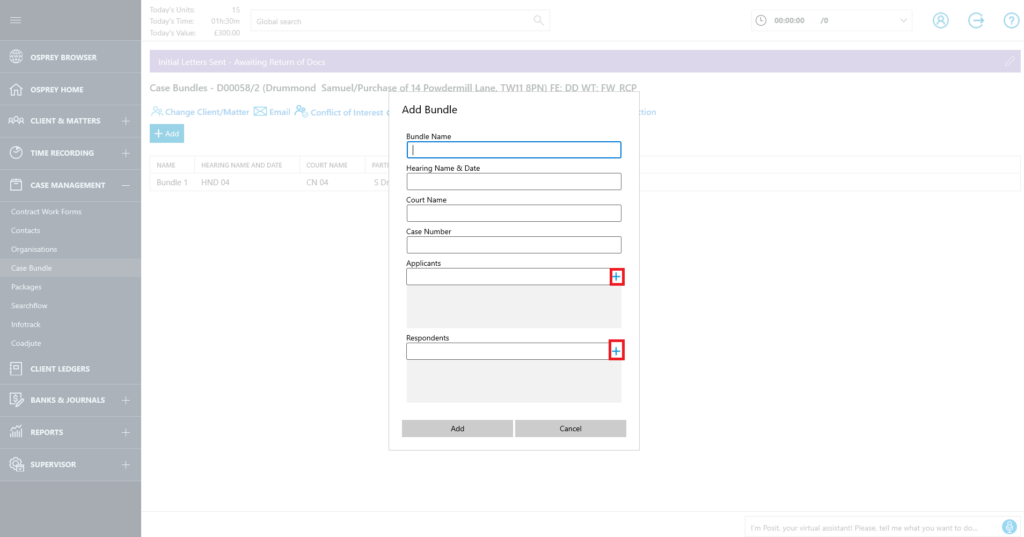
A pop-up window will appear, asking for the User to input a Bundle name, Hearing Name & Date, Court Name and Parties. Use the plus symbols to add the Parties All fields are mandatory.
When Saved, the data entered will appear within the relevant column within the Bundles screen
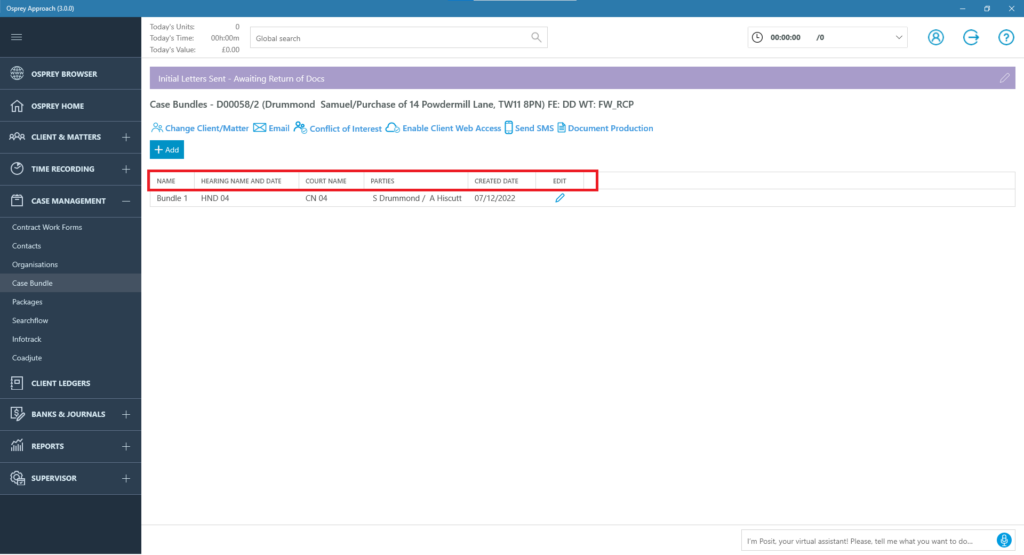
Only the bundles created for the loaded client will be visible.
Adding Folders
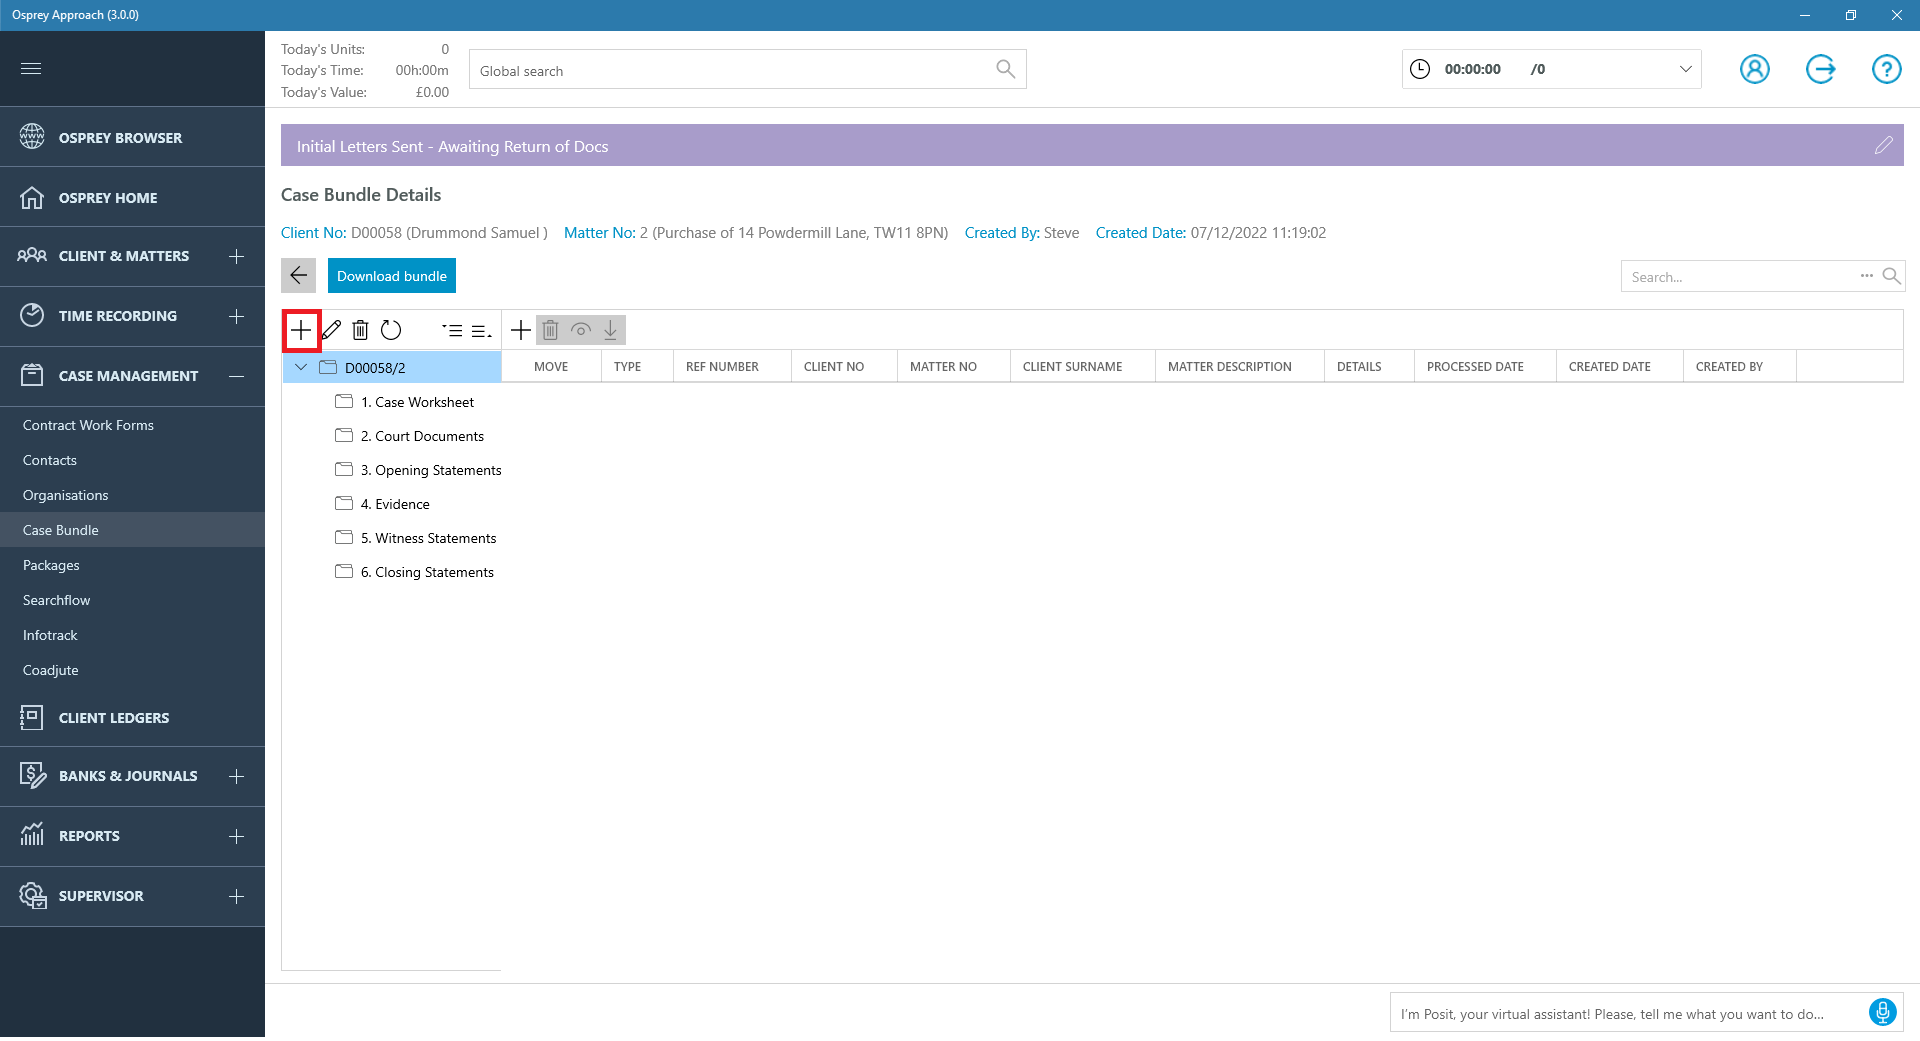
To start adding content to our bundle, we will need to create folders to place our contents in. Only one document can be added to the Root Folder, which will be used as the title page. Click the Add icon as shown below.
Provide the folder a name and a letter. These will be visible through the Index page, allowing users to categorise or group specific documents and correspondence.

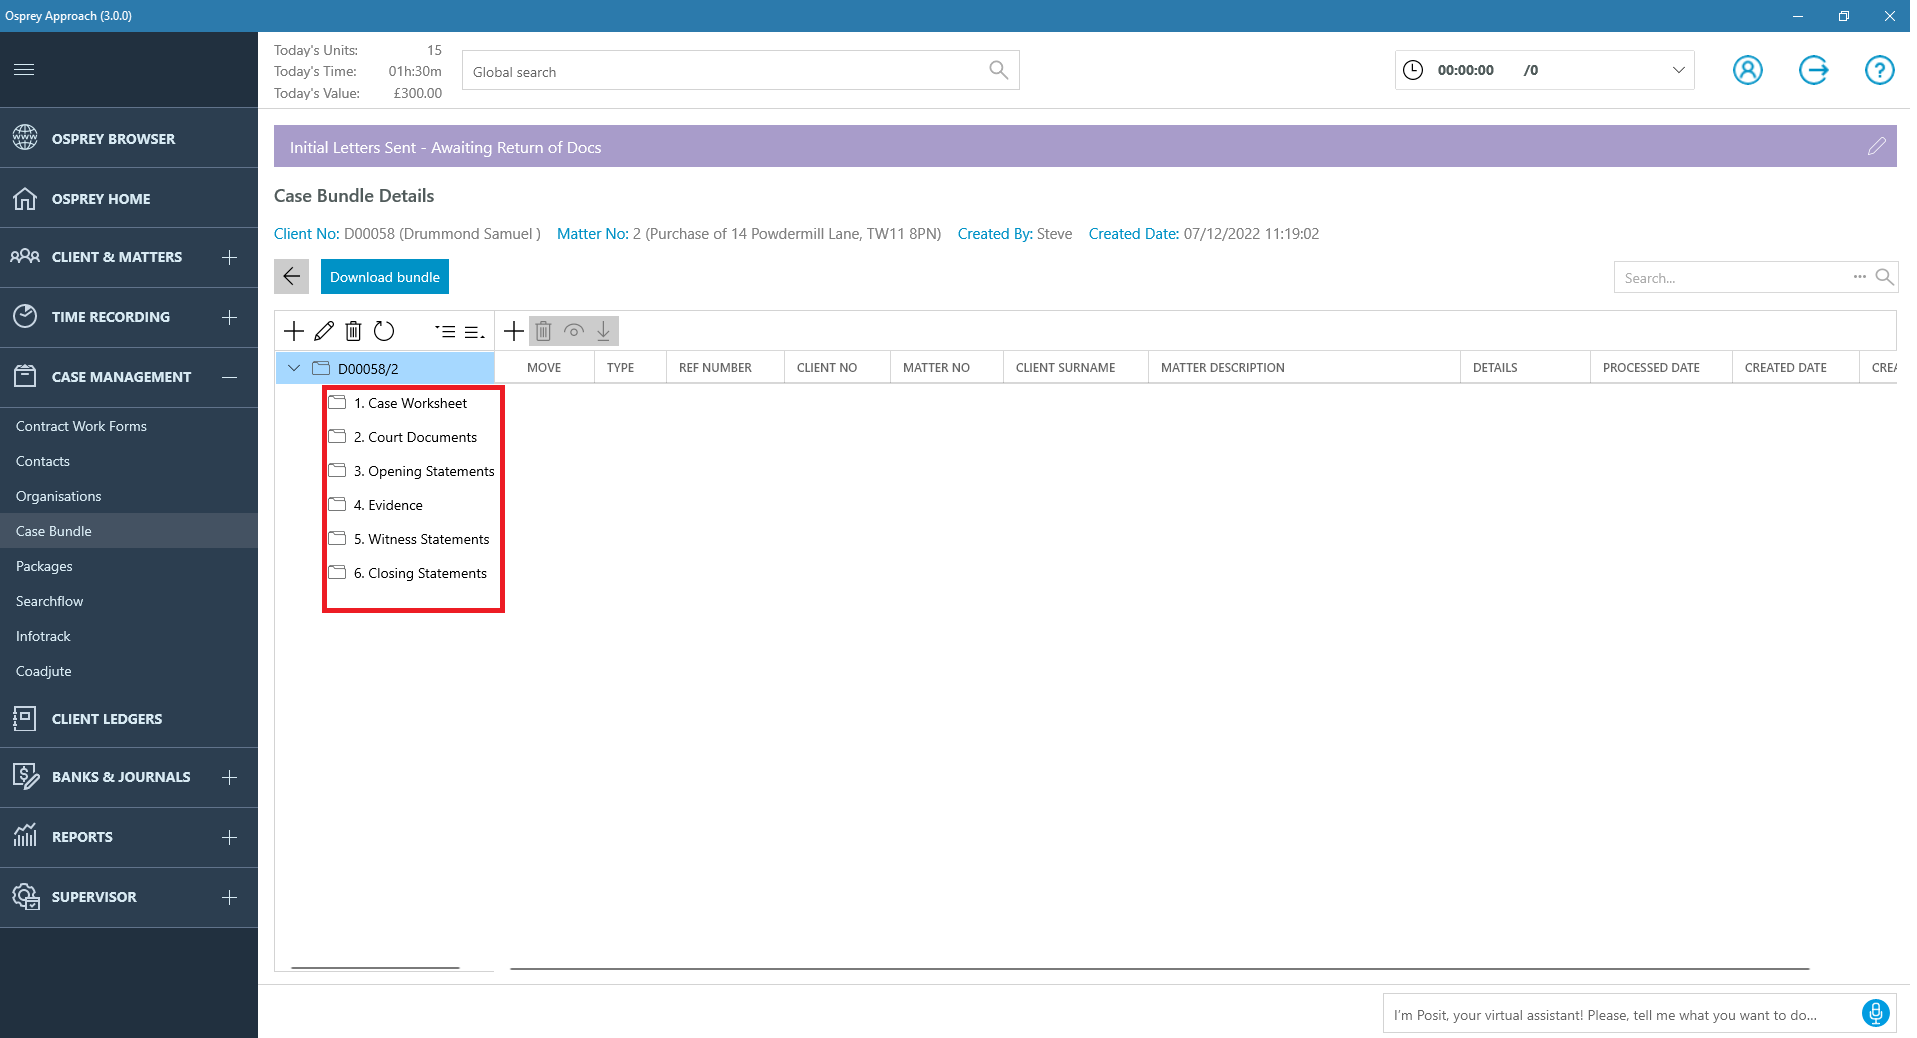
All created folders can be viewed for the selected bundle within the left hand panel.
Users can rearrange folders by left-click and dragging to the new location. Folders can be rearranged only within the root folder, or rearranged within a sub-folder
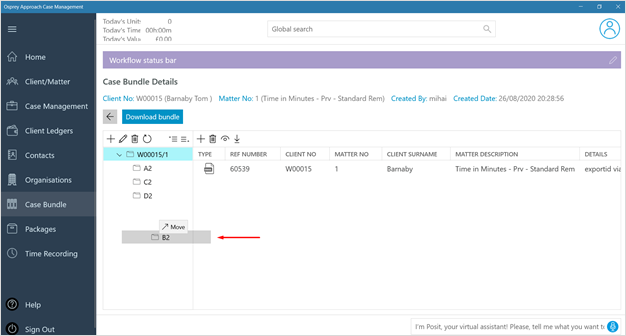
If users attempt to move a folder from the root folder to inside another folder, or vice versa, an error will appear.

Adding Documents to a Case Bundle
To add documents, select a folder, left-click to view the contents. To add a document, click the Add icon

Select the document(s) to be added.
Hold down the Control key whilst selecting to add multiple documents, then click Add. When adding, users will be prompted to add a Processed Date.

Processed Dates
A Processed Date column is shown by default within the Bundle Details page.
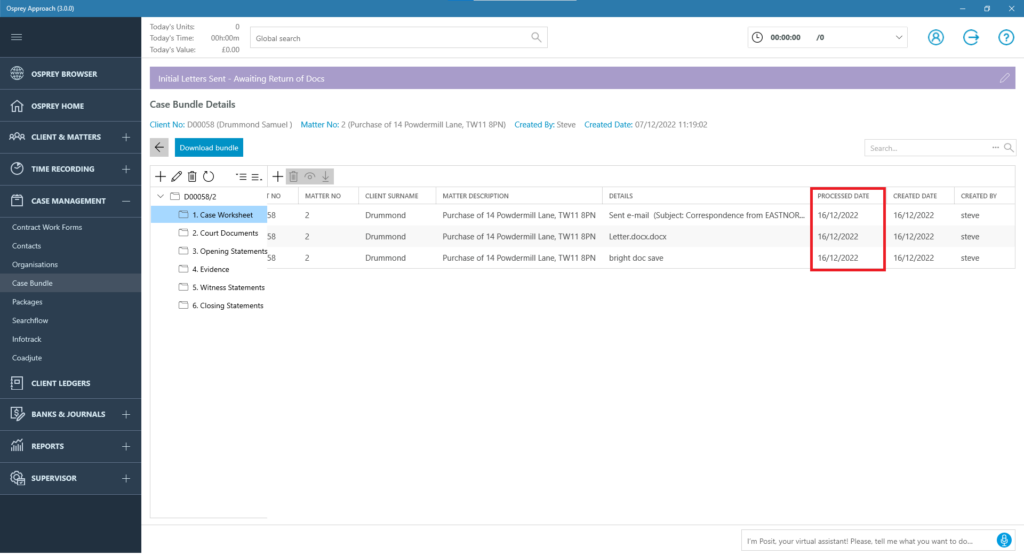
To update the Processed Date, right click on any of the documents, and select Change Processed Date. Documents will always appear from Oldest to Newest when downloaded.

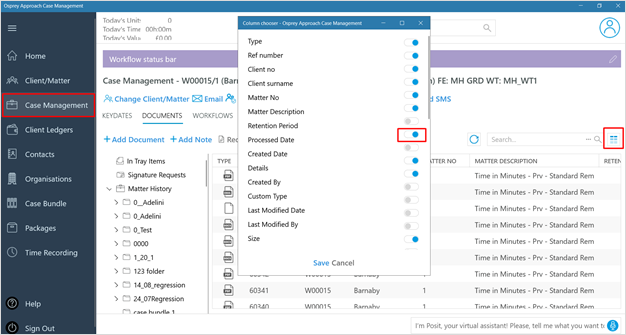
The Processed date assigned to documents can also be viewed from the Documents area within Case Management.

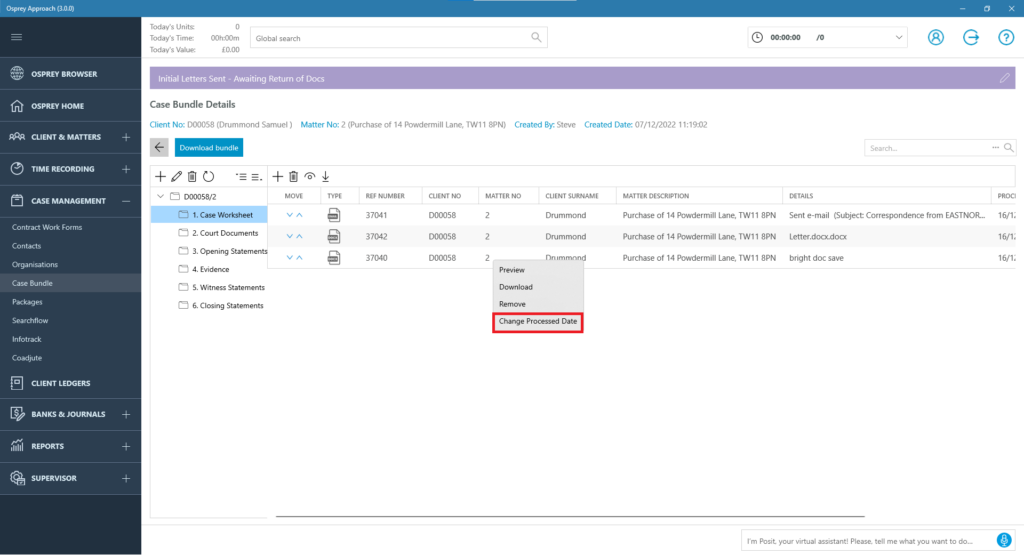
Once a processed date has been added to a document, it cannot be removed, but it can be amended.
To amend within Case Bundles, locate the document and right-click. Select Change Processed Date
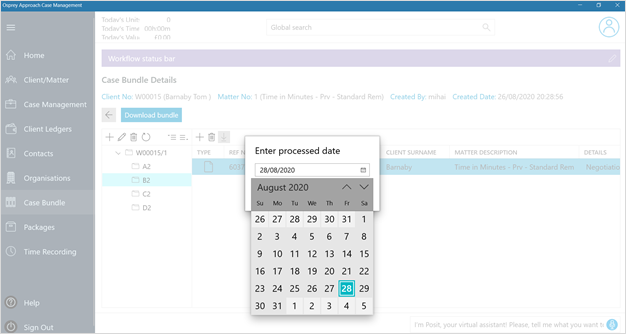
Click the icon to show a pop-up calendar view to help select the required date.
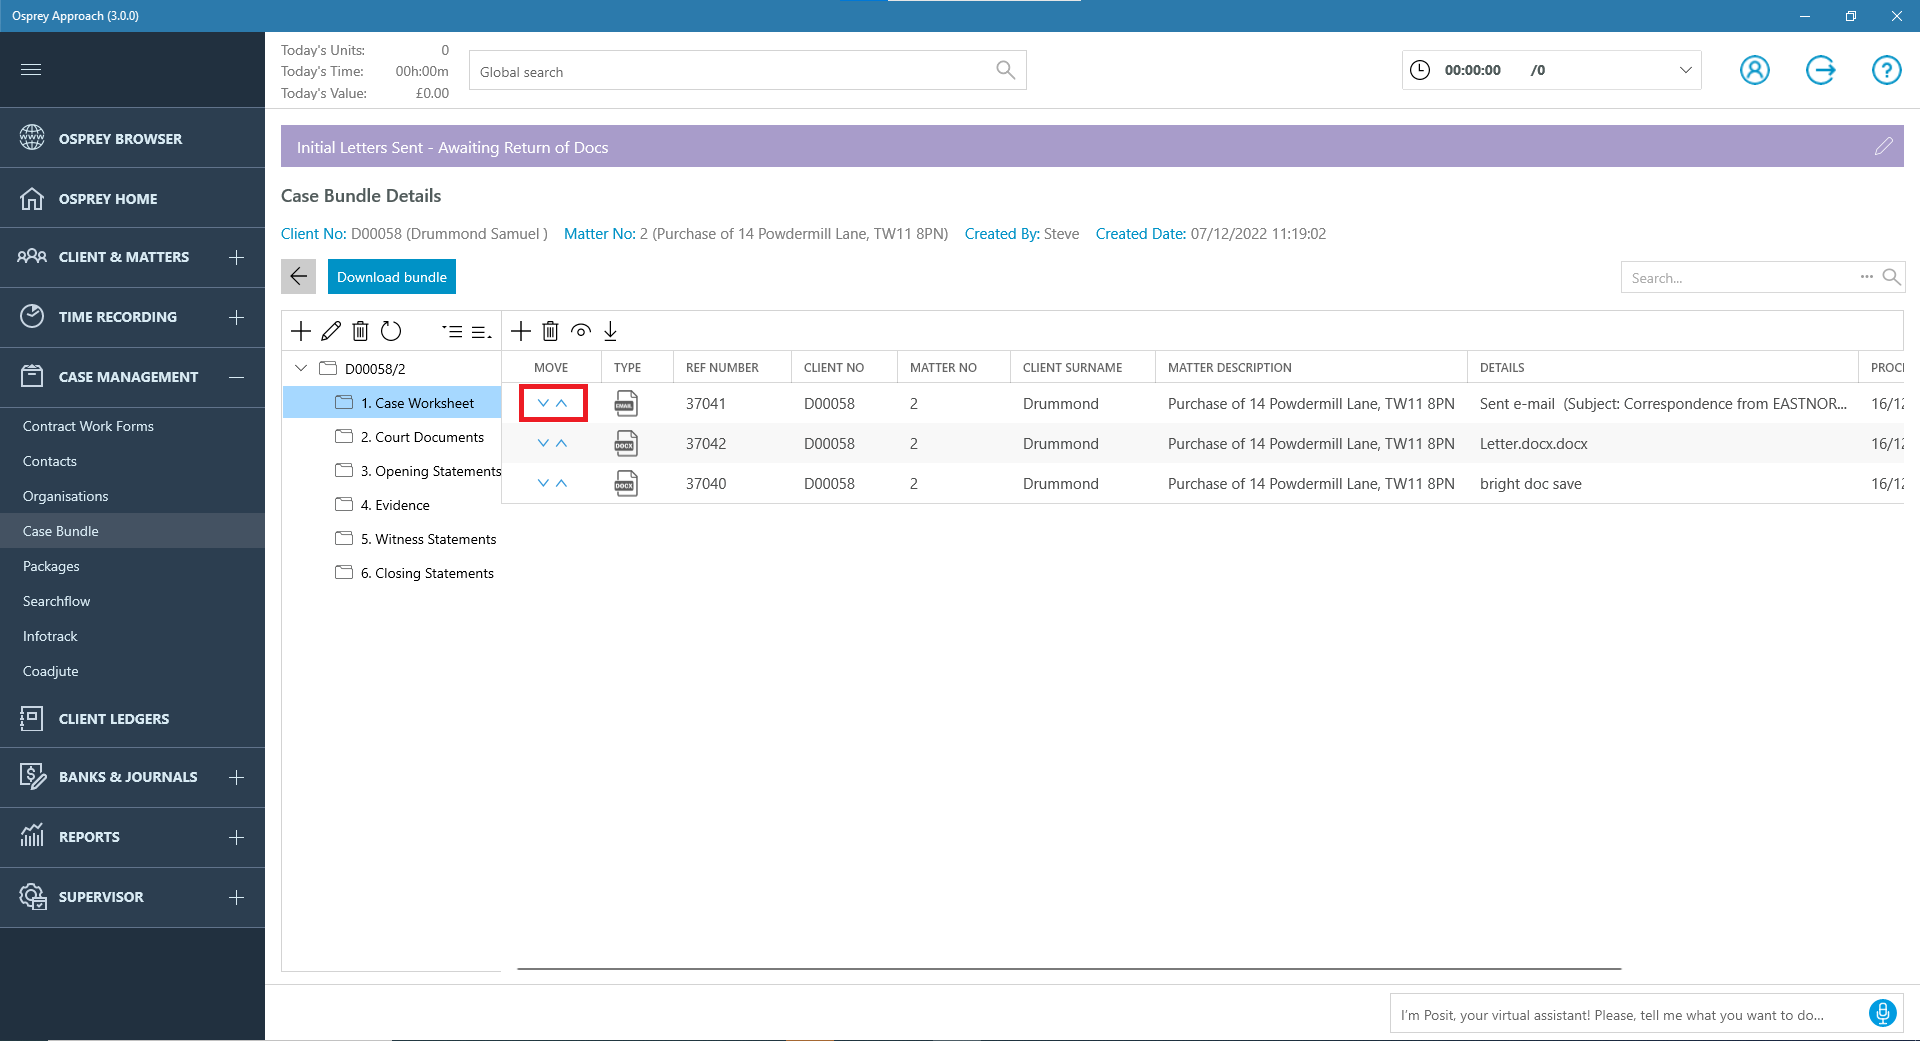
Moving Documents in the Case Bundle
The Documents can be moved up and down using the arrows on the left hand side of the documents.
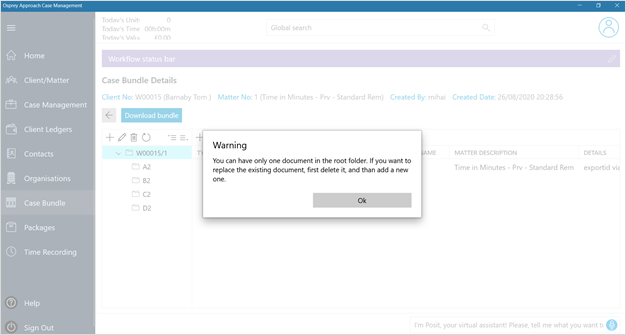
The Root Folder
The root folder allows users to place an initial document, or cover page, before the Index page when the bundle is downloaded. Only one document can be placed within the Root Folder.
If you attempt to add an additional file, or need to replace it, you will need to delete the existing document by right clicking, and selecting delete.
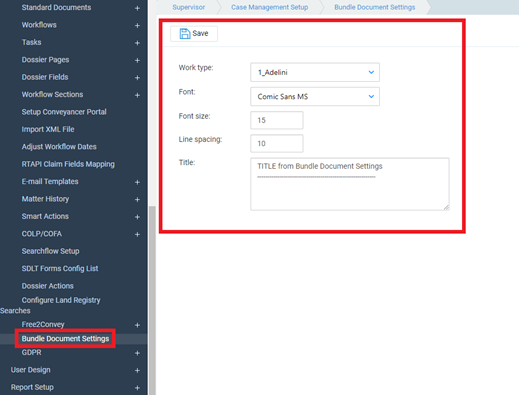
Bundle Document Settings
Customisations can be automatically applied to the Index Page, and can be set for various work types. This includes the font, font size, line spacing and title.
These settings are available via the Osprey Approach Web App, by Navigating to Supervisor > Case Management Setup > Bundle Document Settings.