Customise Matter History Columns
Updated Aug 14th, 2025
Who is this guide for?
Any Users
The Osprey Approach Matter History is entirely customisable and will allow you to rearrange, add and remove any columns.
This guide will take you through changing and customising your view within Matter History
In order to customise your Matter History, navigate to your Case Management tab and select it in order to bring up the Matter History.
Customising Columns
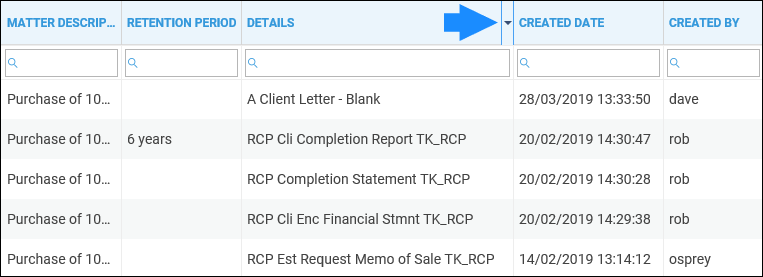
Hover over a column heading and a small down icon will appear on the right hand side, as highlighted below. Select this icon to open further column options.

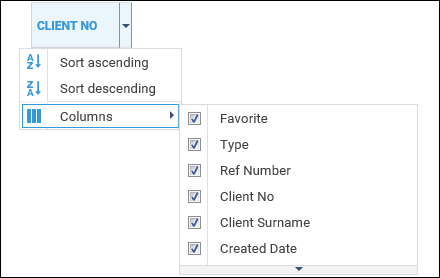
You can sort the selected column in ascending or descending order if you wish. Click the Columns option to open up a list of available columns to insert.
Hover over the small drop-down arrow at the bottom of the list to scroll down to view further available columns.

Any columns which are ticked will appear in the Matter History. Tick any other columns you wish to show, or untick them to hide them.
It is also possible to drag and drop the columns if you wish to reorder them. Simply hold down the left mouse button while hovering over a column heading and drag and drop the column to where you would like it to appear.
Some useful columns to add could be:
Processed Date: This allows you to see when an item was received, rather than the date on which it was added to Osprey.
Has Email Attachment: This will let you see which emails in the matter history have attachments.
Is Checked Out: Displays a Yes if an item has been checked out for editing and has not yet been checked back in.
Checked Out By: Displays the user ID of the person responsible for checking out the item.
Checked Out Date: The date on which the item was checked out.
Last Modified By: Displays the user ID of the person responsible for modifying the item.
Last Modified Date: The date on which the item was last modified.