Customising Osprey Automated Emails
Updated Aug 14th, 2025
Who is this guide for?
Case Management Supervisors and System Supervisors
This guide will demonstrate how to set up automated emails to send from Osprey
Osprey offers a number of automated emails when actions are performed, from reassigning a keydate to another fee earner, to resetting passwords for clients and associates to access the Client Web Portal.
You can amend these templates, and add an email signature, to meet your requirements.
Accessing Email Setup
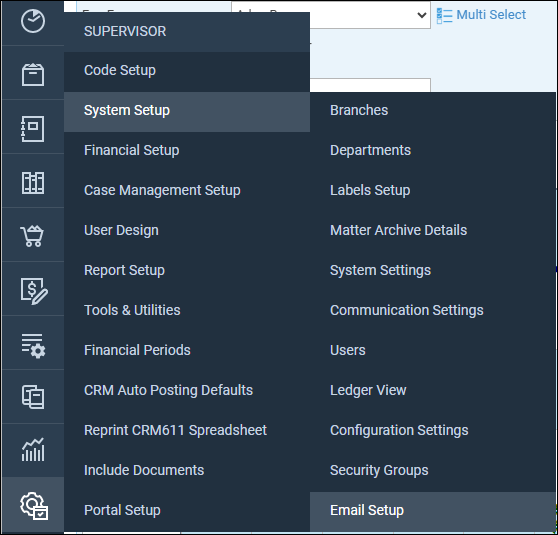
To customise the emails, go to Supervisor > System Setup > Email Setup.
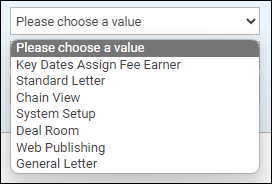
Select an email area, then relevant Addressee.
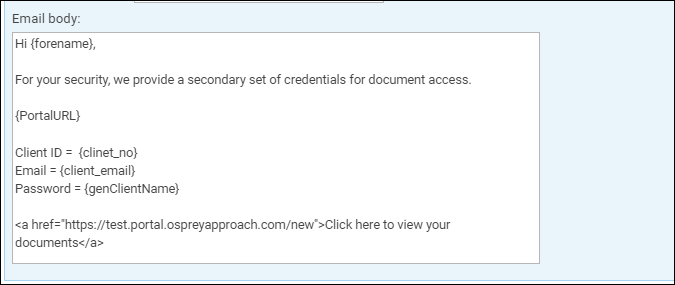
The Email body will populate with default text. This can be amended.
Adding Mergefields
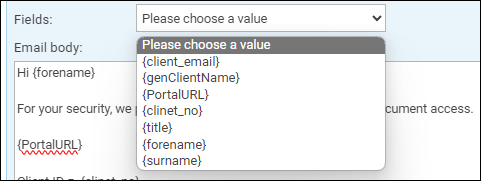
To add personal element to the system emails, you can use mergefields to merge information from the client’s file, such as their name or email address.
To do this, click on the Fields dropdown. Select the field. This will now be placed at the end of the Email body. This can be moved to your preferred location.
Adding a signature
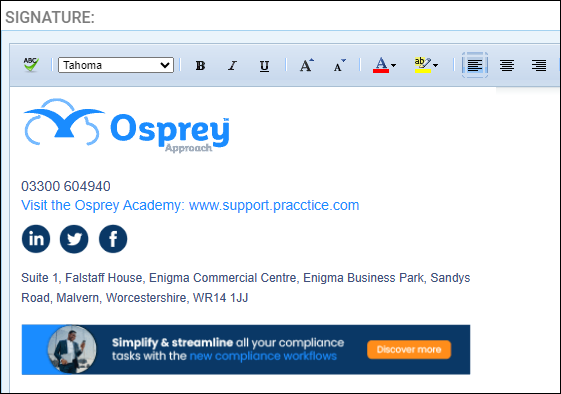
Each email can have its own personalised signature. Enter this into the Signature area. Click Save to store the changes.
