Deferred Time
Updated Apr 23rd, 2024
Who is this guide for?
Accounts Users and Accounts Supervisors
This guide will explain the Defer Time Ticking option available during the billing process.
You will also see how to deal with bills that have been produced using this option.
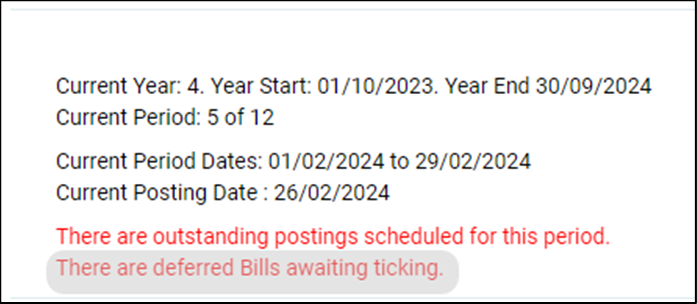
We would recommend you do this process on a regular basis or at Month end you may see a message in Financial Periods.
What is deferred time?
Osprey allows you to allocate time to a bill after the bill has been produced. This may be necessary if all of the time to go on the bill has not yet been posted, or at the time of billing you are unsure what time to allocate to a bill.
This facility is found on the billing screen.
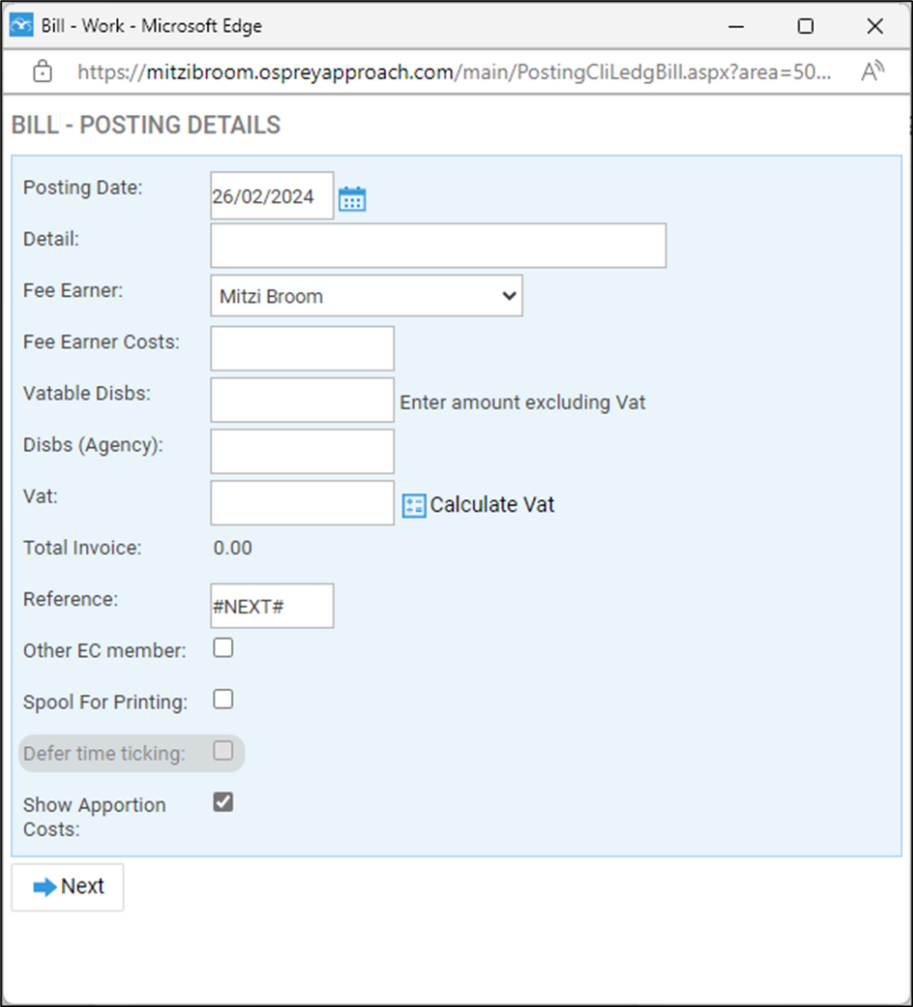
When a bill is produced with this option enabled you do not have to select what time to allocate to the bill during the billing process, and the bill will then appear in a list where it can be selected so that you can tick the time for the bill at a later date.
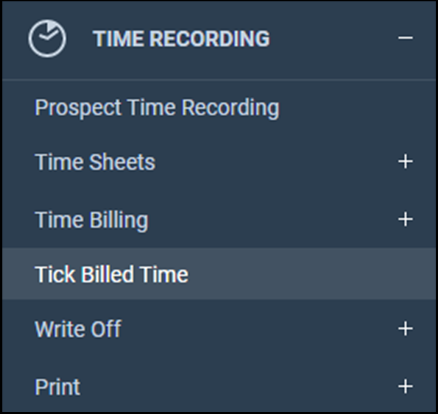
Where to find deferred time bills
The list of bills with Deferred Time can be found from Time > Tick Billed Time.
How to allocate time to a bill
When you click on Tick Billed Time option a screen will open with the list of bills that have been produced using the Defer Time Ticking option.
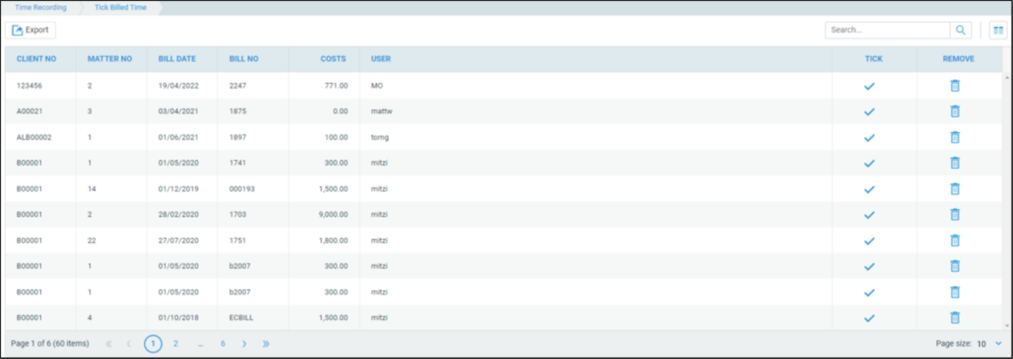
Select the bill that you want to allocate time to by clicking on the Tick in the row showing that bill.
A new screen will open where you can now select the time you wish to allocate.
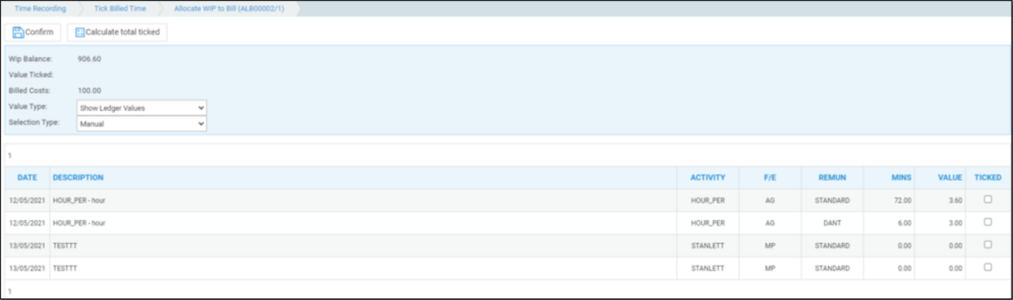
you can filter the time in this list using the options under Selection Type
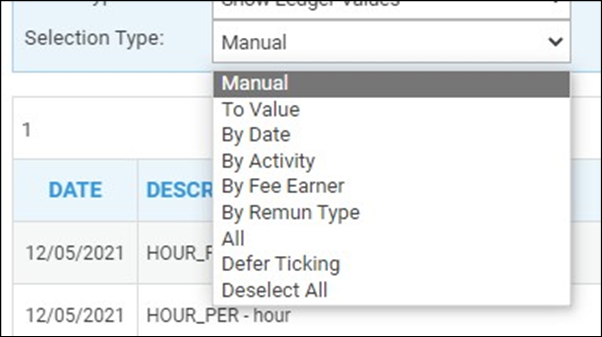
- Manual enables the individual items to be selected.
- By date ticks all items up to a certain date.
- To value ticks all items in date order up to but not exceeding a value.
- By fee earner ticks all items for a specified fee earner.
- By rem type ticks all items for a specified remuneration type.
- All ticks all.
- Defer ticking returns to the ‘Tick Billed Time’ menu with no changes.
- Deselect all deselects all items ticked in this session
To select the time to allocate to this bill place a tick in the box/boxes in the Ticked column, then click the Calculate Total Ticked button at the top of the screen, the value of the time selected will be displayed just below that button.
When you are happy with the amount of time to allocate to the bill, click on confirm. The time is now allocated and the bill will be removed from the list.
If you have bills in the list that do not require any further time to be allocated you can remove them from the list by clicking the Trash Can icon in the Remove Column.