GDPR: Performing Data Erasure
Updated Nov 21st, 2024
Who is this guide for?
Accounts Supervisors and Case Management Supervisors
This guide will show you how to perform a data erasure in Osprey
In line with GDPR regulations, Osprey Approach now offers you the ability to erase client data so that it will no longer appear in the site.
Performing a request
First, we have logged in as a requester.
To access the GDPR options navigate to the ‘Clients & Matters’ area, then select ‘Clients’.
You will now see an option for GDPR as shown here. Select this to bring up the options available to you.
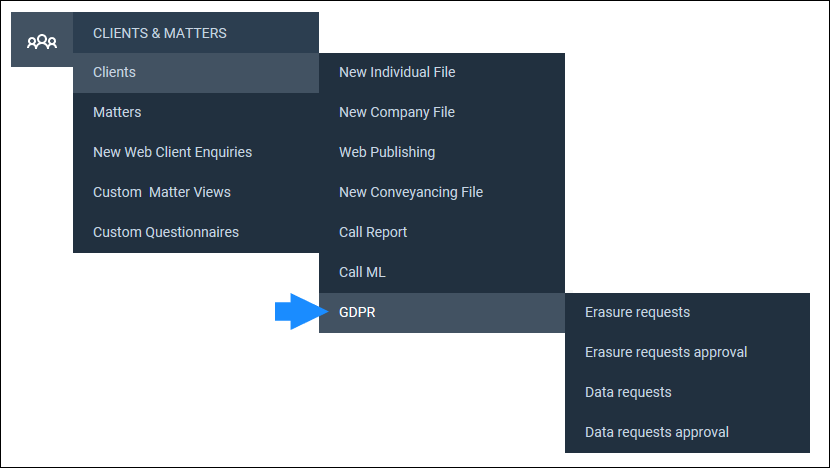
We will look at ‘Erasure Requests’. After selecting the option, any existing erasure requests will be displayed, as below.
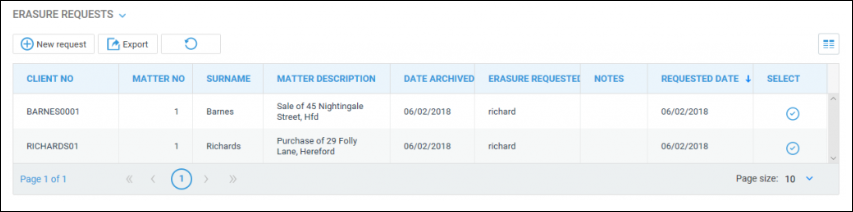
You may remove a request by clicking the ‘Select’ icon and then confirming the removal.
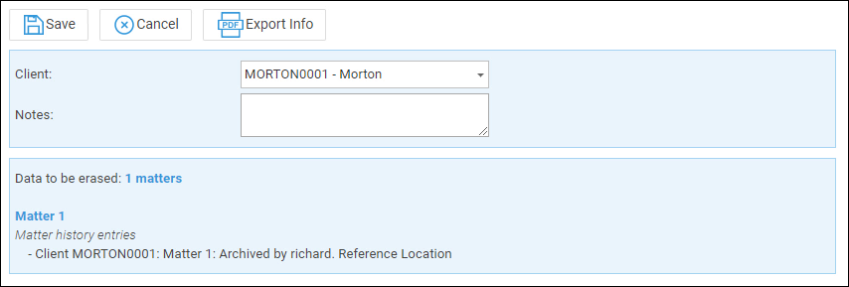
To add a new erasure request, select the ‘New Request’ button and then select your client from the available drop-down list. Please note that you may also start typing the client number to auto-search.
Please note that you can only request erasure from clients whose matters are all archived.
Once selected, you will be able to see how many matters will be erased.
The selected client will now be added to the list for pending data erasure. An authoriser will now be able to log into Osprey and authorise the requests.

Performing an Authorisation
For the final part of this guide, we will log in as an authoriser.
Select ‘Erasure Request Approval’ from the GDPR menu. You will now be able to see a list of erasure requests available for your approval. As an authoriser, you may also undo these if required.

To approve a request, click the corresponding icon in the ‘Select’ column.
The message shown here will appear to advise you that the selected client and matter information will be permanently removed from Osprey Approach in 24 hours, leaving only the client & matter number available.
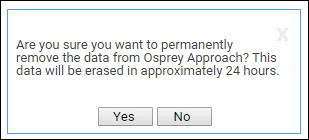
Click ‘Yes’ to confirm approval or click ‘No’ to return to the list of requests. After the 24 hour period has elapsed, the client data will no longer appear in Osprey.
What is deleted?
Client Details – Additional names and all phone numbers and addresses are deleted. Main client name is replaced with “Erasure request”. Client number remains to preserve accounts integrity.
Matter Details – Matter description is replaced with “Erasure rights”. Client and matter numbers remain to preserve accounts integrity.
Matter History – All matter history documents are removed, including Global documents.
Dossier – Dossier values are deleted.
Time Recordings – Left in place to preserve historic WIP but with descriptions altered to “erasure request”. Attendance notes are cleared.
Ledger postings – detail replaced with “erasure requests”
What is not deleted or cleared?
Matter labels – Client name is still held, so any labels should be deleted manually.
Matter Details – Archive reference and location remain as they were, so care should be taken not to identify the client in any way within these fields.