Granting Client Access to the Web Portal
Updated Oct 7th, 2025
Who is this guide for?
Any Users and Case Workers
This guide will take you through allowing your clients to access the Web Portal so that they can track their cases
Web enabling your clients and matters
A client must be web enabled in order to grant them access to the Web Portal. Once enabled, you can then decide which matters belonging to a client are visible via the web portal.
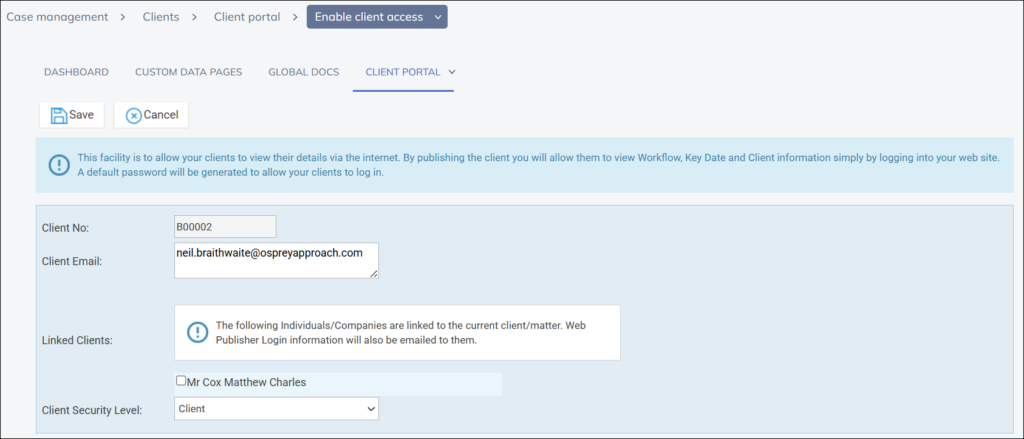
To web enable a client, ensure you have the relevant client selected and you have the primary client email address added to their file, you will not be able to Web Publish a client without one.
Navigate to Clients & Matters > Clients > Web Publishing > Enable Access
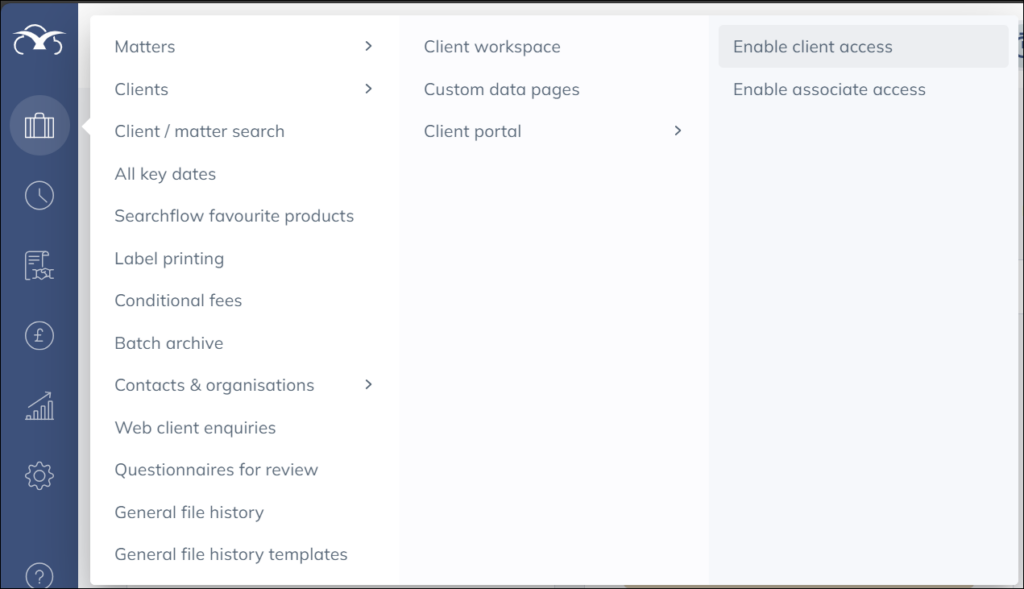
Once you have selected enable access, select a suitable Client Security Level and click ‘Save’. The client will then receive an automated email with their login credentials.
If a client forgets their password, it can be re-set by selecting the check box ‘Reset Password’ by navigating to Clients & Matters; Clients, Enable access. Check the box ‘Reset Password’ and then ‘Save’.
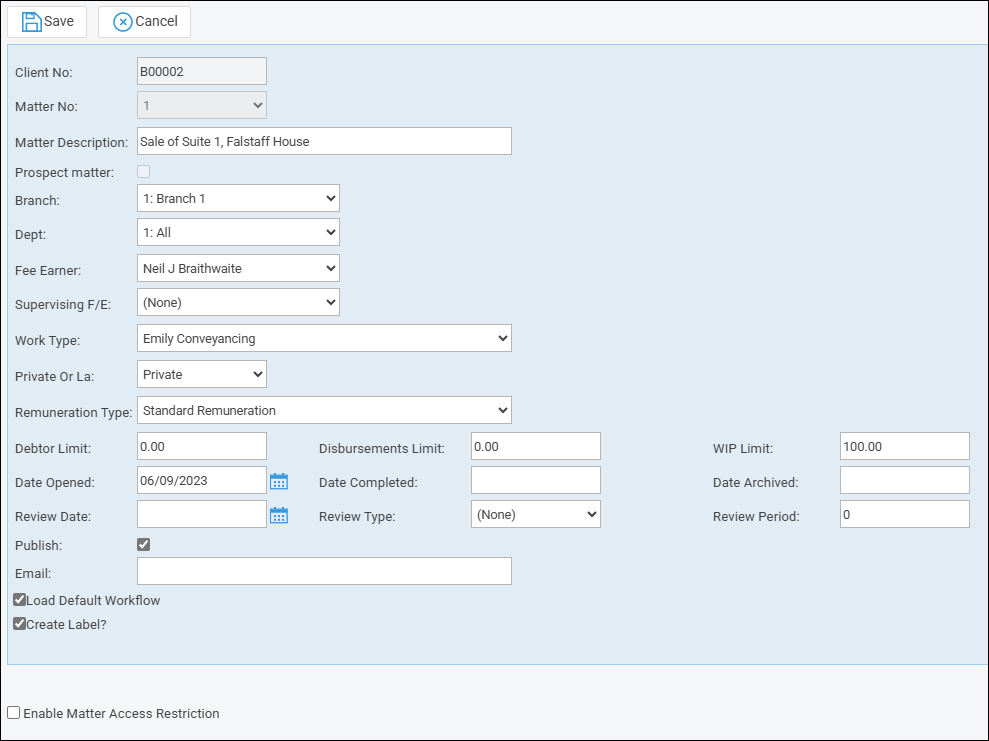
To publish a matter, navigate to the dashboard and then edit the matter selected by clicking the vertical ellipsis and choosing Edit matter.
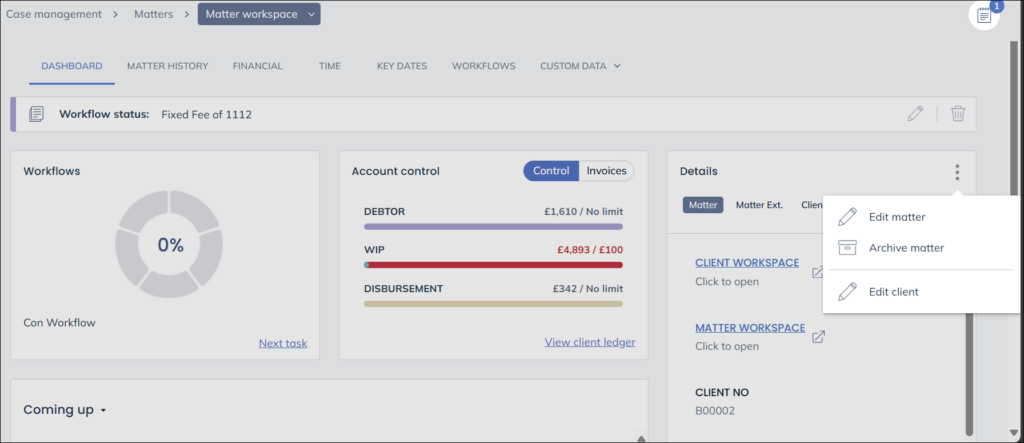
From here, you can tick the box next to ‘Publish’
Adding associates to work on files
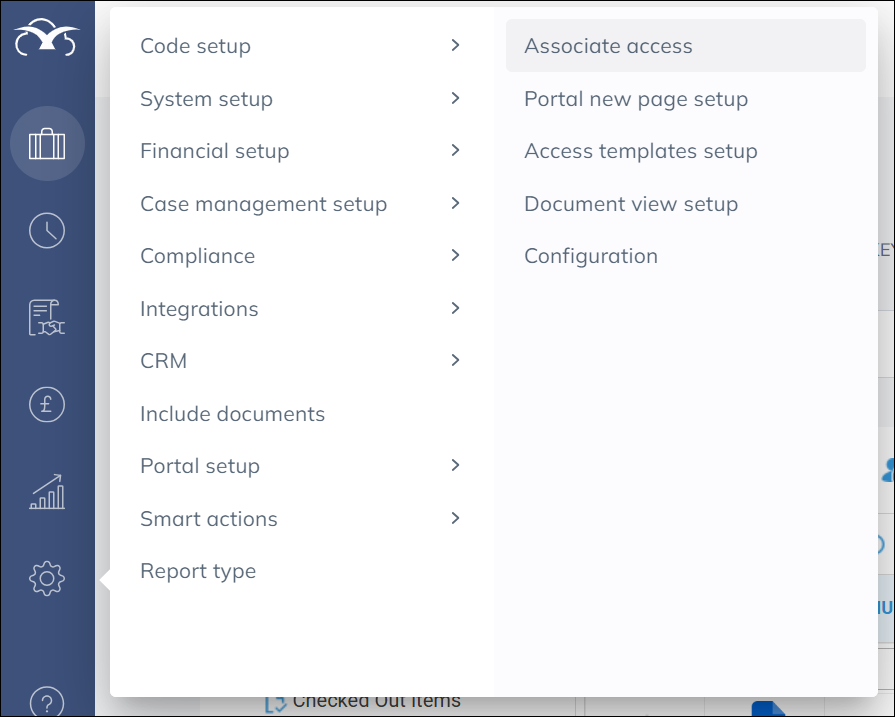
Navigate to Supervisor > Portal setup > Associate access.
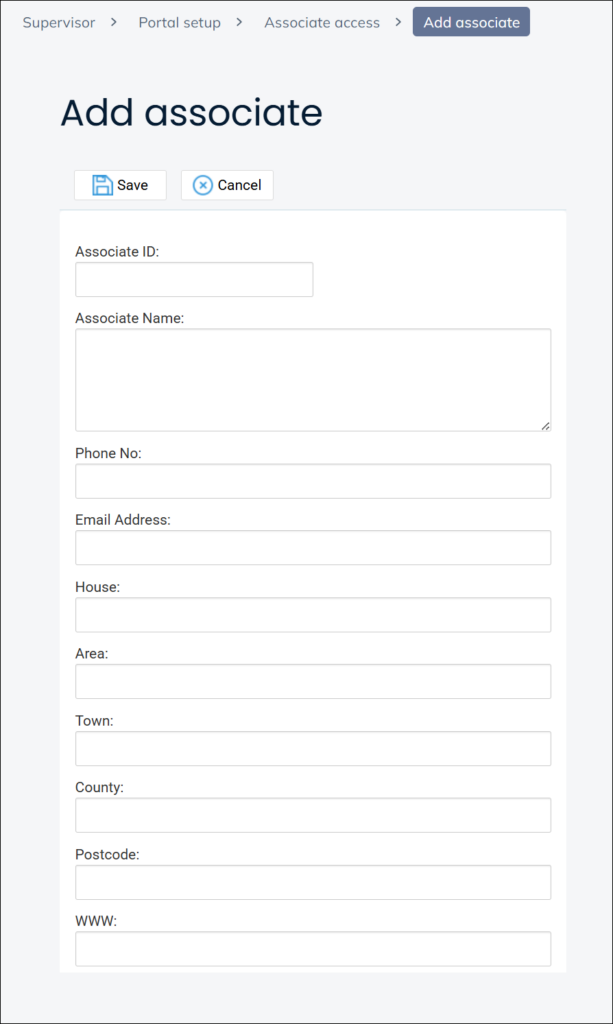
On the new page click New

Create an ID – no spaces or special characters and complete the rest of the form. Clicking ‘Save’ will send an automated email to the associate containing the credentials.
Linking associates to published matters
In order for Associates to be able to view specific client cases via the Web Portal, they must firstly be linked to applicable published matters.
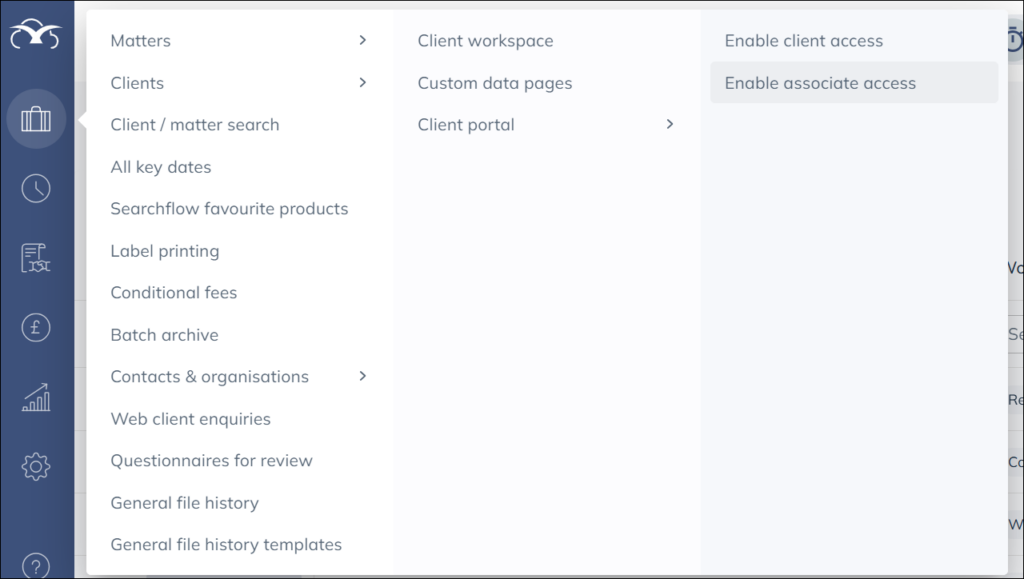
Navigate to Clients & Matters > Clients > Web Publishing > Link Associates
This area will show all of the current clients published matters along with a list of available Associates.
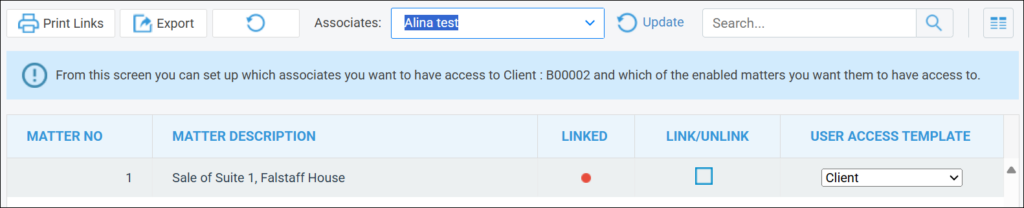
Firstly, select an Associate from the ‘Associates’ list. Click the Link/Unlink check box to select which matters you wish to Publish to the selected Associate and then link a suitable User Access Template.
Select the ‘Update’ option to confirm the link.
To unlink an Associate from published matters, select the appropriate Associate from the list. Any linked matters will show a tick in the Linked? Column, to remove this link, check the Link/Unlink box and then select ‘Update’.
Web enabling documents from matter history
Any type of document saved within a client’s matter history can be Web Enabled and then made visible to a client and any linked Associates via the Web Portal.
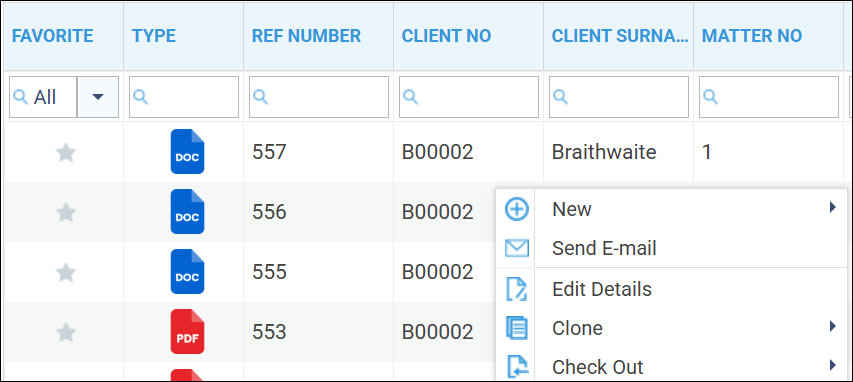
When in the matter history, right click the relevant file and select ‘Edit Details’
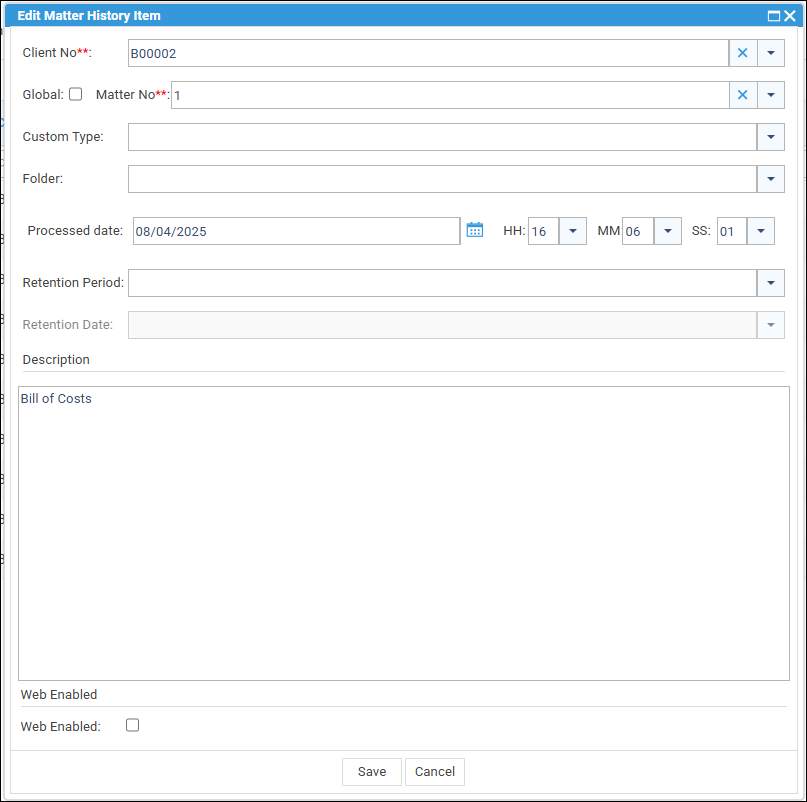
You will then need to tick the box next to ‘Web Enabled’ and then click ‘Save’.
Once web enables has been ticked, further information will appear as below:
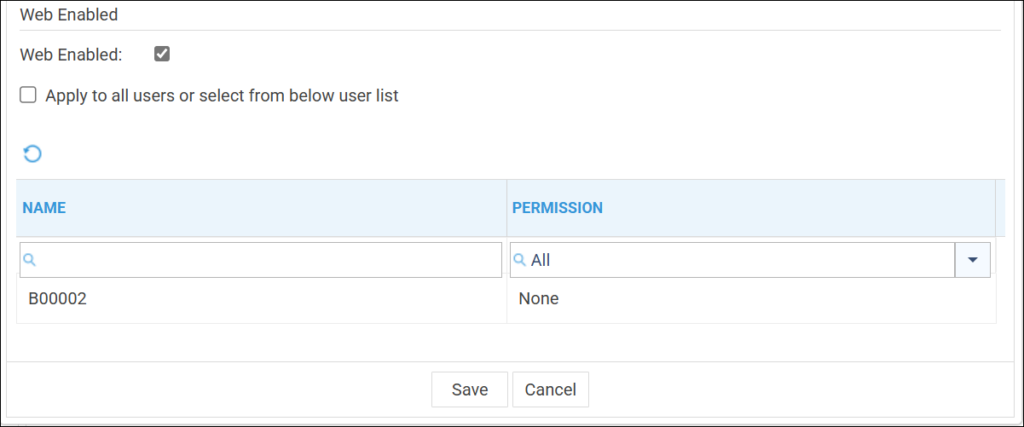
This area will show the Client reference and also any linked associates. Ticking the ‘Apply to all users’ check box will automatically Web Enable the document for all users in the list.
Alternately, you can click ‘None’ next to a record and select Read/Write to Web Enable for that specific user.
Select ‘Save’ to save your changes.
To remove the permissions, right click the document and then change Read/Write to ‘None’ and save.
Web enabling key dates
Key dates can be web enabled in the exact same manner as documents.
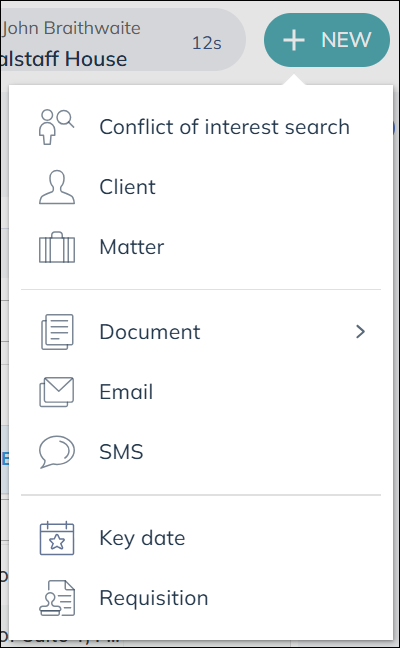
Navigate to New > Key date
Enter in the relevant details, then check the box next to ‘Publish to client portal’.
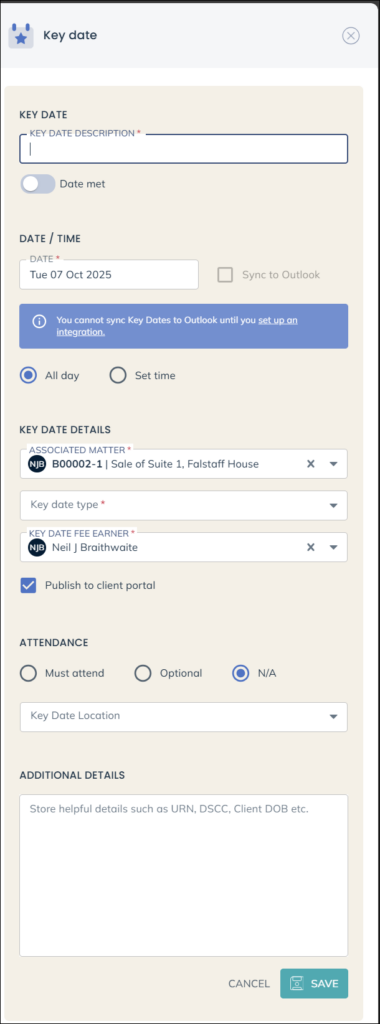
Click ‘Save’ to retain the changes.
To remove Published access, right click the key date in question and then untick ‘Publish to client portal’ and select ‘Save’.
It is also possible to edit existing key dates to publish and set permissions.
Web enabling emails and creating messages for web enabled clients and associates
When sending an email to a recipient via Osprey, it is possible to also create a message for a Client or Associate.
Selecting this via the Portal enables the client and associate access to read the same sent email but via the Web Portal within the ‘Messages’ section.
Once any published users log into the portal, new messages will appear against relevant matters. Messages (Emails) can be viewed then marked as read.

Messages contain just the text only of the email and not the attachments. If the full email including attachment/s needs to be accessed via the Web Portal by either Associate or Client, it can be published from the matter history.
There is also an option to submit a new message to the Solicitor dealing with the matter.
Publishing emails
Any sent emails are automatically saved into the matter History. These can be published via the Web Portal in the exact same manner as published documents. Published emails are accessed within the same area as Published documents when logging into the Web Portal.
To create a message that is accessible to both the Client and Associate via the web portal, select ‘Send Email’. This option is available within the search area at the top of most Osprey menus and also from within matter history.

If you wish to copy in an associate or a client, check the boxes to the right of the message. Then send as normal.