Install the Osprey Outlook add-in for Office 365
Updated Apr 2nd, 2026
Who is this guide for?
Case Workers
This guide will go through the steps required to install the Osprey Outlook add-in for Office 365
The Osprey Approach Outlook add-in can be installed from Office.com, or directly from Outlook, and will automatically be synced to all your devices.
Install from Outlook
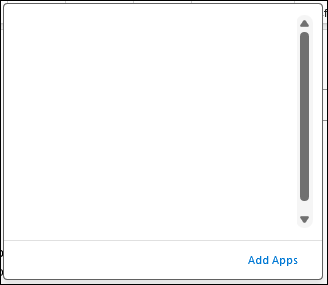
To install the add-in, open Outlook, navigate to the Home tab and select All Apps.

and then Add Apps.
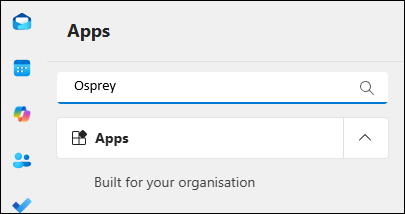
Search for Osprey

and select Add.
Install from Office online
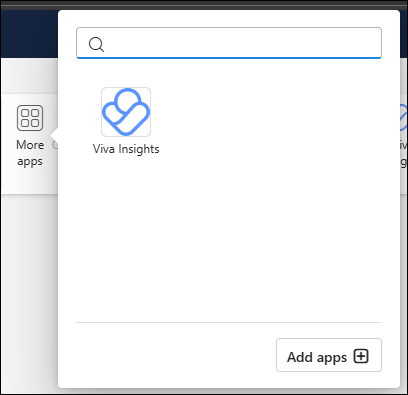
Go to https://outlook.office.com/mail/ and select More apps from the Home ribbon.

Alternatively, open an email, click the Apps button.

Click Add apps
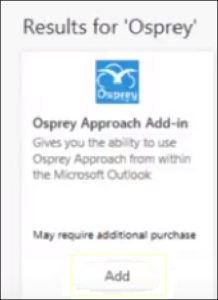
Search for ‘Osprey’,

and click Add.
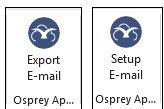
The Office 365 add-in features the ability to export any emails and attachments.
To Export, select the email and click either Export Email or Setup Email buttons
First time use
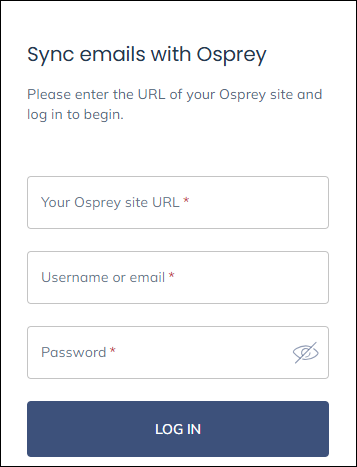
Enter your Osprey URL and credentials.
If this is the first time you’ve used the add-in you may be asked to configure your account
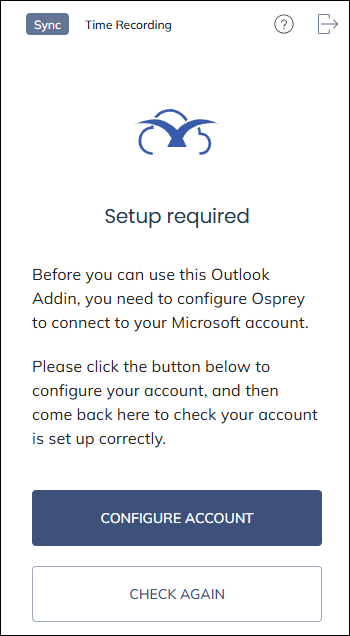
Click Configure account to be taken to your Osprey site to sign in.
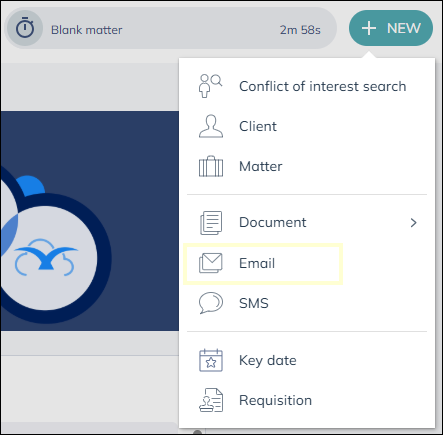
Once you have signed in, click New action button then email
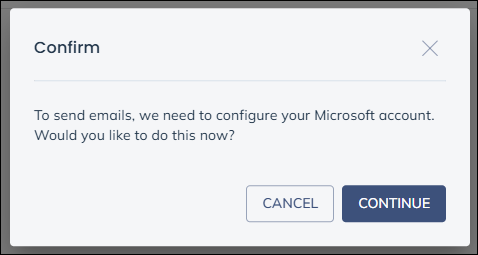
You will see a notice that your Microsoft account needs to be configured, click Continue to do so
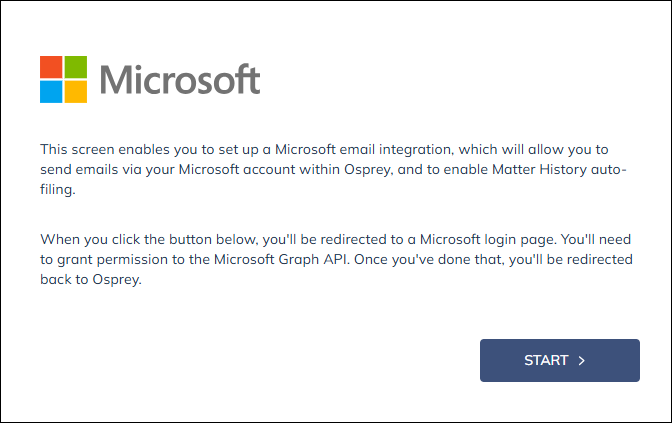
You will see a prompt from Microsoft, please click Start and sign into the Microsoft account you wish to connect to Osprey.
Once successful you will see a confirmation screen
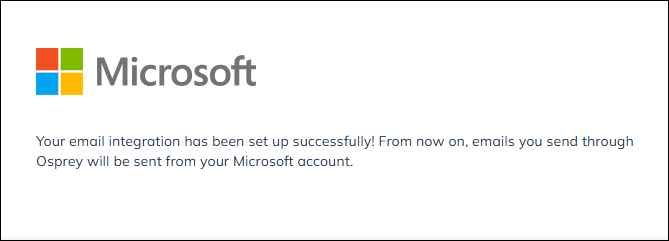
Now you will be able to go back to Outlook and click Check again.