Managing User Access Templates
Updated Aug 14th, 2025
Who is this guide for?
System Supervisors
In Osprey it is possible to set different levels of access for users. These are known as access templates and will be linked to one or a number of users in the Osprey system. In this guide, we will look at setting these templates up
Add new access templates to allow users different levels of access within Osprey
By default, you will have the following templates:
- Supervisor
- Case Worker
- Accounts
- Guest
These can be amended or copied to a new template.
To see a full list of all the access options available click here.
Add a new access template
If you have an access template which covers most of the actions you’d like your staff member to be able to complete, but you wish to give them slightly more access than other users, you can copy and amend an existing template. Similarly, you can copy an access template, but remove certain access rights for another user.
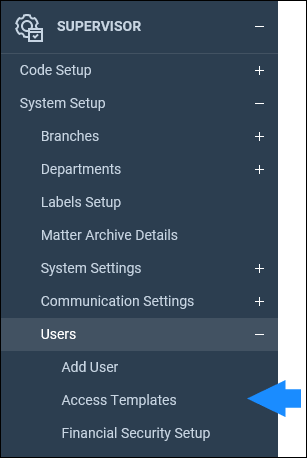
Firstly, check the access templates you have in use currently. This can be done from Supervisor > System Setup > Users > Access Templates.

To add a new template, click the New button. Enter a name for the template which describes the type of access it is for, and if you wish to copy an existing template to make amendments to, tick the Copy Template box and select the template you wish to copy from the drop down list:
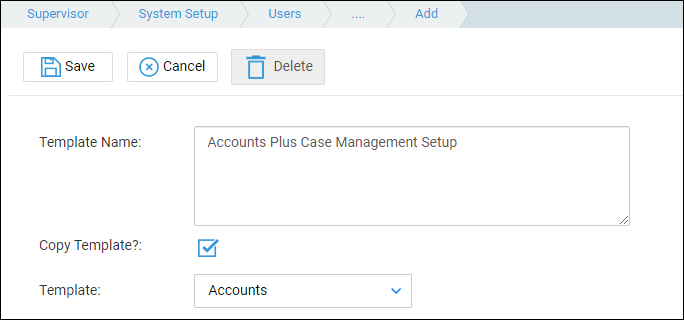
Click Save, and a copy of the selected template will be made.
Please note – if you choose NOT to copy an existing template, the new template will be given NO access rights at all, and you will need to select each area within Osprey that you wish to grant access to, along with every action available.
Now, follow the instructions below.
Edit an access template
Navigate to Supervisor > System Setup > Users > Access Templates.
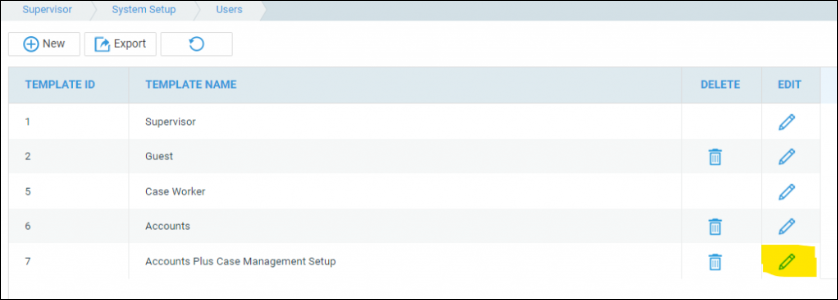
You will see a full list of your access templates available on the system.
Click the Edit button alongside the template you wish to amend.
The next screen will display a list of the areas of Osprey on one side and a series of check boxes on the other.
If there is no check box alongside the area, as highlighted below, this means that the template does not have any access into that area at all (so any user linked to this template will not see the menu when they log in).
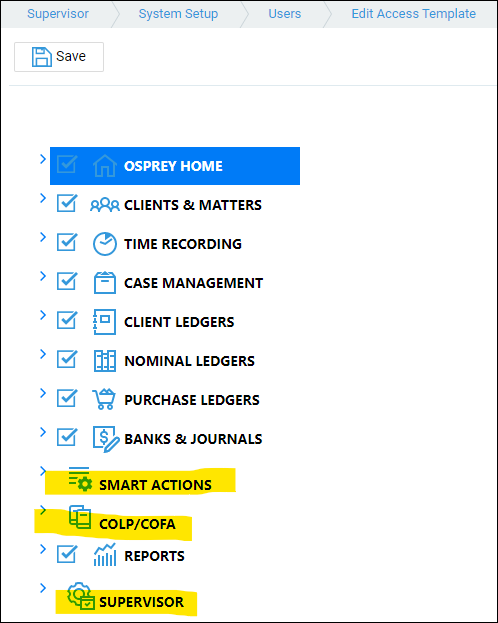
To grant access to an area, select the area and click the Allow Area Access button:
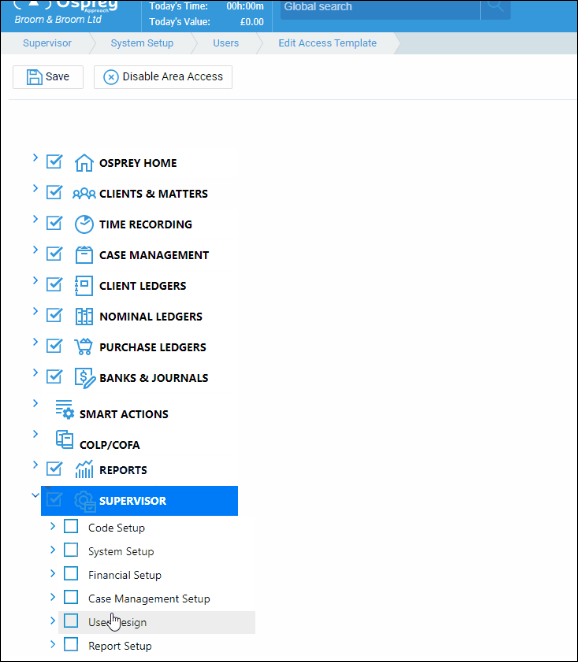
You can then expand the areas you wish to give access to, and tick all that apply.
To expand the list, select the chevron to the far left of the relevant area. This will now show other areas within that heading which can be ticked or unticked as necessary.
Select each of the areas in turn to choose which actions the users linked to this template will be permitted to perform.
Once finished, ensure that you click ‘Save’.
Change the access rights for an existing user
You can change the access template for any of your users as follows.
Navigate to Supervisor > System Setup > Users. Right click the user you wish to amend the access for, and select Edit.
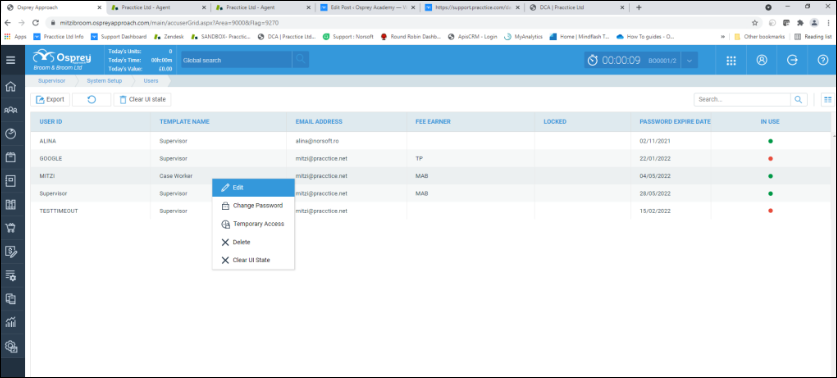
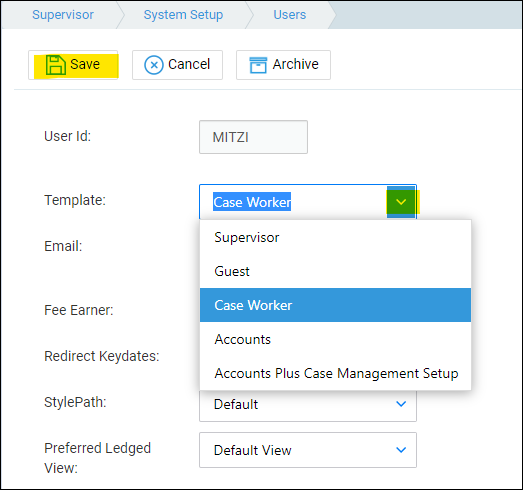
Select the access template you wish to assign to the user, then click Save.
