Install and Use the Osprey Word Add-In for Office 365
Updated Jul 29th, 2024
Who is this guide for?
Any Users
This guide will go through installing and using the 365 Osprey Word Add-In
The Osprey Approach Word add-in will allow you to perform all of your document-related tasks directly from Microsoft Word.
Install the add-in
Open Microsoft Word, navigate to the Home tab and then locate the Get Add-ins button.

Select ‘More Add-ins’ at the bottom of the pop-up box and search for Osprey. Select Add to install your add-in.

Once installed locally, the add-in will operate on your installed copy of Microsoft Word, as well as appear when using Word online.
Logging in
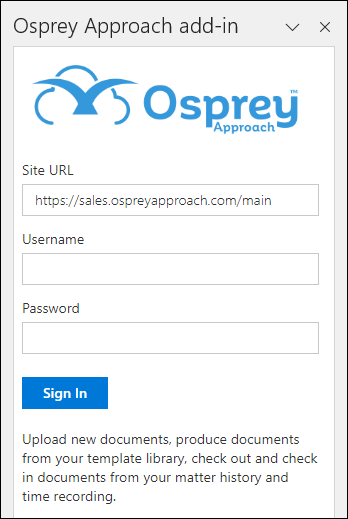
Once installed, navigate back to the Home tab and select Osprey Approach.

Navigate to the Osprey Approach button located on the Home tab. The Osprey Approach add-in will open. Enter your details and sign in.
Once logged in, you will be able to select an action.
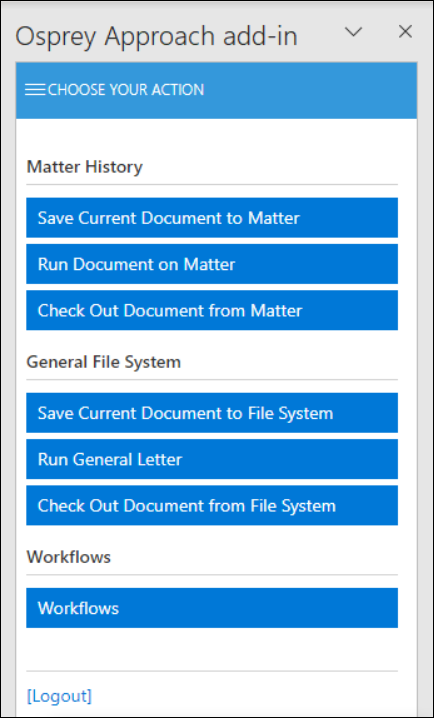
Saving current document
To save the document currently being worked on, select “Save Current Document to Matter”.
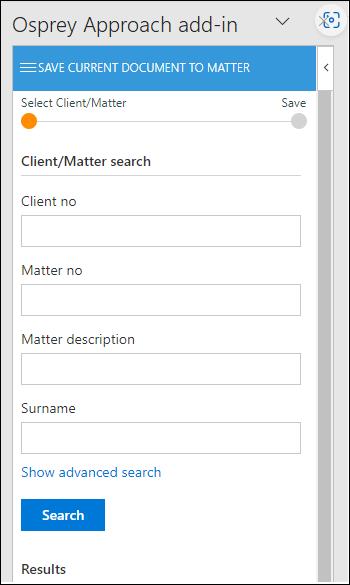
Use the boxes provided to search for a client and matter.
Once you have selected search the results will appear below, click to select the matter.
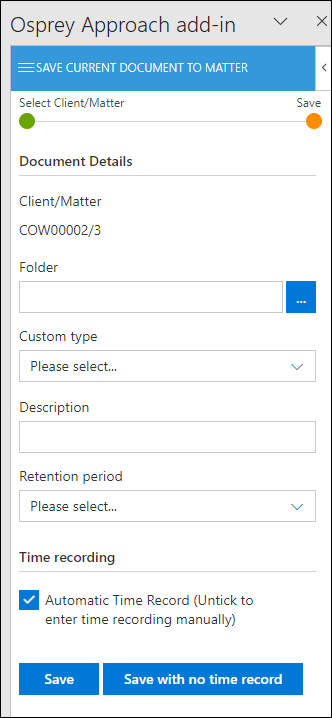
Enter the details for the document and save with or without time recording. Once saved the document will be available in the Osprey matter history.
Run document on matter
Choosing Run Document on Matter will run a document from Osprey Approach. You will need to select a client in the same manner by using the client matter search.
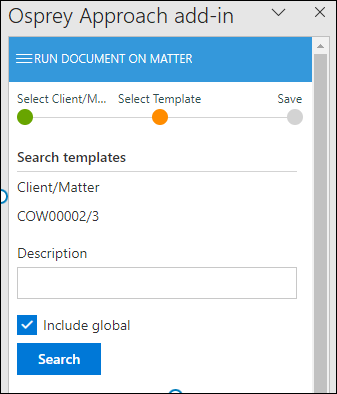
Untick the ‘Include Global’ box to remove any global documents from the list, or use the description box to search for the standard document you wish to run.
Select the document you wish to run from the list. The document will now open to allow you to amend it. You can save the document with or without time recording as shown previously.
Check out document from matter
If you wish to edit a document that is already saved in the Osprey matter history select ‘Check Out Document from Matter’
Select the client and the matter where the document is saved. Once a client and matter is selected you will see a list of available documents to check out. You can also search by description and date to find the document you need.
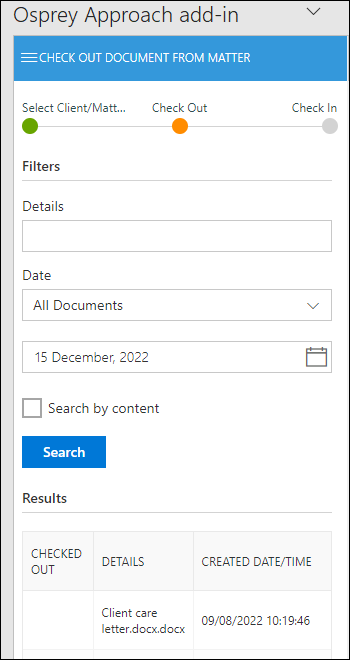
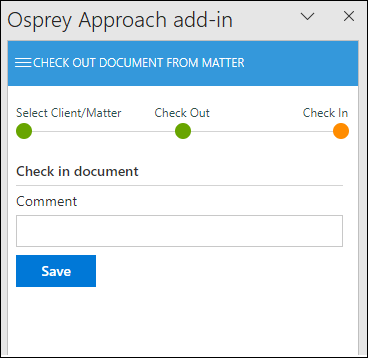
Now select the document you wish to check out. You will be prompted to enter a comment, this is not compulsory at this stage. Click Check Out to open the document.
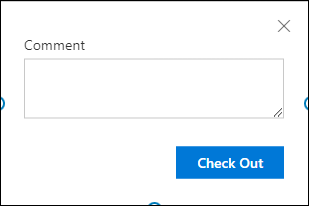
Once you have finished making amendments to the document, enter a comment then click ‘Save’ to check your document back in.
The same actions are available for the General File System.
Workflows
You may also run workflows from the add-in, to do so choose Workflows
Once a client and matter is selected, you can load a new workflow and run tasks on any previously loaded workflows.
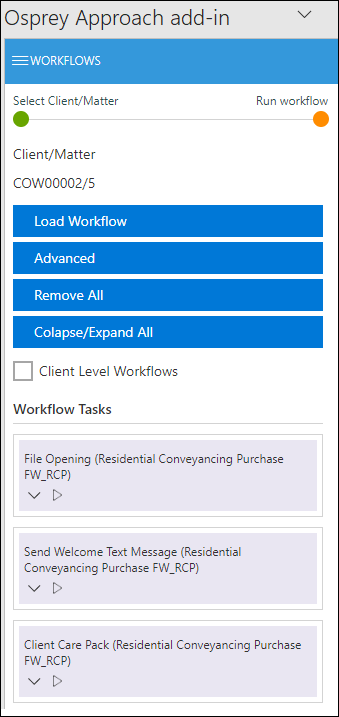
Load Workflow allows you to load a workflow to the selected matter.
Advanced allows you load a workflow at a specific position. Remove All provides you the option to remove workflows from the matter.
Clicking the chevron will expand the actions which may be unticked if you don’t want to run them.
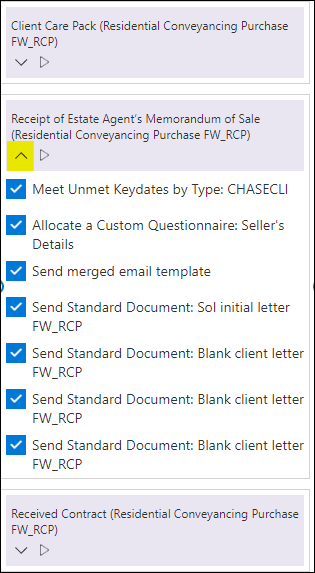
Click the run button to process the task. Documents will load and may be saved just the same as Run Standard Document.
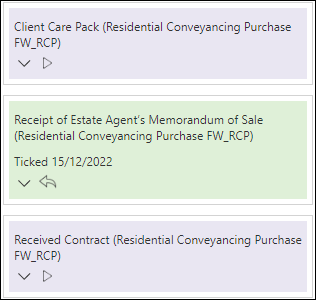
When there are no more actions to run for this task, you will be notified that the task has been completed. Select End task & Return to return to the workflow
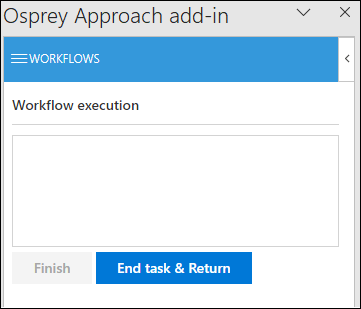
Tasks that have been completed will be displayed in green.