Perform an automatic Bank Reconciliation
Updated Mar 27th, 2026
Who is this guide for?
Accounts Users and Accounts Supervisors
This guide will show you how to perform automatic bank reconciliation
Using an online banking transaction download, it is possible to automatically reconcile your bank.
Ensure your CSV file is valid
The layout of the CSV file is described below:
| CSV Column | Name | Description |
| A | Sort Code | As Supervisor > Financial Setup > Banks > Sort code saved against the bank you’re reconciling |
| B | Account Number | As Supervisor > Financial Setup > Banks > Account Number saved against the bank you’re reconciling (no dashes but must be stored in here with a leading 0 – so 8 characters preceded by a 0) |
| C | Account Alias | As Supervisor > Financial Setup > Banks > Account Description saved against the bank you are reconciling – must be identical. |
| D | Account Short Name | As Supervisor > Financial Setup > Banks > Account ID saved against the bank you’re reconciling |
| E | Currency | Currency of the bank |
| F | Account Type | Not required |
| G | BIC | Not required |
| H | Bank Name | Not required |
| I | Branch Name | Not required |
| J | Date | Posting Date of transaction |
| K | Narrative #1 | Posting Detail of transaction |
| L | Narrative #2 | Not required |
| M | Narrative #3 | Not required |
| N | Narrative #4 | Not required |
| O | Narrative #5 | Not required |
| P | Type | Posting Reference of transaction |
| Q | Debit | If posting is for less than 0, minus value, else blank |
| R | Credit | If posting is for more than 0, value, else blank |
You can download this file as a template:
Set up a new bank for auto reconciliation
To successfully implement the Auto Reconciliation, first you need to create or amend the bank within Supervisor with all the correct details, ensuring that the sort code and account number are set correctly.
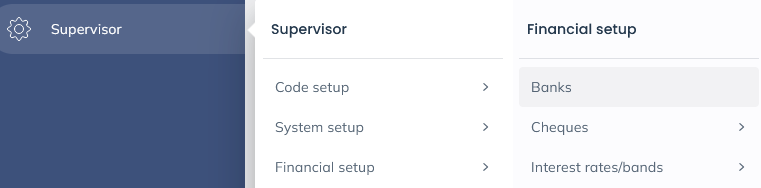
Navigate to Supervisor > Financial Setup > Banks > Add Bank.
Fill in as much information in as you can for the bank. You must, at minimum, supply:
- Account Code (in line with your other banks)
- Account Description
- Bank Account Number – should be 9 characters so prefix with a 0 if necessary – e.g. 10129833 becomes 010129833
- Bank Sort Code
- Bank Type (Office or Client)
Edit an existing bank for auto reconciliation
Navigate to Supervisor > Financial Setup > Banks.
Right click on the bank you want to amend and click Edit.

Now add:
- Bank Account Number – should be 9 characters so prefix with a 0 if necessary – e.g. 10129833 becomes 010129833
- Bank Sort Code
Save your changes.
Auto reconcile your bank
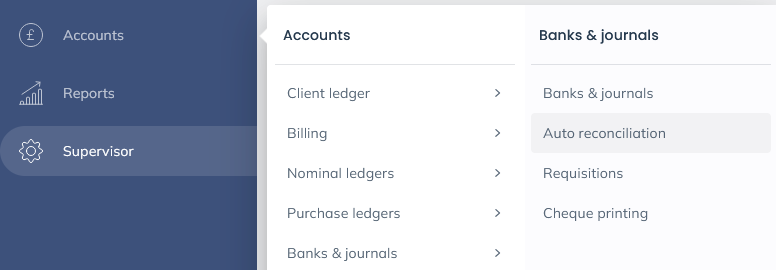
Navigate to Banks & Journals, select the bank you wish to auto reconcile from the Bank/Journal box at the top, and click Refresh.
Select Auto Reconciliation from the left hand menu.
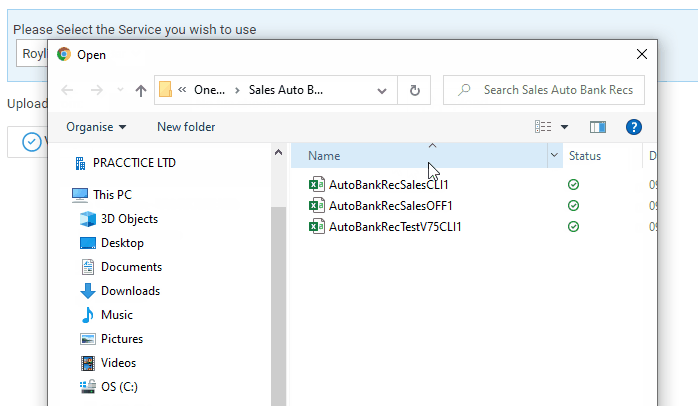
Click Browse
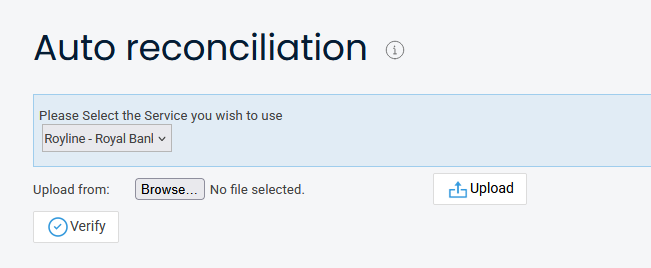
Select the CSV file which contains your bank statement. Double click it, or highlight it and click Open to select it.
Click the Upload button, and then the Verify button.
The transactions from your bank statement will now be displayed on the Auto Reconciliation screen.
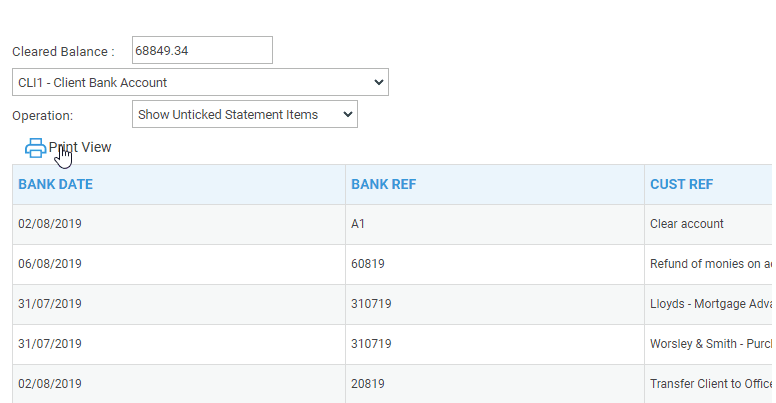
Select the most appropriate method of reconciliation from the list of options.
- Show Unticked Statement Items – This lists all transactions from the CSV file which have not yet been ticked. (The first time the file is loaded, Osprey will display all entries in the file, and subsequent to performing any of the options below, will show anything remaining unticked).
- Find Exact Matches – Only locates transactions in Osprey where the reference, date and amount are identical in the CSV file. Should you wish to un-tick any of the items matched selecting Confirm Changes will reflect the change in the projected balance.
- Find First Batch – This finds batches of postings (one batch at a time) that have the same posting reference and date, and ticks them ready for instruction. Should you wish to un-tick any of the items matched selecting Confirm Changes will reflect the change in the projected balance.
- Match on Amount Only – Results are shown where matches are found by amount only.
- Show Cleared Statement Items – This shows all ticked items on the bank.
Select Tick Now to Reconcile the items ticked.