Performing an InfoTrack Search
Updated Aug 14th, 2025
Who is this guide for?
Case Workers
Osprey Approach offers integration with InfoTrack, allowing you to run InfoTrack searches and have results automatically uploaded back into the Matter History. This guide will go through this process
Osprey can automatically populate the InfoTrack screen with data already captured.
Accessing the InfoTrack screen
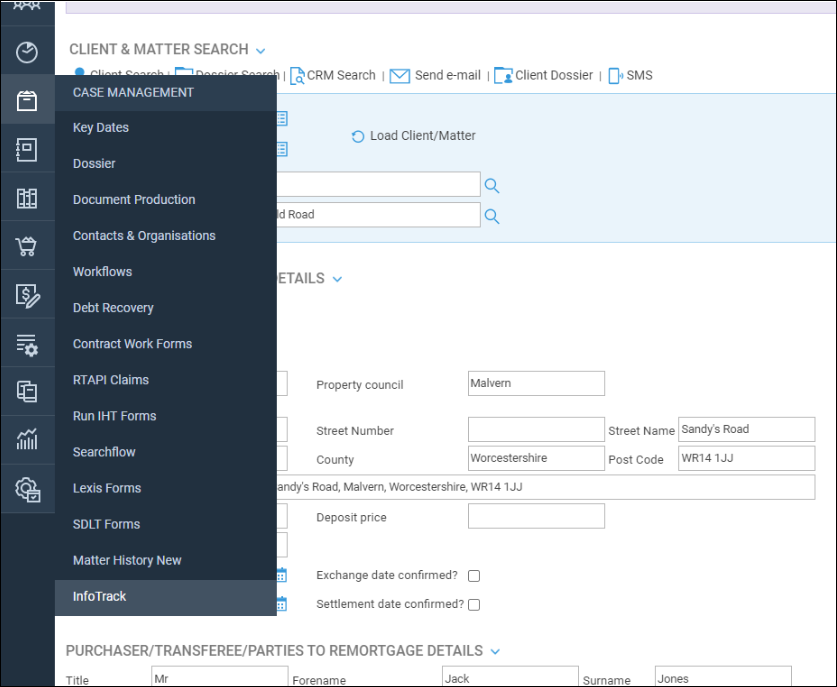
Navigate to Case Management > InfoTrack.
If configured, Osprey will populate any relevant fields. These fields can also be completed manually and edited if required.
If you are manually adding details onto the InfoTrack Screen, any data will not be saved if you navigate away. Users will need to enter data into the dossiers to ensure data is retained.

Submitting an order
At the bottom of the screen, you will see a Submit New Order. When clicking this, you will be taken to the InfoTrack website, pulling through any information through, ready to perform any searches.

Order history
At the bottom of the page, you will find the orders that have been submitted and the status of them.

Once an order has been completed, an automated email will arrive from InfoTrack, advising the searches to have been completed. Osprey will also provide an automated email, letting you know that the search results have been returned, and uploaded to the client’s matter history.