Creating Calculated Fields
Updated Dec 19th, 2024
Who is this guide for?
System Supervisors and Report Designers
When designing your own reports, you may wish to merge together one or more fields, or create a value based on other values in your report data set. This guide will show you how
For example, given the client title, forename and surname as separate fields you may wish to make a “Client Name” field which shows just the company name if a company, but the Title, Forename and Surname in one field if an individual.
Create a new Calculated Field
To create a new calculated field, in the report designer, right click on the Field List in the top right hand corner, then click Add Calculated Field.
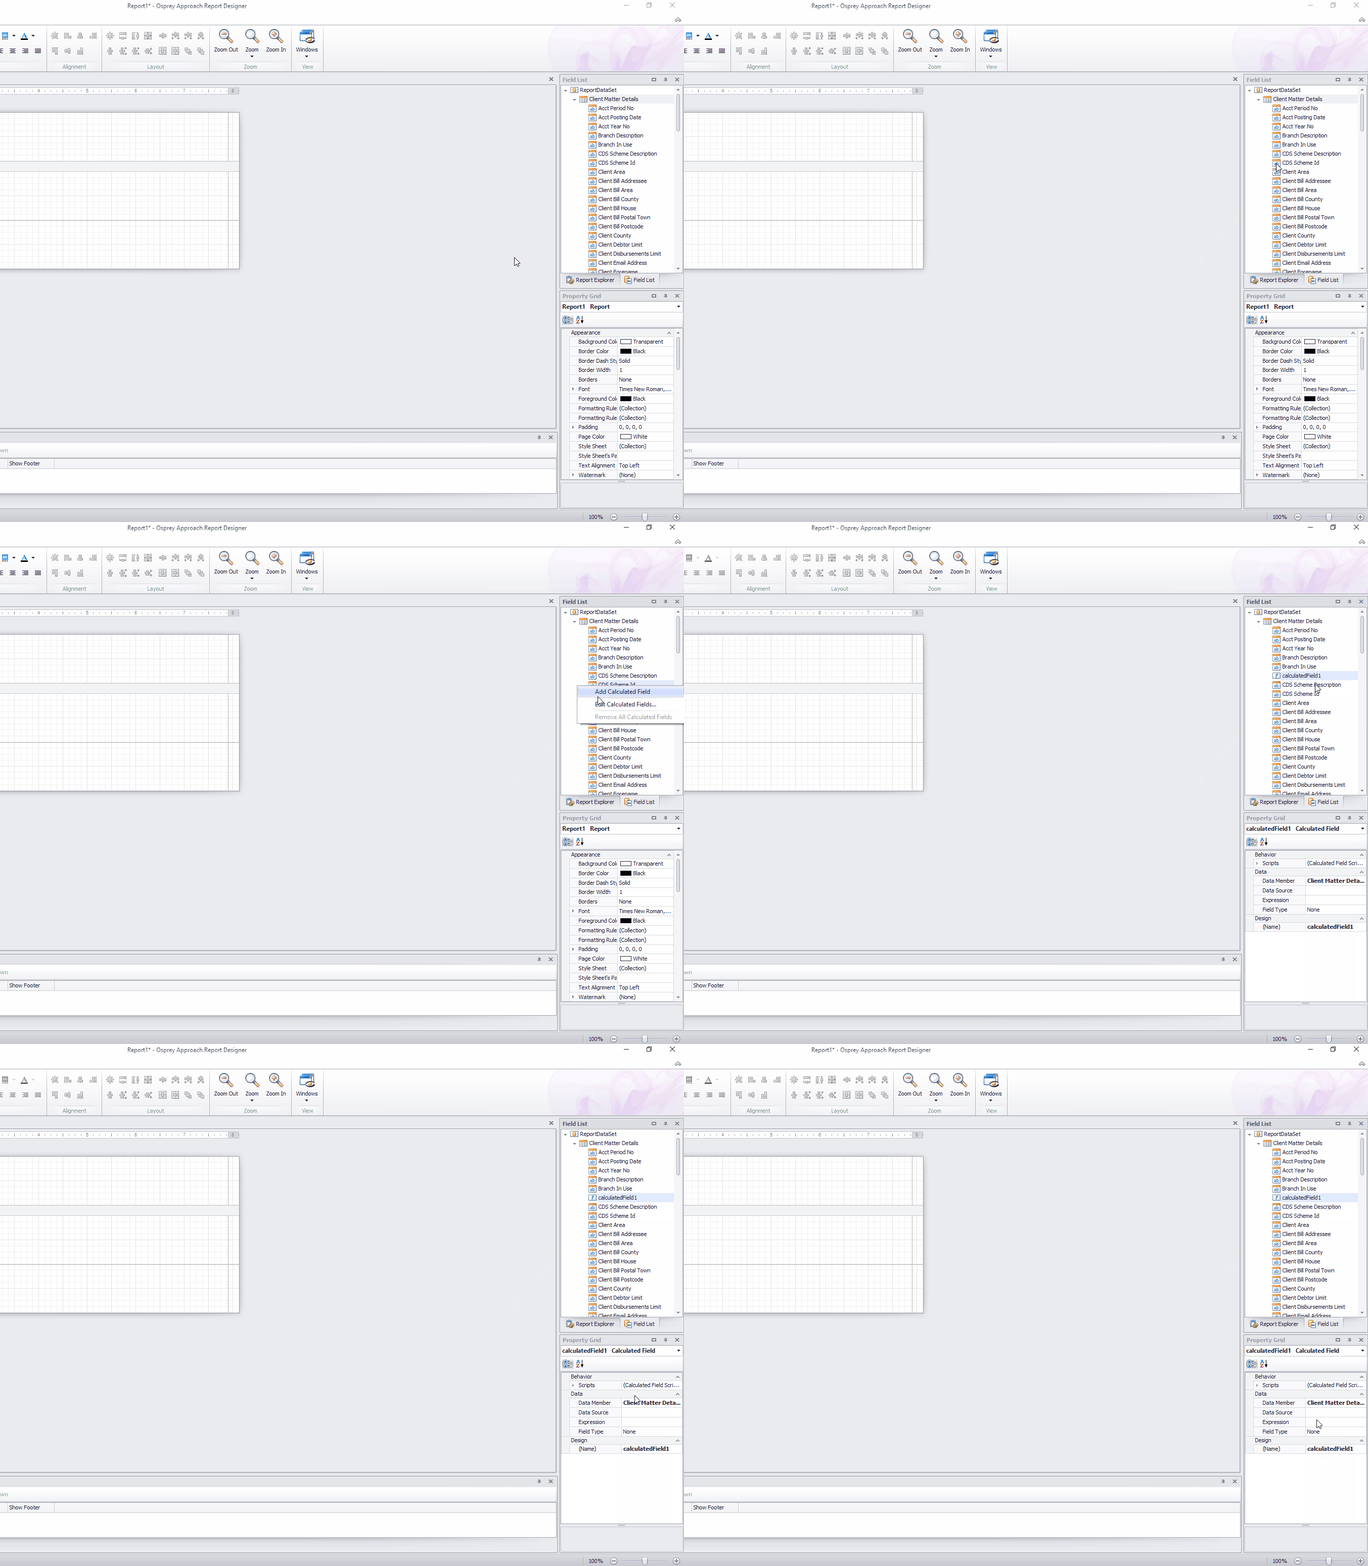
Give the new field a name which can be used to identify it – this must be different to any of the other field names which already exist in your view, and cannot contain any spaces.
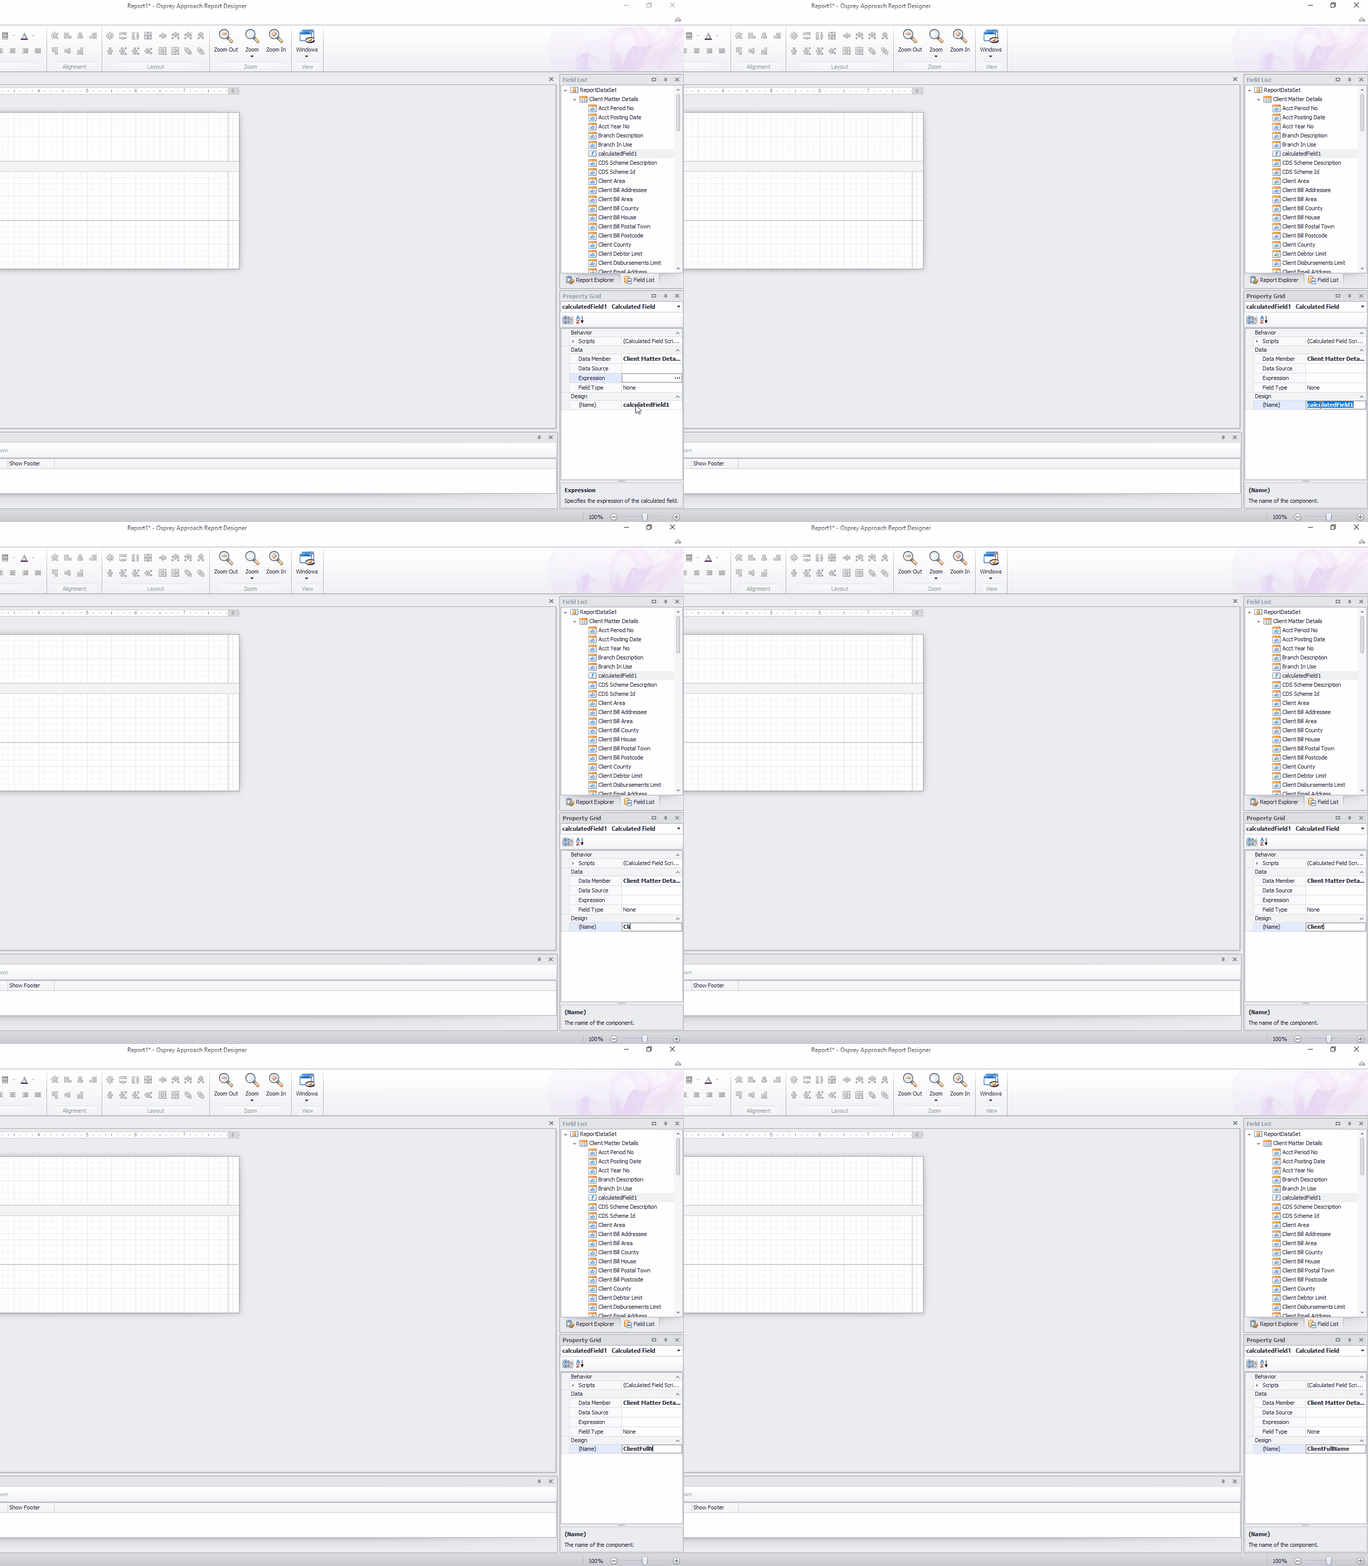
Click into the Expression box, and click the ellipsis button (…)
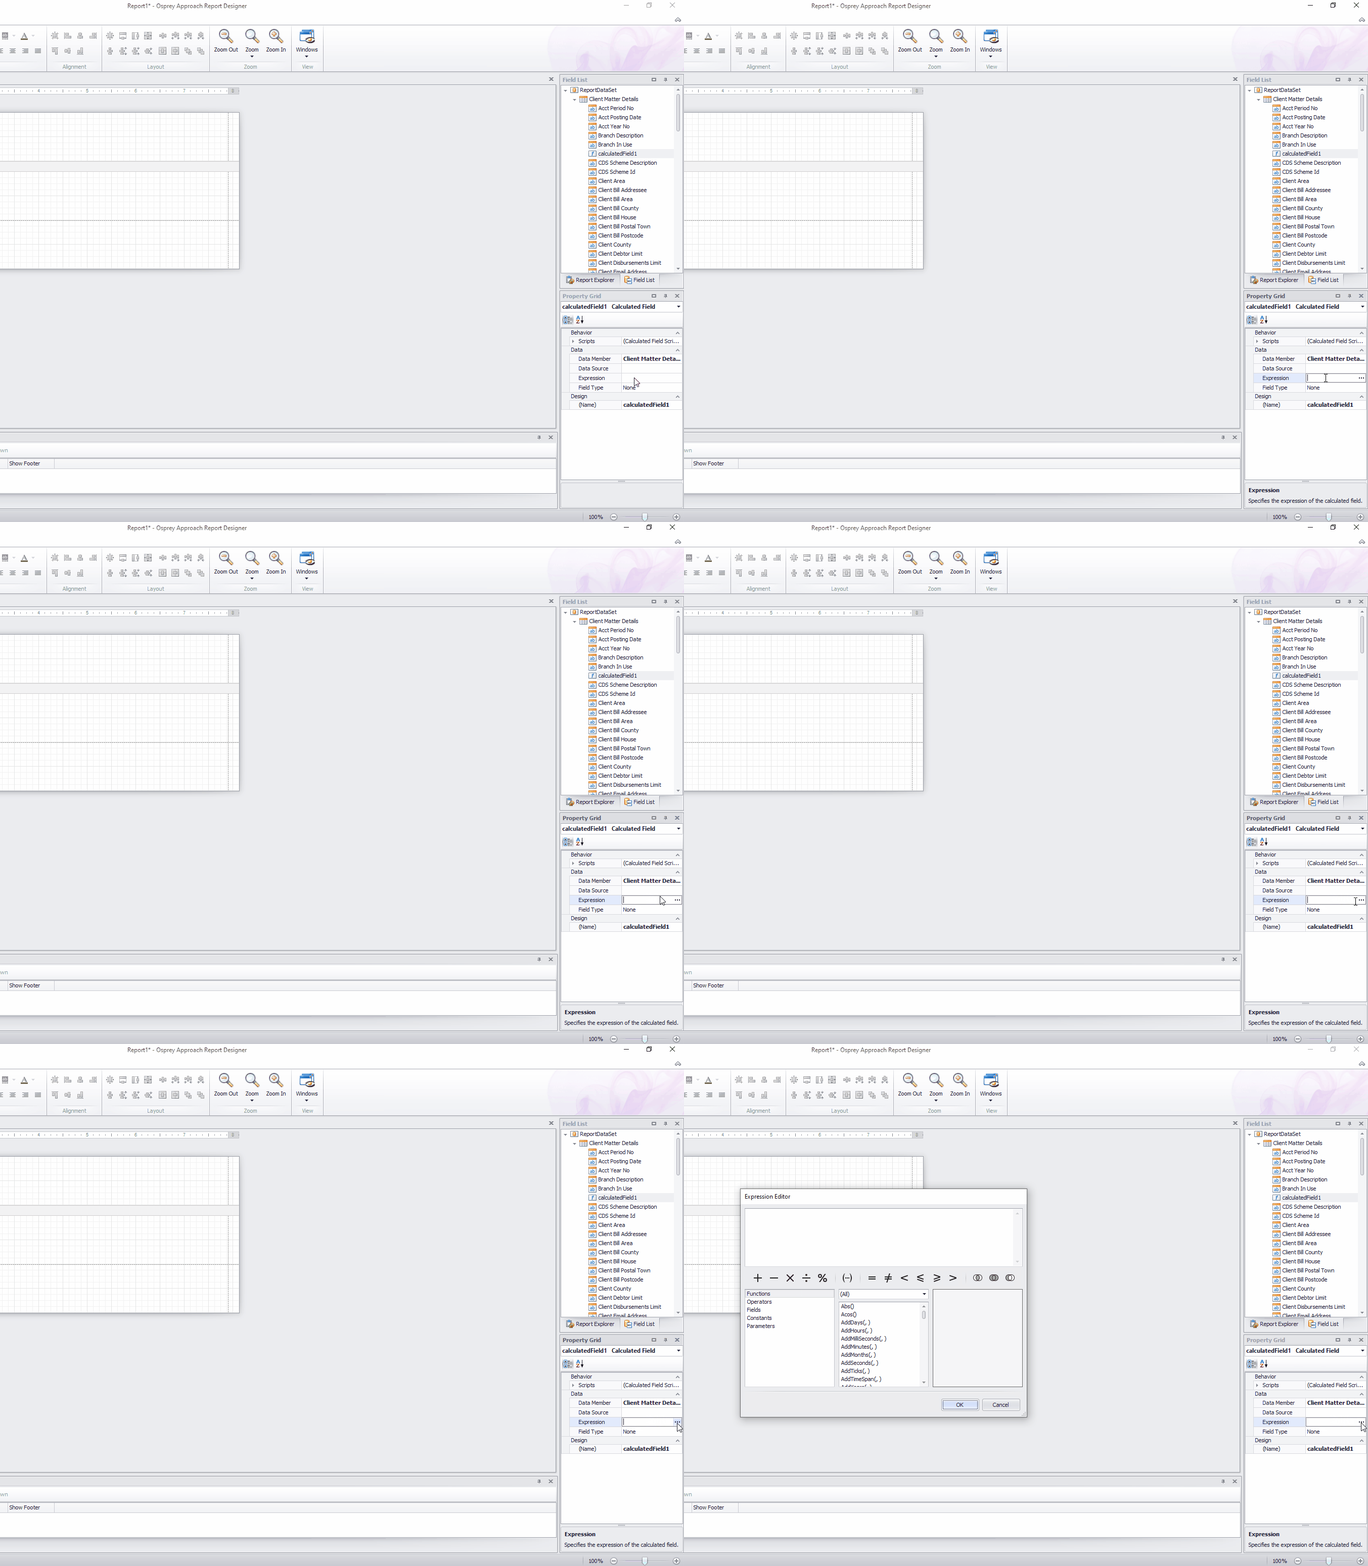
The Expression Editor will now open for you to create your new field.
Using the Expression Editor – Functions pane
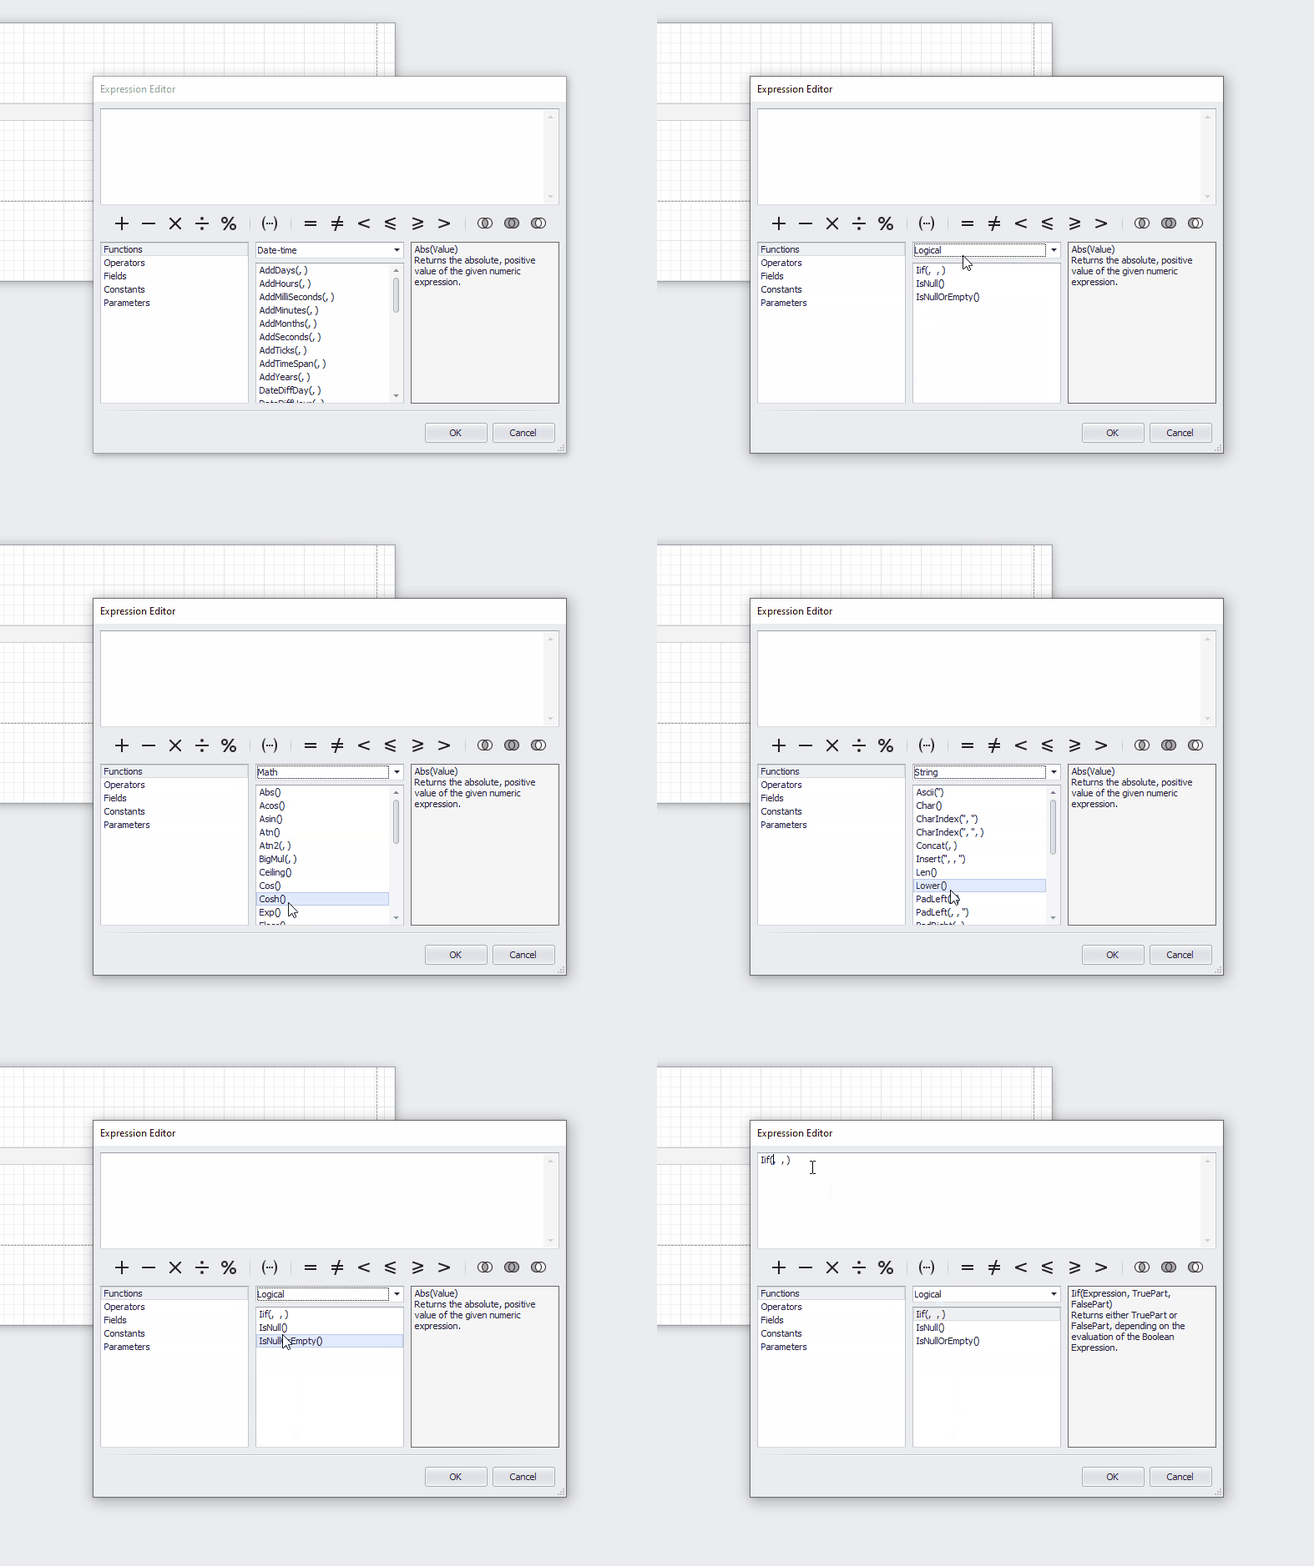
Functions can be used to manipulate data in the same way as Excel formulae. Select the Functions option in the leftmost panel, you can then break the functions down by type, and then double click to add the function to the expression editor box. Selecting a function with a single click will display a description of its’ usage in the rightmost panel.
Using the Expression Editor – Fields pane
Selecting the Fields pane allows you to select any of the fields available in your data set. Selecting a field with a single click will display its’ data type in the rightmost panel.
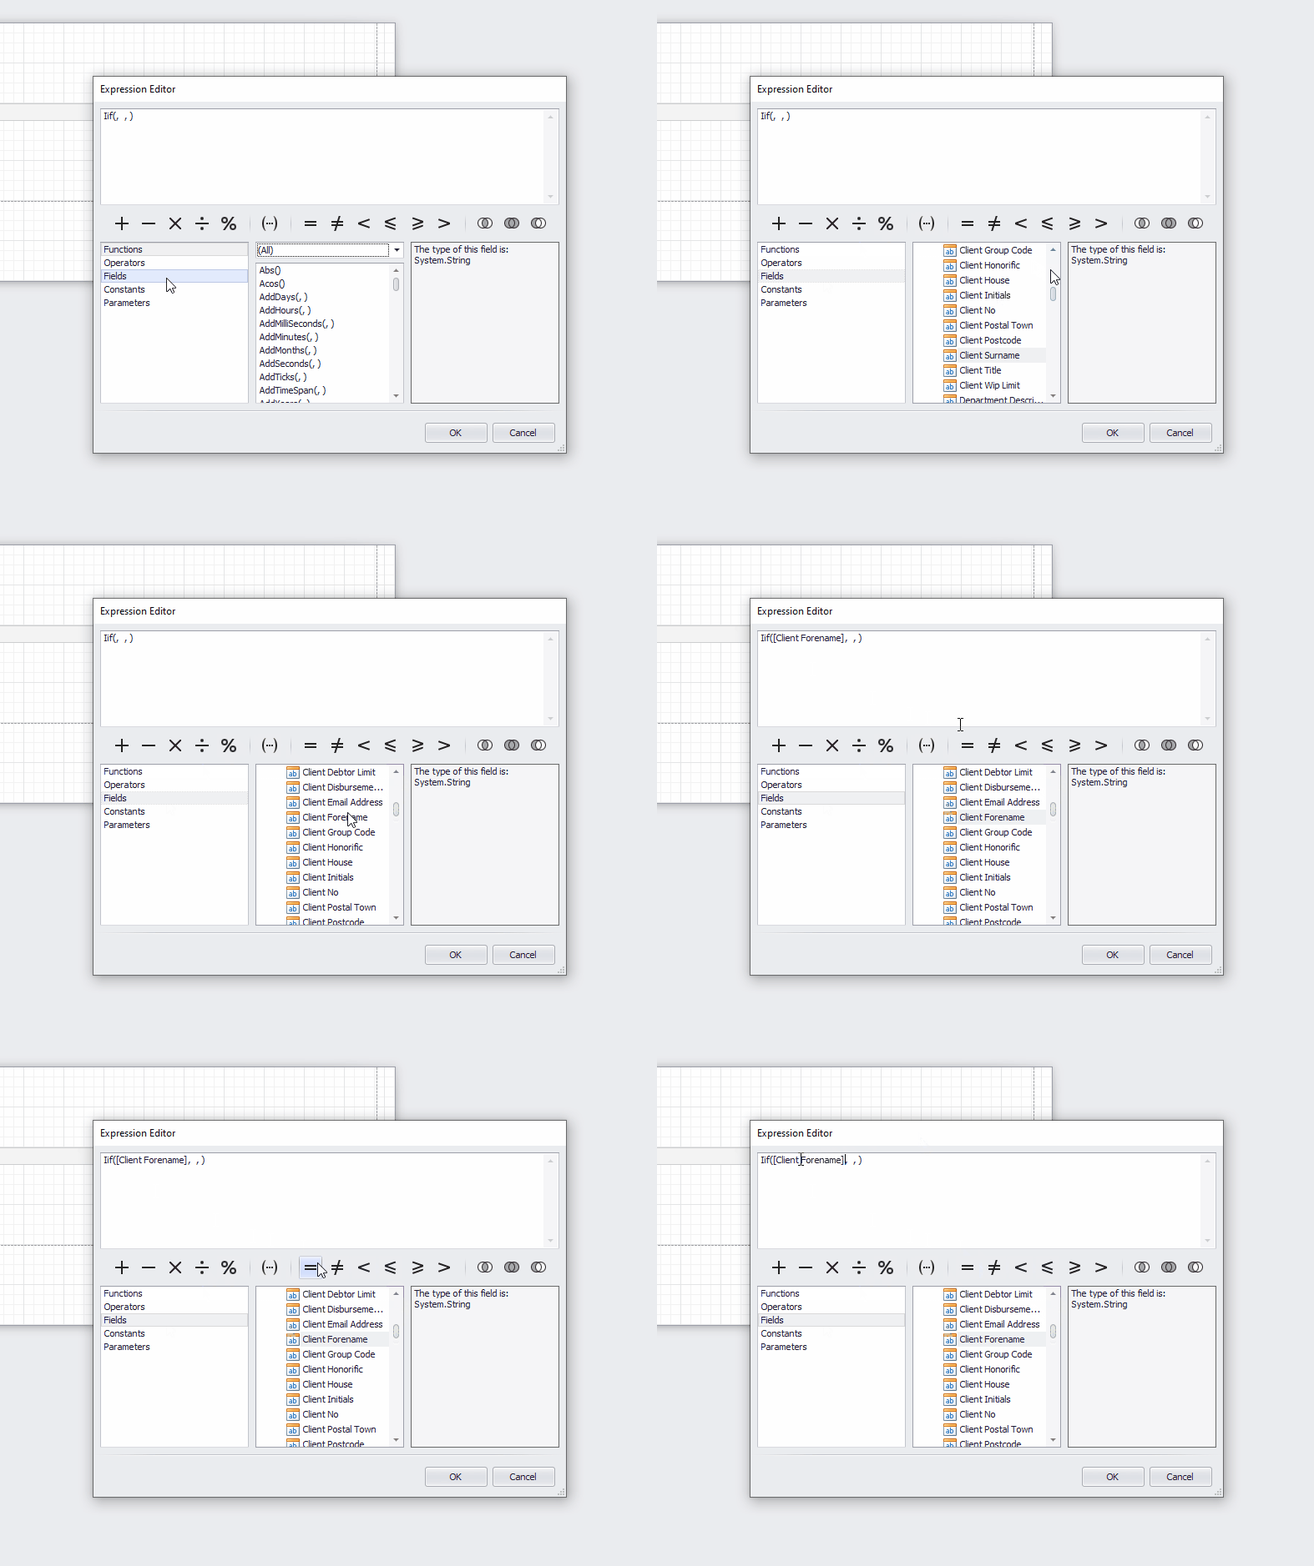
Using the Expression Editor – Constants pane
Constants available are True, False and ? – these can be used for comparing True/False/Empty field values.

Using the Expression Editor – Parameters pane
This section allows you to work with any parameters you may have added.

Building a Calculated Field Expression – Example 1 – Client Full Name, Client and Matter No
Osprey stores your client name as separate fields Client Title, Client Forename, Client Initials, Client Surname. If your report data set contains these fields, but you want to join them together, you can use a calculated field to do this.
In the Expression Editor for this calculated field, you can follow the steps below to link the name fields together.
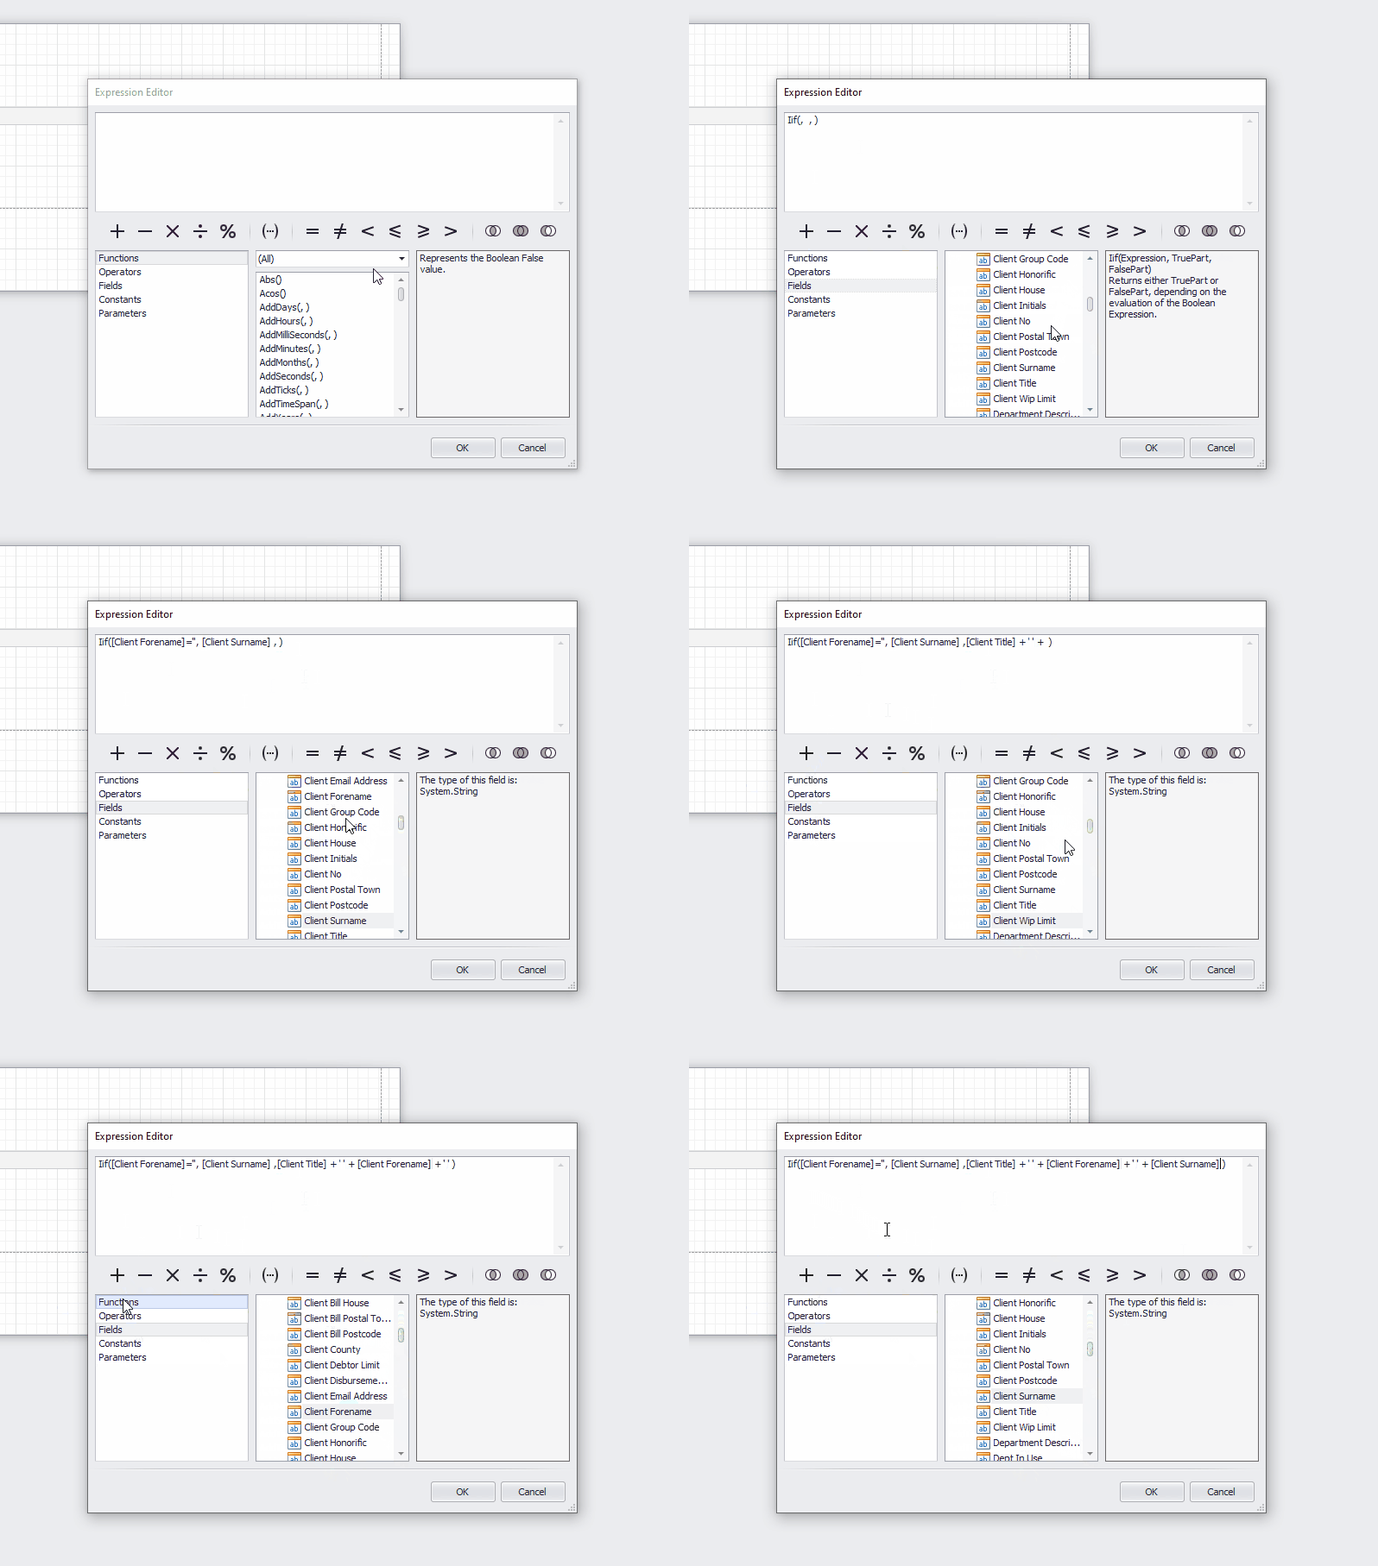
This translates as:
IF the client forename field is blank, THEN just display the client surname, ELSE display the client title plus a space plus the client forename plus a space plus the client surname.
This ensures that where you have company clients, no spaces are inserted prior to the surname/company name in your report. To add any other text (even spaces!) into a calculated field we need to surround it with the single quote – ‘ – character.
Another example below shows a simple calculated field to join the client and matter numbers together with a / in between (Client No field PLUS a / plus Matter No field):

The results of these custom fields are shown below:

Building a Calculated Field Expression – Example 2 – 50% of an amount, 1 month in future from date
In this example we have created a very simple report of bills outstanding including the bill number, bill date and amount remaining. We want to work out what 50% of the remainder is, and the due date which we will set as 14 days from the date of the bill.

We will need to add 2 new calculated fields, Percent50Due and DueDate.
For the 50% due field, we can simply multiply the balance remaining field by 0.5 – although there are many other mathematical formulae you could apply here to get the same result!
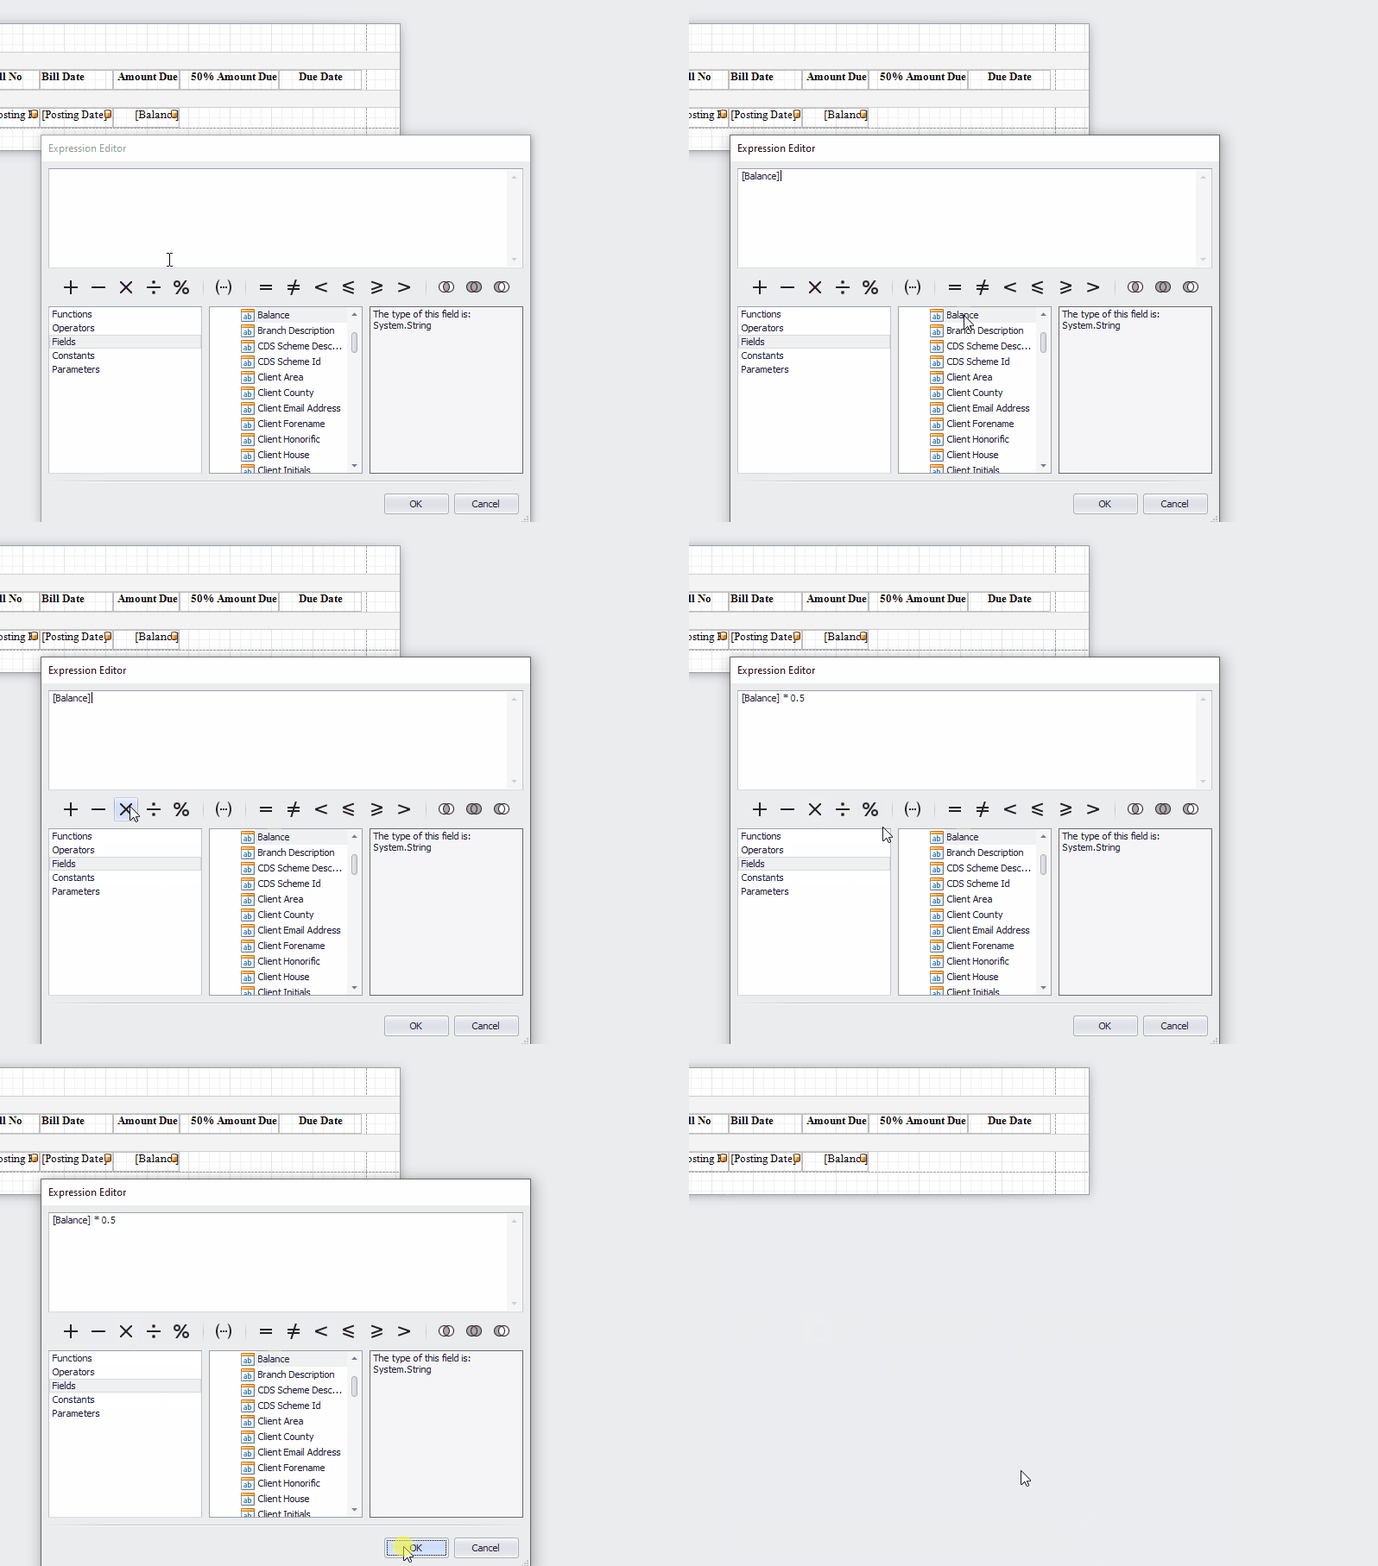
For the Due Date, we’ll use the AddDays() function to work out 14 days from the bill date:
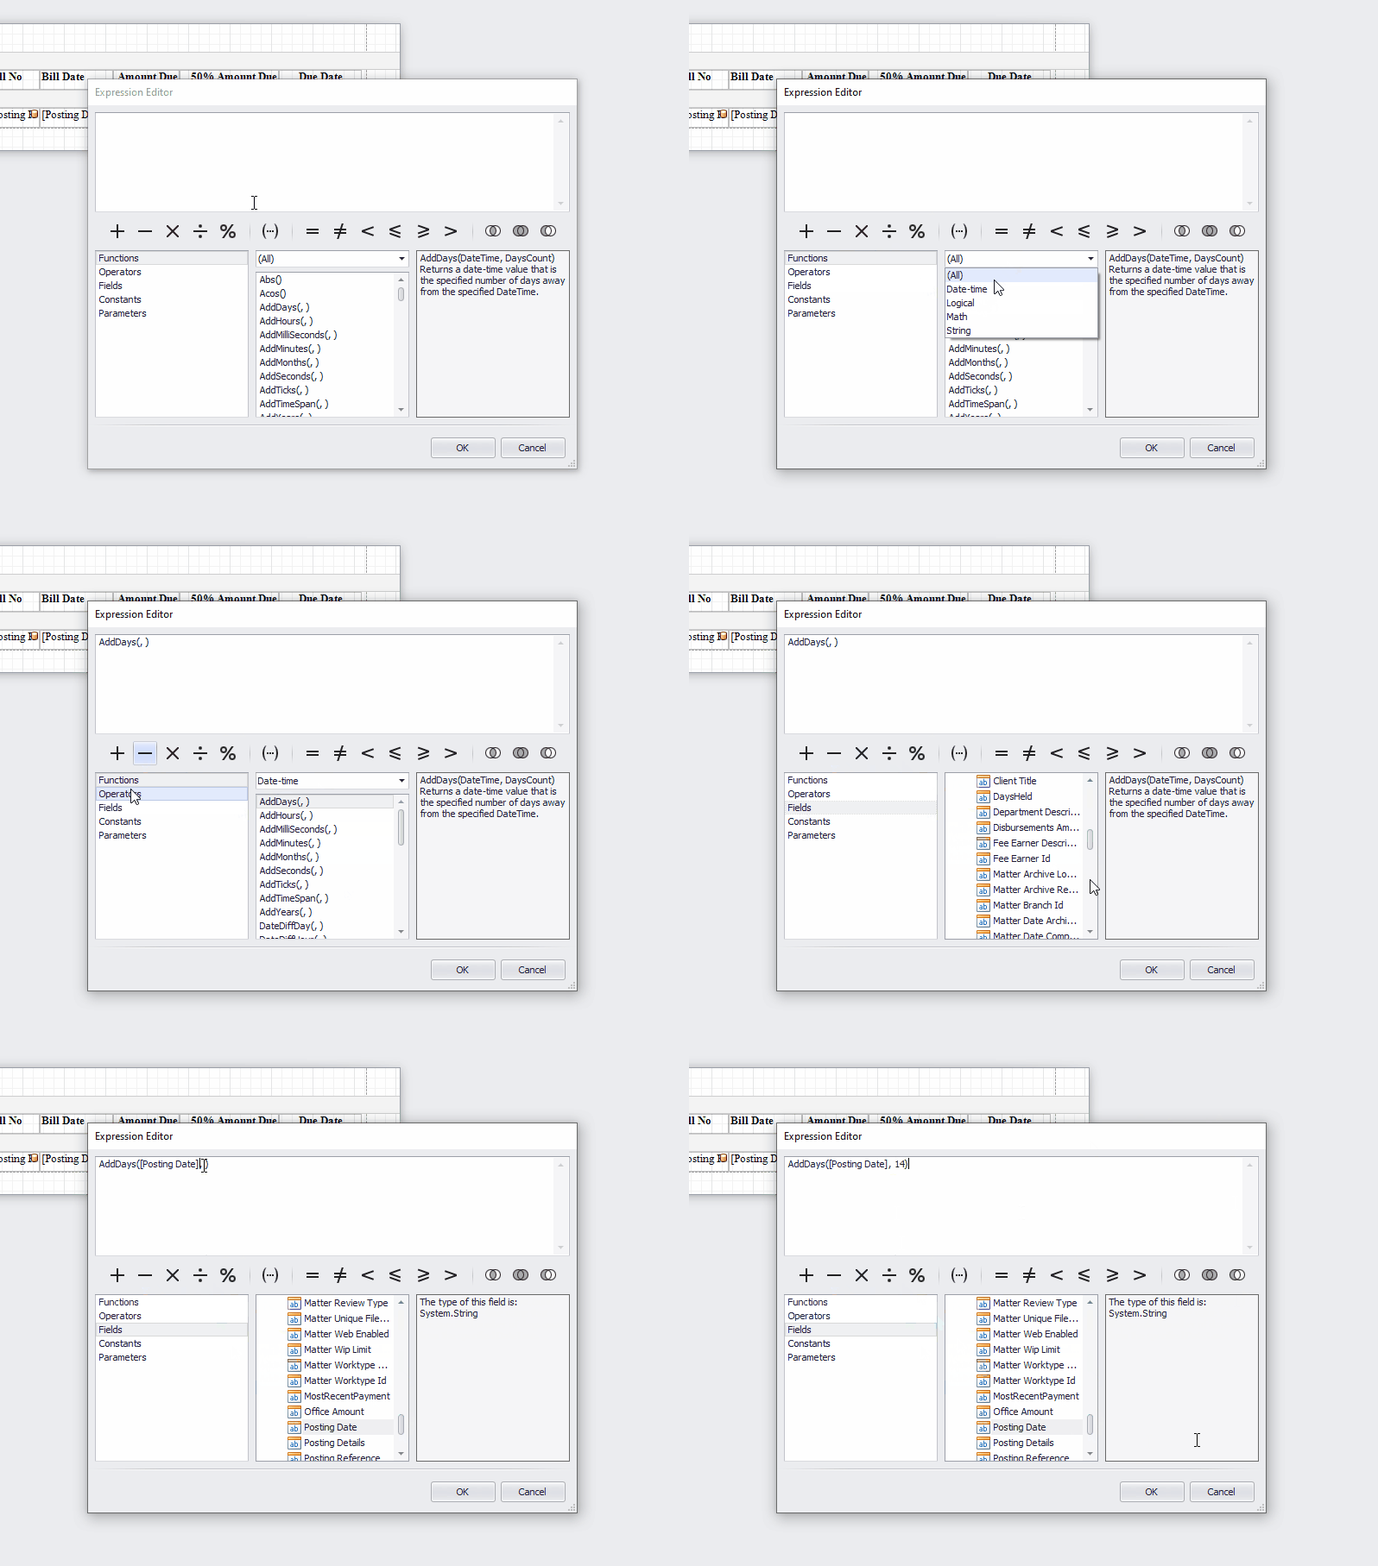
The result:
