Running a Billing Guide
Updated Feb 20th, 2026
Who is this guide for?
Any Users
If you would like to run either a detailed billing guide, or a summary of the billing guide, follow the instructions here to assist you in producing the relevant reports
Producing a billing guide
The billing guide should be produced before posting a bill, as it will provide you with details of all unbilled time and unbilled disbursements for the client and matter selected.
To run a billing guide, go to Accounts > Billing > Billing guide.
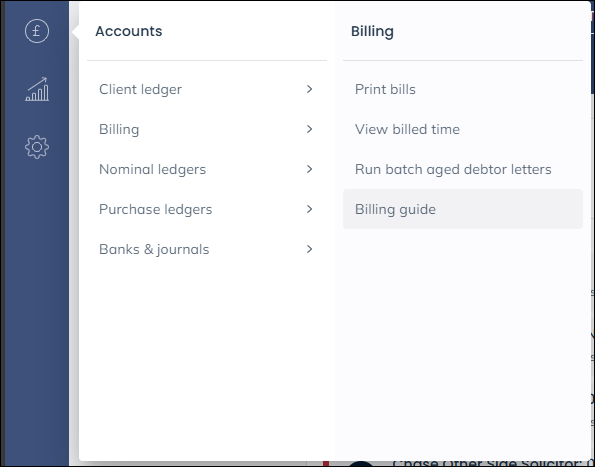
The client search is available to change between clients and matters easily.
There is also a summary visible, showing all time posted, marked up balance, along with filters to filter down on Fee Earner, Remuneration Type, and Posting Dates.
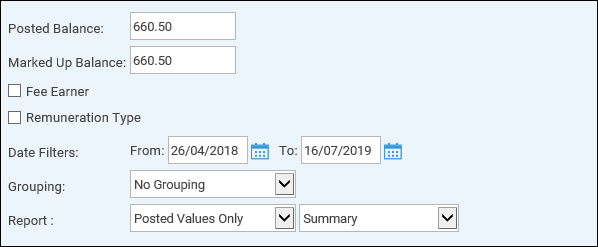
The billing guide can also offer some further customisations
- Grouping: Allow you to group time postings by Fee Earner
- Report: Select to show Posted Values, Marked up Values, or Both.
- Report Type: Summarised (Shows total time per activity), detailed (shows all individual postings), or both.
Click Print.
A Preview window will open, with your selected report type(s), and an overview of Unbilled Disbursements.
Navigating the Billing Guide
The billing guide consists of up to 3 reports.
To navigate between reports, use the chevrons at the top of the viewer.
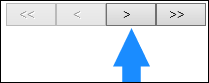
Your billing guide may consist of multiple pages. You can scroll through further pages using the arrow icons at the top of the window.

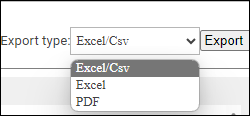
You may export any of these reports to Excel or PDF if required.
When you have finished with the report, click on the ‘X’ to close the window.