Scheduled Nominal Postings
Updated May 10th, 2024
Who is this guide for?
Accounts Users and Accounts Supervisors
Within Osprey, you can set up scheduled postings for regular payments, receipts or transfers you need to post, such as rent or utility payments or other direct debits or standing orders. This guide will show you how to do this
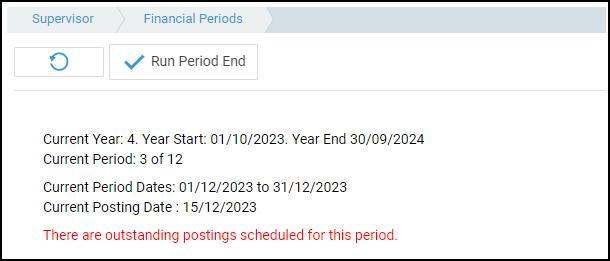
Osprey will not make the postings for you, however you can set up all the details so that each period you can simply select and post your entries, saving time with typing the date, detail and amount each time. Osprey will also display a red warning at period end if there are outstanding scheduled postings for the period you are about to close. This will not prevent you from running the period end, it is intended as a reminder only.
Set up a schedule
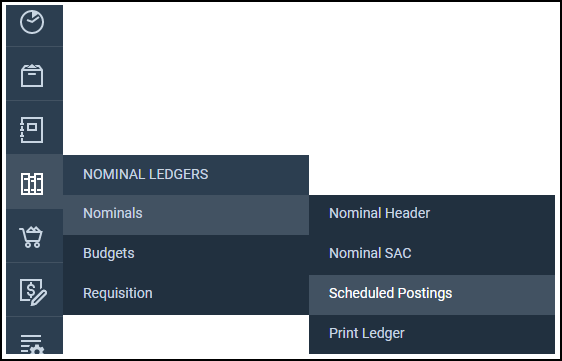
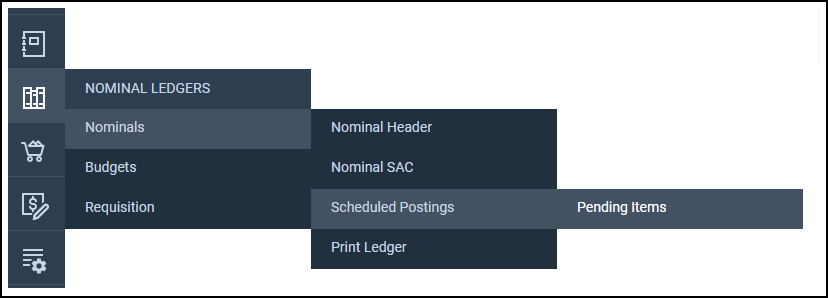
To set up a schedule, in the browser, navigate to the Nominal Ledgers area. From the menu, select Nominals > Scheduled Postings.
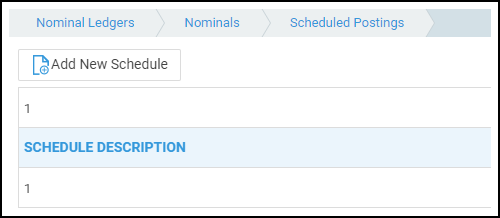
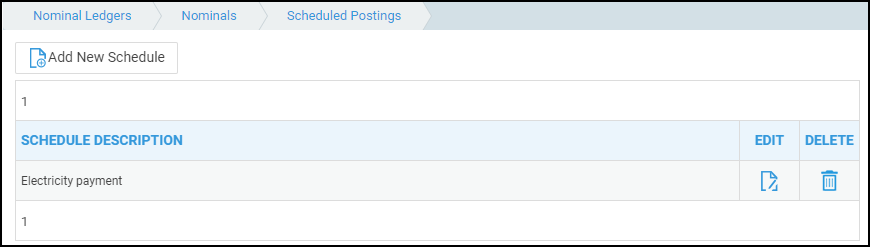
Then click Add New Schedule
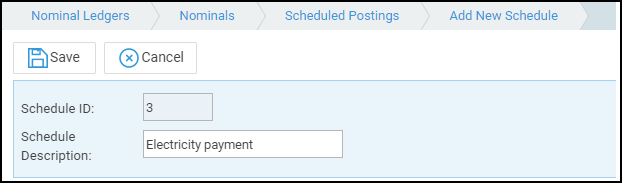
In the top portion of the screen, enter a meaningful schedule name so that you know what it relates to.
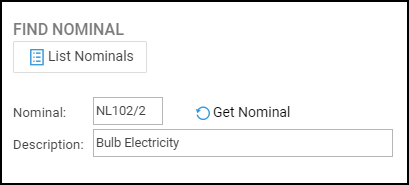
In the Find Nominal section, either enter the nominal code/SAC and click Get Nominal. Or click List Nominals and select the nominal you wish to add the schedule for. The Nominal and Description will display the selected item.
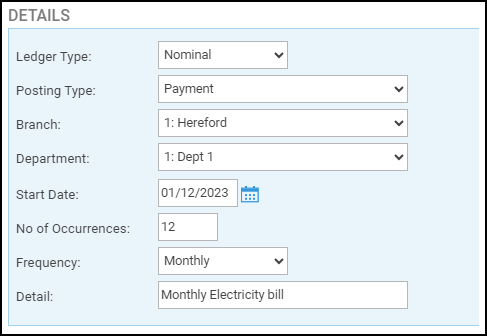
In the Details section, choose the Posting Type, Branch, Department, start date for the schedule (this is the first date at which you wish to make a posting), the number of occurrences (how many times to make the same posting), the Frequency (Weekly/Monthly/Quarterly/Yearly) and enter a detail which describes the entry you will be making.
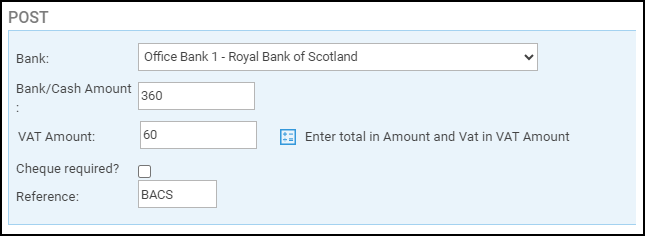
In the Post section, for Payments and Receipts, select the bank from which you wish the payment to be made. Then select the Total amount in the Bank/Cash Amount. Use the calculator to confirm the correct VAT amount if there is any. Enter a reference if required.
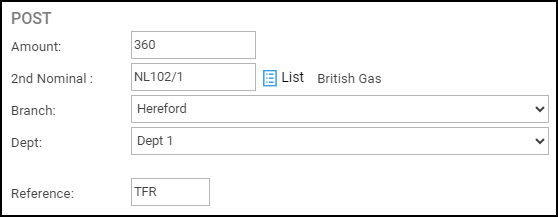
For Nominal Transfers From/Into accounts your Post options will be slightly different. Enter the amount excluding VAT, the nominal code / SAC, branch, department and reference for the transfer.
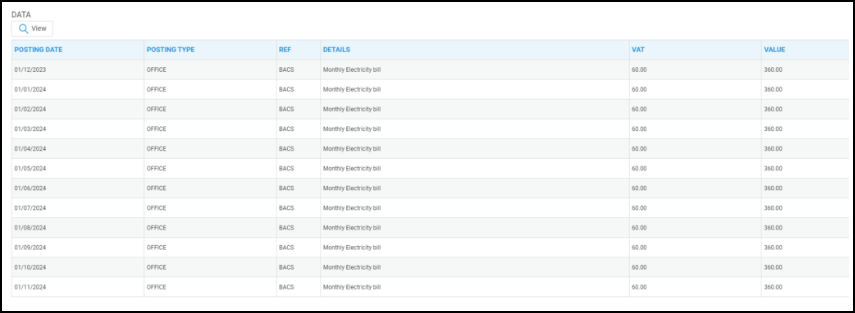
If you wish to view the postings to ensure you have set up the schedule correctly, click the View button in the Data section.
To save your schedule, scroll back to the top of the screen and click Save.
Checking for scheduled items which are due
To check for pending scheduled postings, navigate to the Nominal Ledgers area, and select Nominals > Scheduled Postings > Pending Items from the left hand menu.
The Pending items screen will default to postings due this period. Change this to “To Posting Date” which will just pick up entries due to the current system posting date. Or change to All to show all pending scheduled items set up. You may also select the Branch to display only items due for posting on a specific branch.

Posting your scheduled items
To post the item, navigate to the Pending Items list as detailed above. Now click the POST icon on the right hand side alongside the posting you wish to make.

This will open the posting screen with all your details filled in. You can simply select Post provided all the details are correct. If you have already manually posted the item, you can click Delete alongside it. This will delete just this period’s entry from the list.
Editing a schedule
To make changes to the schedule, navigate to Nominal Ledgers > Nominals > Scheduled Postings and click the Edit button alongside the schedule you want to change. You can change anything you need to in here.
Make your changes and click Save at the top.
Deleting a schedule
To delete an entire schedule, navigate to Nominal Ledgers > Nominals > Scheduled Postings and click the Delete button alongside the schedule you wish to delete.