Set Up and Manage Matter History Folders (Worktype Level)
Updated Mar 24th, 2026
Who is this guide for?
Case Management Supervisors and System Supervisors
A supervisor level user can assign specific matter history folders to a particular work type if required. This guide will take you through this process
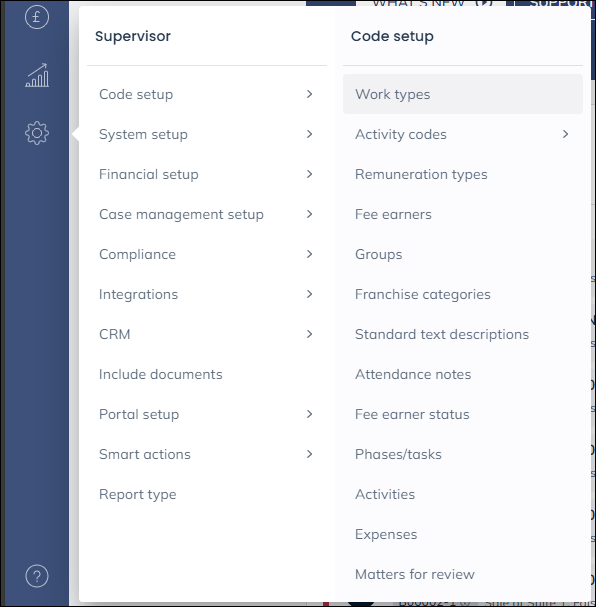
To create a work type specific folder for your matter history, navigate to the Supervisor area. Then select Code setup followed by Work types.
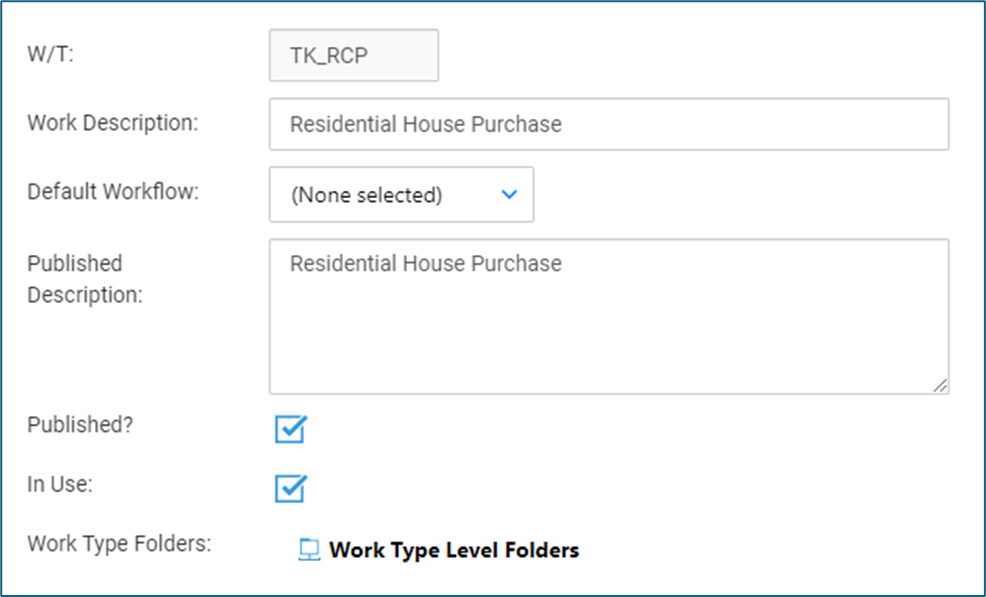
Now right-click on the work type you wish to add a folder for and select Edit. Once on the edit screen, you will see a Work Type Level Folders option, as shown below.
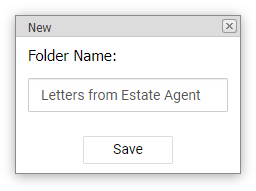
Right-click on this to show a New button. Click this to open a dialogue box allowing you to name your new folder. Enter the name and click Save.

Your new folder will now appear on the Edit screen.

You may right-click on the folder and rename or delete it as required. The folder will then also appear in the matter history for any files assigned to this worktype.
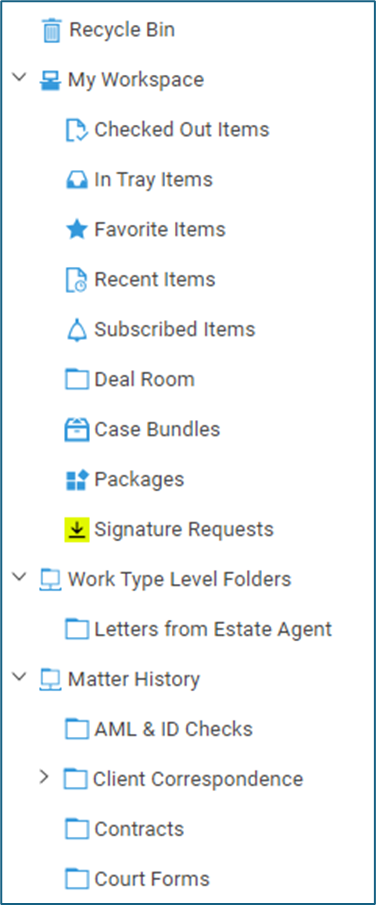
The worktype specific folders will appear above the global folders, as shown below.
You are able to drag and drop any folders so that they become subfolders. Any items already in the folder will also be moved.