Smart Actions: Auto Billing
Updated Mar 10th, 2026
Who is this guide for?
Accounts Users and Accounts Supervisors
This guide will talk you through using the Smart Actions area to enter multiple bills into Osprey quickly and easily
Manual Entry
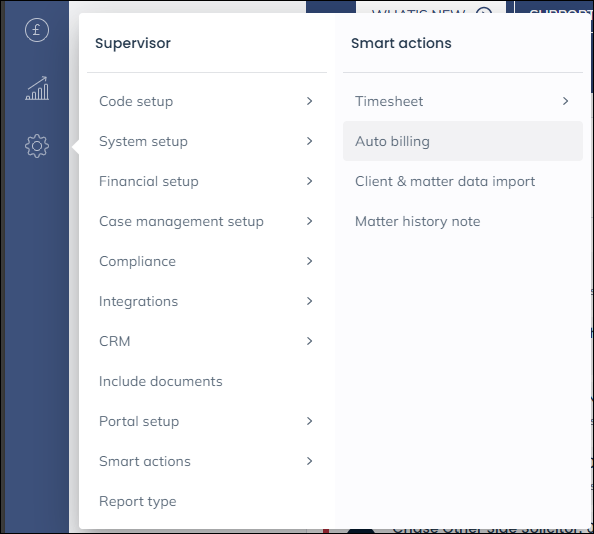
To access Smart Actions select ‘Supervisor’ then ‘Smart Actions’ from the left hand menu. Now select ‘Auto Billing’.
Now Select ‘New Action’ from the top menu. The following panel will appear.
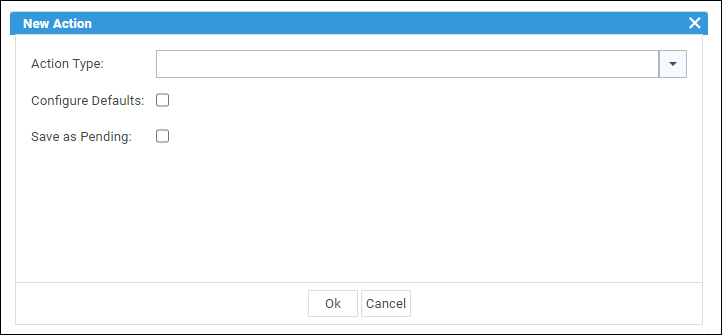
- Action Type: Enables you to choose the relevant action type, in this case, select Bill from the dropdown menu.
- Configure Defaults: Selecting this will pick up the details of the client you are currently on. Cli No, matter no, fee earner, date and spool for printing.
When you select configure defaults the following panel will appear:
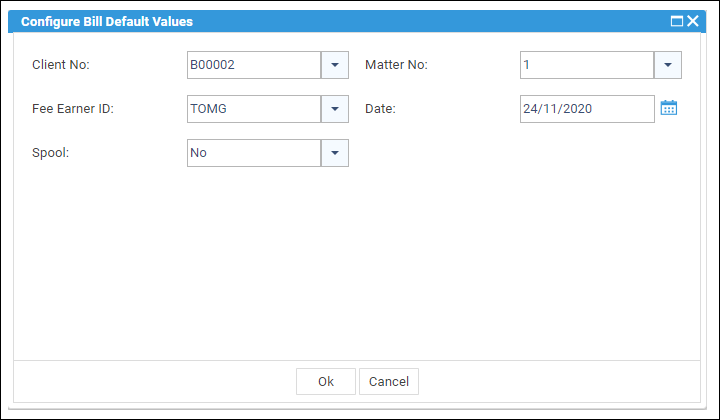
Select ‘Ok’ to continue and the following panel will display:

- Predictive Editing: Select this check box to enable automatic tabbing across the fields. For example, select the client number and matter (if enable defaults has not been used), you are then tabbed to the next box, you fill in the details, this then automatically tabs to the next box etc.
- Auto Credit: Select this check box to also post an Office Receipt for the billed amount
- Auto Credit from Nominal: Select this check box to post a Transfer to Nominal for the billed amount as well.
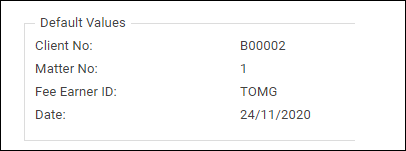
Click ‘New’ on the top bar to create a new bill entry row, you will also see the client defaults appear. Do not click ‘New Action’ as this will lose your entries.
- Client No: Select this to type in the correct Client number or search for it.
- Matter No: Select this to type in the correct Matter number or search for it.
- Fee Earner ID: Select this to type in the correct Fee Earner or search for it.
- Description: Select this to type the description of the bill
- Date: Select this to enter or select the date of the bill
- Total Profit Costs: Select this to type in the Costs of the bill
- Total Disbs: Select this to type in the amount of Disbursements to bill
- VAT: This is calculated from the information entered in the previous fields
- Total Bill: The total amount to bill will be displayed.
- Spool for Print: Tick this to make the bill available to be printed in Time Recording > Time Billing > Print Bills
Click ‘New’ to add further rows as required.
When you select an alternative client, the default settings for that matter will still display. Fill in all details as mentioned previously.
- Delete a Single Entry: To delete a single entry, click the box to the left hand side of the entry, the selected item will shade in orange. Click the ‘Remove’ option from the menu at the top.
- Delete Multiple Entries: To remove multiple entries, click the first entry to be removed and then click and hold your ‘Ctrl’ key and then left click with your mouse to select further rows, then select the ‘Remove’ option to delete all selected rows.
- Delete all Entries: To remove all rows, you can click the box next to where it says ‘Client No’ and this automatically select all rows.
- Amend an Entry: Any column entry can be amended by double-clicking the left mouse button inside the relevant box.
- Clone an Entry: If you wish to clone an entry, click the box to the left hand side of the relevant entry, then select ‘Clone’ from the menu as show below, all details from the selected row will be copied to a new row.
Saving Your Bills
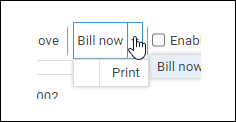
- Bill Now: Left click Bill Now to save your Bills.
- Print: Left Click the black arrow next to Bill Now, this will display the option to Print, select this to print your bills
Import CSV
You can import bill details that have been added to an excel spreadsheet. You must ensure that the excel document has been saved as a CSV file prior to the import and that the maximum amount of columns does not exceed 8.
Please note that any data entered into the excel spreadsheet needs to be in the appropriate column order due to data fields in the system being set as either text or numeric, you do not need to have column headings and you do not need to add data to every cell.
If you add anything other than numeric values into column headings F or G your import will fail as these columns can only merge through numerical values.
See the following example:

To Import a CSV File select import CSV and browse to your saved excel spreadsheet.
Once the data has been imported, the system will validate the data from the spreadsheet and warn you of anything that is not correct.
Sample CSV file