Time Record on Your Matters
Updated Aug 14th, 2025
Who is this guide for?
Any Users and Case Workers
You can time record in several different ways within Osprey. This guide will take you through the process
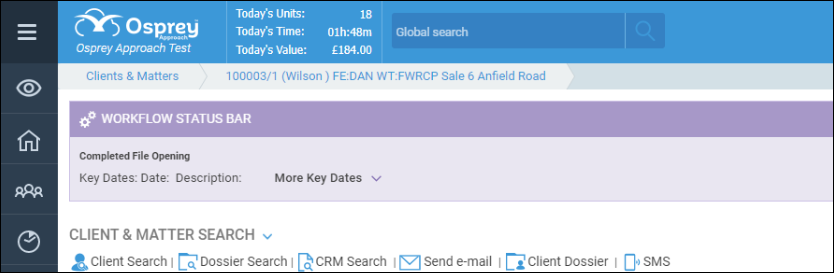
Viewing today’s summary
You can view the total time, value and units if time you have recorded today at any time by looking at the top of the screen.
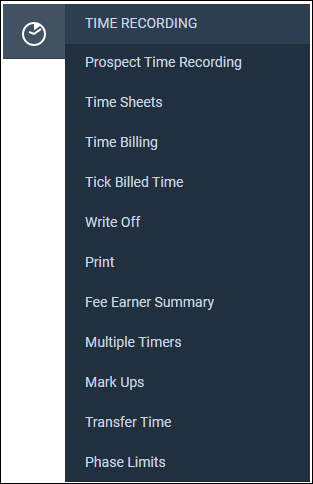
Posting a time entry
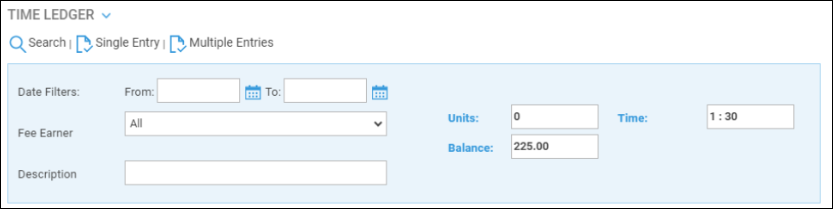
With your required client loaded, click the Time Recording tab to navigate to the Time Ledger.
You will have the option to either post a single time entry or multiple time entries.
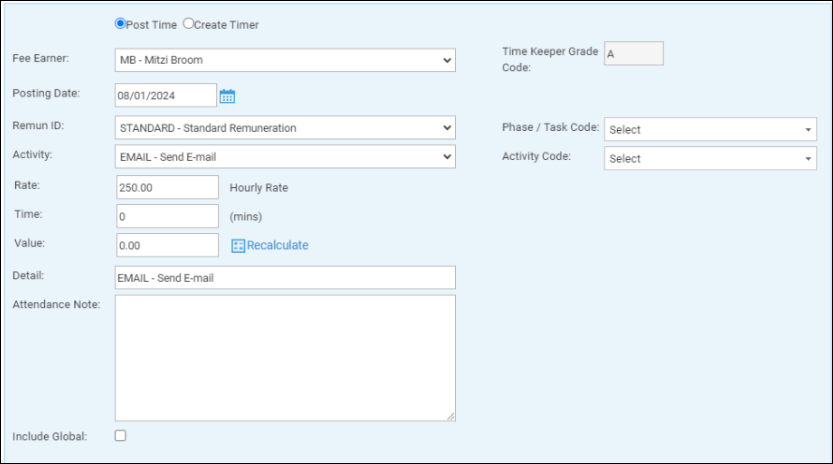
Upon clicking Single Entry, you will be able to enter your posting details and click Post to post to the time ledger, or Save and Print to post to the time ledger and create a printable copy of the time posting.
You also have the option to post multiple entries if you wish. Upon clicking this, the time posting screen will list all of the available remuneration types – In the below example, we can see that there are several available for this particular worktype. Both activity ID and description will be displayed.
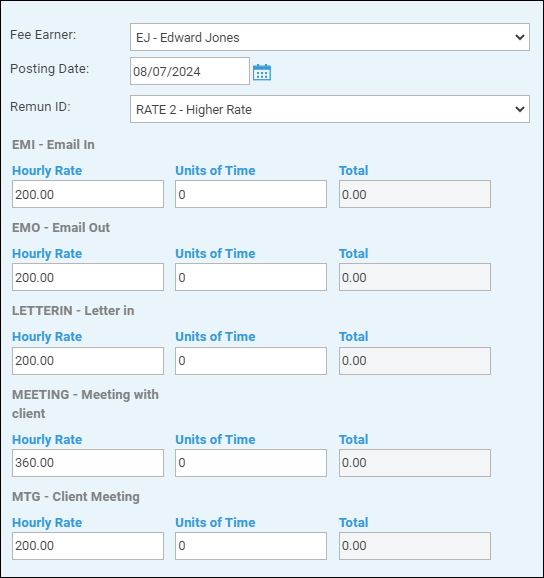
Simply fill these in as you normally would and then click the Post button.
Accessing the time ledger
After posting time, users will be returned to the time ledger.
If you need to revisit the time ledger, simply click the time Time Recording heading in the navigation panel.
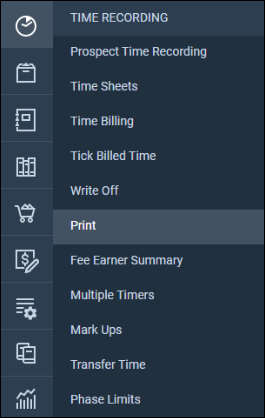
Printing the time ledger
A printable copy of the ledger can be produced from Time Recording > Print.
You will be able to select a range of criteria, such as fee earner, remuneration, and date ranges to show within your print out.
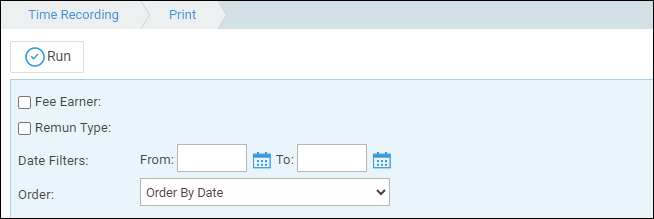
Select Run
A preview window will appear, allowing the user to export the report to PDF, CSV or XLS
Undoing a time posting
Time postings cannot be amended once created. If the posting is incorrect, you will need to undo the posting, and resubmit it.
To undo a posting, click the Undo icon. A confirmation screen will appear.

Timers
Timers allow users to accurately record how long they spend on a specific time, for example, an online meeting or a telephone call, and can always be easily accessed.
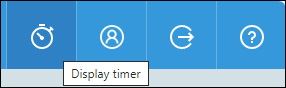
To toggle the timer, click the Timer icon at the top right of the page.
Starting a timer from the timer widget
From the Drop down, select New Timer on Current Matter to start a timer on the currently loaded matter, or New Timer on Blank Matter to select the matter at the point of posting.
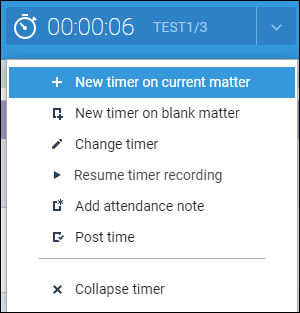
Timer options
- Create timer on current matter: Starts a timer for the currently loaded matter.
- Create timer on blank matter: Starts a timer allowing you to select the client at the point of posting.
- Change timers: Allows you to swap between their unposted timers.
- Pause/Resume time recording: Pause/Resume the current timer.
- Add attendance note: Attach an attendance note to the current timer.
- Post time: Opens the time posting window. If a matter is not selected, you will be asked to select a matter, then access the time posting window.
- Collapse timer: Hide the timer.
Time record using timesheets
You can also time record using Osprey’s timesheet functionality.
This allows you to either create, or upload, a table of time recorded. Visit the relevant guides list for further information.