Uploading Documents to Matter History (App)
Updated Jul 10th, 2024
Who is this guide for?
Any Users
In Osprey you can upload documents saved on your local pc into the matter history in Osprey. This guide will take you through how to do this when using the Osprey Case Management App
Uploading a document
Firstly navigate to Case Management from the Main side Menu. This will open the Matter History page. You will see in blue writing in the main pane, + Add Document, if you now click onto that File Explorer will open. Navigate to where the document you want to upload is stored. When you have located it Click onto it and then Click Open, this will open the save screen in Osprey
Saving the document
The save screen that opens is the same as for all other documents in Osprey.
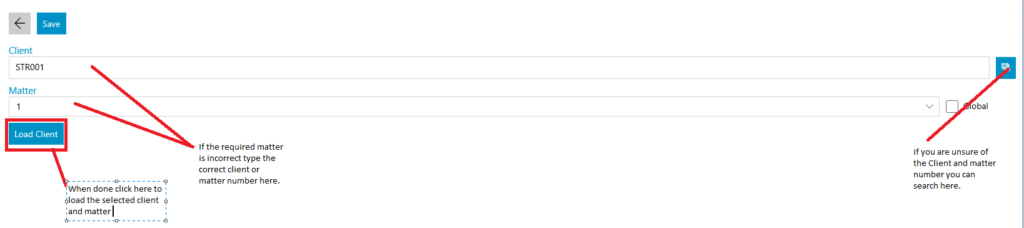
Ensure you have the correct client and matter loaded, if this is not correct you can change it by entering the Client and matter into the boxes at the top of the screen or use the search facility to the far right of the screen to find the Matter you require. when done click Load Client.
Now fill in the boxes in the rest of the screen as required.
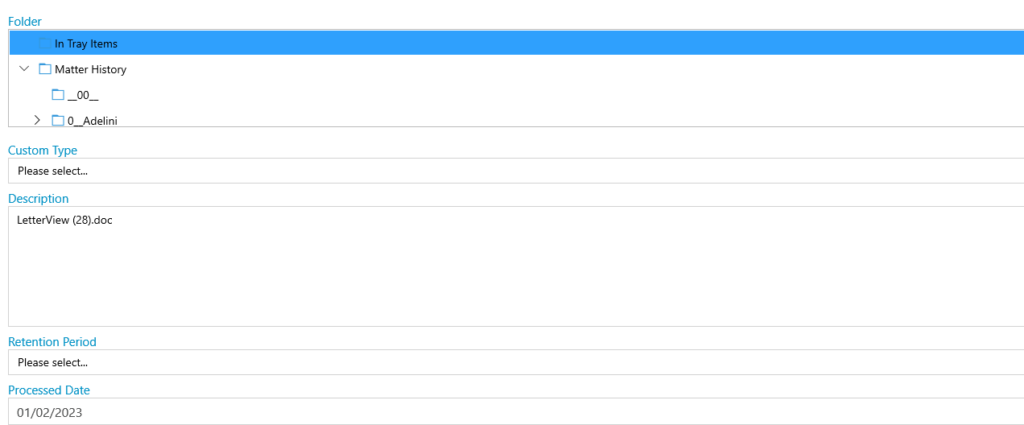
When completed click on save at the top of the screen an your document will be added to the matter history. If you click the Arrow next to the save button your document will not be saved to the matter history.