Use ASK and IF Statements
Updated Mar 24th, 2026
Who is this guide for?
Case Management Supervisors and System Supervisors
Using IF and ASK statements within your Osprey documents can help generate personalised letters, reducing time and costs of having to manually amend letters. This guide will show you how to add them into your documents
IF statements use criteria to display specific words, phrases or even paragraphs. An example could be generating a letter in a conveyancing matter. Depending on if the property is Leasehold or Freehold, different wording can be displayed within a specific letter, removing the requirement of having multiple versions of the same document.
ASK statements capture information at the point of the document being generated. This could be used to insert the user’s name into the document or ask if they require the header and footer to be displayed when printing to pre-headed paper.
ASK statements are generated by Microsoft Word and may appear behind any open program windows
If using ASK statements, you may need to minimise any open windows to display the ASK prompt.
Designing a Document
To incorporate IF and ASK statements into your letter templates, you must have access to be able to design Standard document from Supervisor > Case management > Standard documents.
To be able to modify your document, you must open the template in design mode.
Adding IF Statements
If you are adding an IF statement, you must have the relevant field linked to your document before creating the IF Statement.
Left click within your document where you wish for the IF statement to start.
Then navigate to Mailings > Rules within the ribbon at the top.
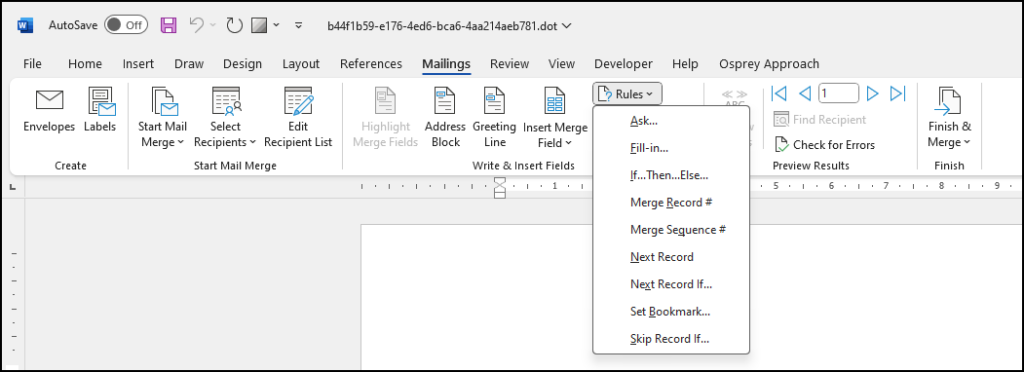
Select If…Then…Else. The following screen will come up.
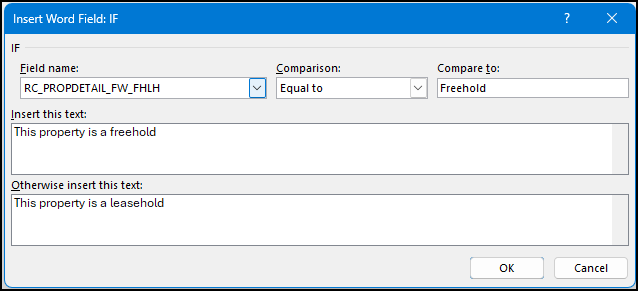
Select the field name from the dropdown list. In the example above, it will check if the value of the dossier field is Freehold. If it is, it will display the text in the top box. If the field is not Freehold, it will display the text in bottom field.
To display no text, place a space into the relevant field.
Click OK.
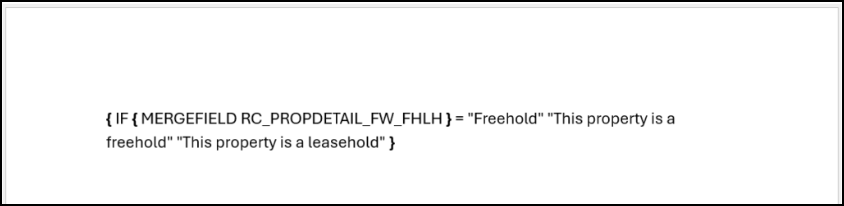
Select Alt + F9 to toggle merge fields. You can now see how our IF statement operates.
Nesting IF Statements
You can also nest IF statements, by replacing the text within the last “quotation marks”.
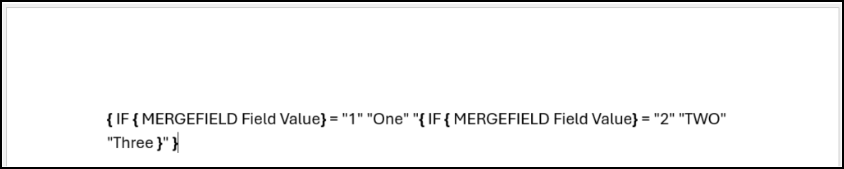
The above example will check if the Field ID equals 1.
If it is, it will display “One”, else it will check if Field Value = 2.
Then, if the Field Value equals 2, it will display “Two”. If not, it will display “Three”.
Multiple IF Statements
You can also use IF statements to pull through text only if criteria are met.

By not entering anything in the Else box, you can have text to display only if the criteria has been met.
In the above example, Paragraph One will only appear if the field equals Yes.
If it equals No, it will display Paragraph Two.
If the field does not hold Yes or No, neither text will be displayed.
ASK Statements
To add an Ask statement into your document, open your document in design mode.
Left click to place your cursor at top of the document, and from the Word Ribbon at the top, navigate to Mailings > Rules and select Ask…

This will open a box which will allow you to create an ask field.
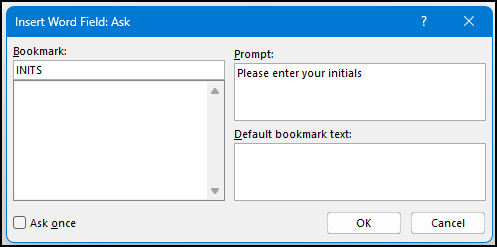
- In the Bookmark box, enter a name which the field will be known by.
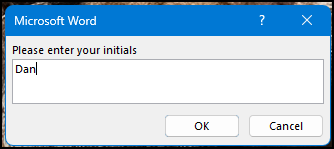
In our example, we will ask for the user’s initials, so we have used the bookmark “INITS” - In the Prompt box, enter the question which will appear to a user who opens the letter.
In the above example, the prompt will ask “Please enter your initials” - In the Default Bookmark Text box, enter a space if you do not wish anything to show up as default.
If there is any default text you wish to show, enter it here.
Once those have been completed, click on OK. This will bring up an example of what the ask field will look like to a user. Click OK on the example to return to the document.

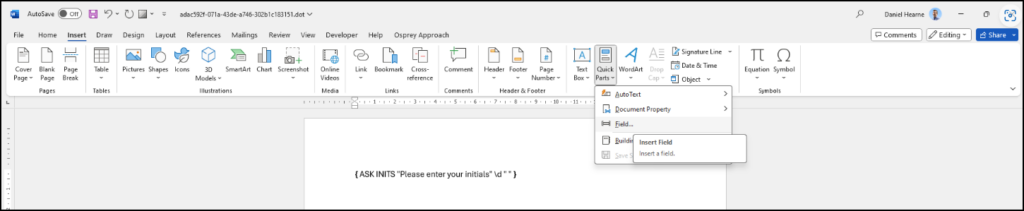
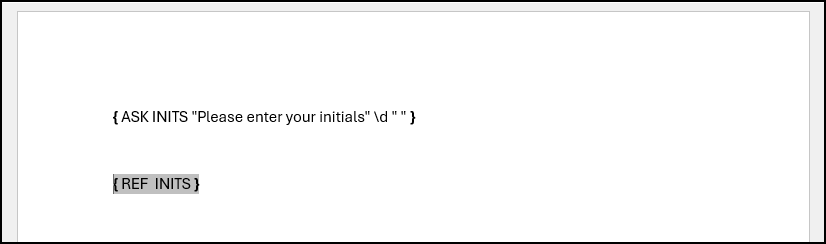
With the Ask question created, you will need to add the reference to display the results of the Ask field within your document.
Place the mouse cursor where you wish the information to be displayed, then navigate within the Word Ribbon to Insert > Quick Parts > Field.
This will open up a new window. Ensure Categories is set to (All). Scroll down the Field Names and select Ref.
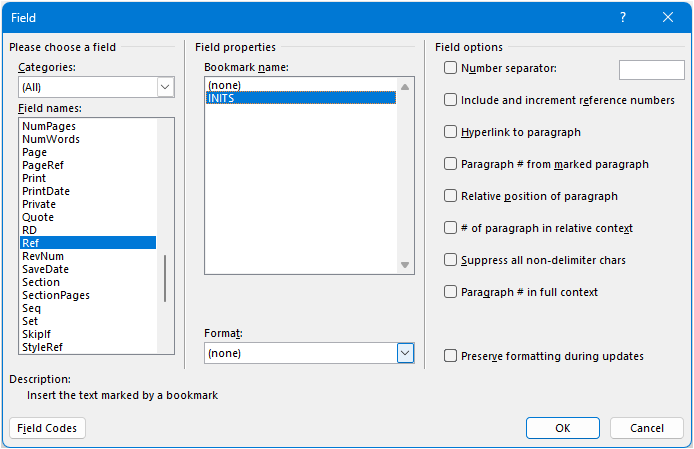
The Bookmark name will display a list of all our bookmark IDs. Select the relevant one, then select Ok.
The field will now display in your document.
Make any other changes, then close and save the letter.
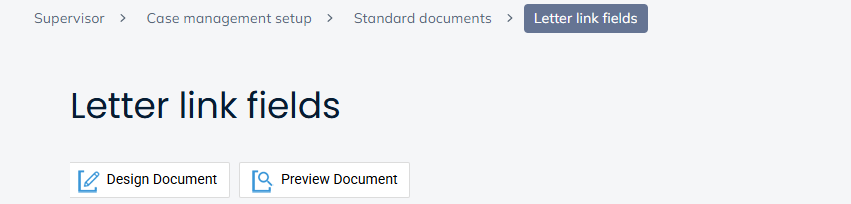
Click Preview Mode in Osprey to check that the field has worked, and the reference is bringing through the information.