Use Email Signatures
Updated Mar 24th, 2026
Who is this guide for?
Case Management Supervisors and System Supervisors
This guide will take you through creating signatures on Osprey that are included on emails sent from Osprey
There are multiple ways email signatures being created:
- System Signature
- Branch Signature
- Individual User Signatures
Any of these can be set as default. In addition, variations can be made for individual users over and above the defaults so the whole firm could be set to use branch signatures, but a number of individual users could have options to select their own signatures at the time of emailing.
System Signature
The System Signature is set at the bottom of the System Settings screen from the Supervisor menu. In System Setup, you also set the defaults for signature behaviour, which will allow you to use System Signature, use Branch Signature or allow the user to select the signature.
Branch Signature
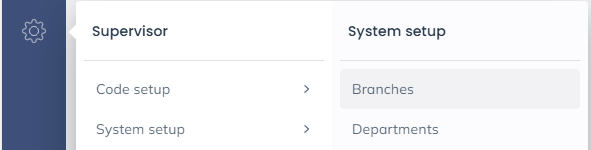
The Branch Signature is set in the ‘Edit Branch’ area found by navigating to the ‘Supervisor’ area, then selecting ‘System Setup’ and then ‘Branches’. Right click and select ‘Edit’ on the relevant branch.
At the bottom of the ‘Edit’ screen there the option to put a branch signature in.
User Signature
User Signatures give the power to the user to be able to create their own signatures.
The User Signature can be set from System Setup > Users and Edit the relevant user to enable them to select the signature.

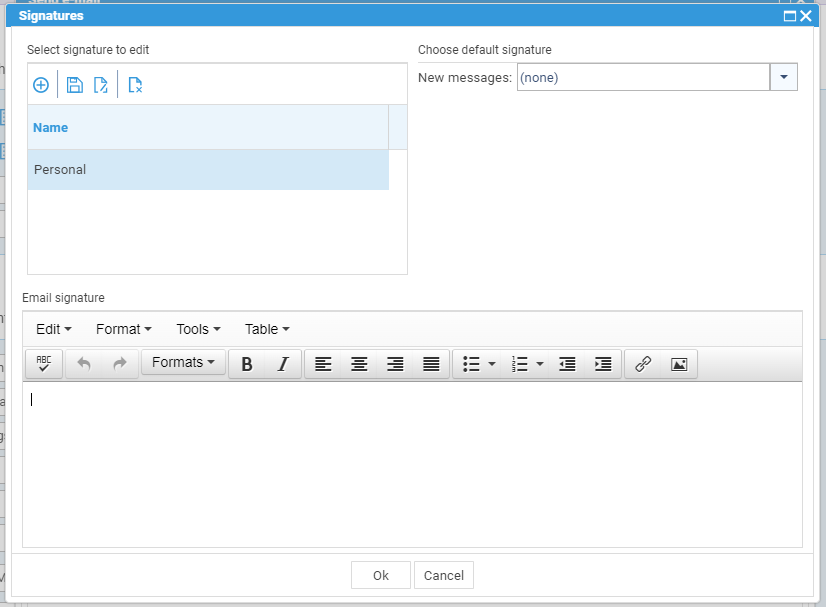
The user can then set up their own signature from within the Send Email screen in Case Management.
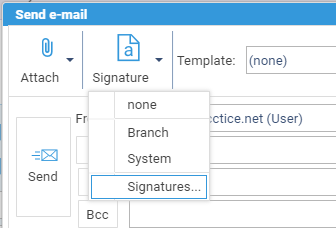
The signature can then be managed from the resulting screen.