Use the Osprey Outlook add-in for Office 365
Updated Apr 2nd, 2026
Who is this guide for?
Case Workers
This guide will go through the steps required to use the Osprey Outlook add-in for Office 365
Export emails using the Office 365 add-in
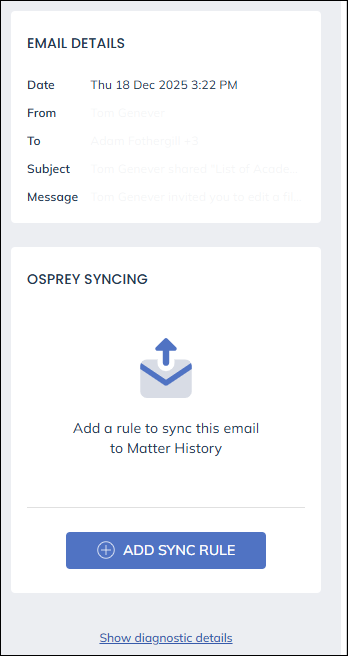
You will now see the details of the selected message, click Add sync rule
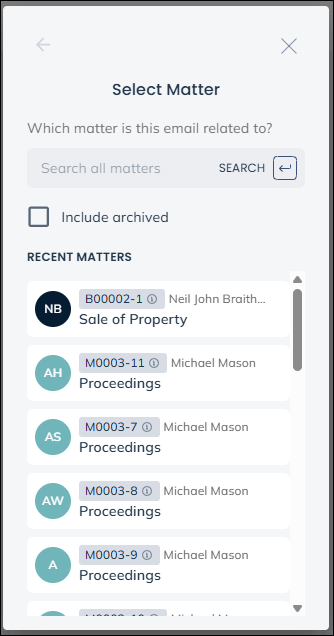
Search for and select the matter to save the message to
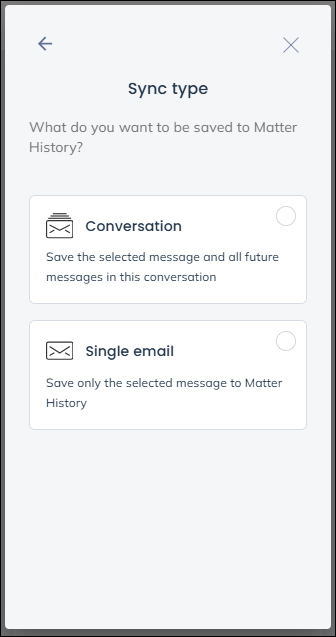
Choose Conversation if you wish any replies to also automatically be saved to Osprey, or Single email to just save the selected message.
You will see a summary, click Save to Osprey to continue
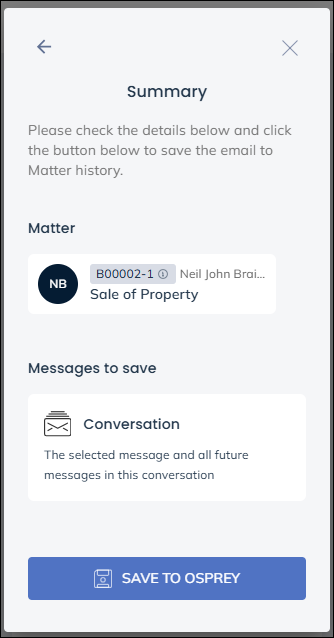
Here you can review how the message will be saved. Choose folder to select a matter history folder to save the message to, Choose Custom type to set a document type for matter history. Choose Retention period to set how long the message must be kept for.
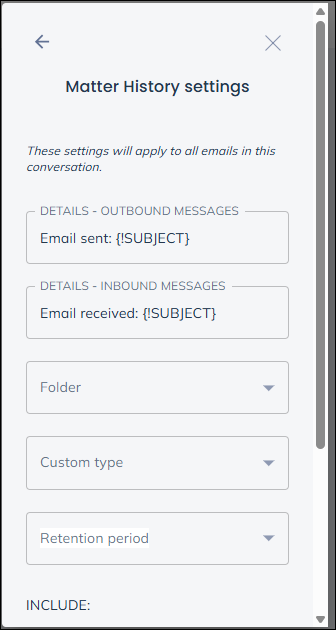
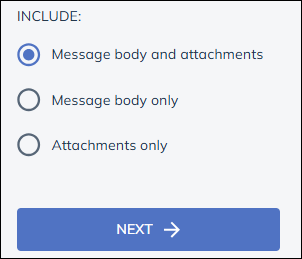
Scroll down to make choice on on what is to be saved, the message and attachments, message only, or attachments only. Click Next
View the summary and click Save to Osprey to save the message
Compose emails using the Office 365 add-in
When composing a new email, you can use the add-in to pull through information from Osprey, into Outlook.
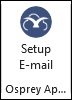
First, open a new email, and locate the Setup E-mail icon.
If you are not signed in, you will be asked to enter your credentials.
Now search for and select the appropriate matter
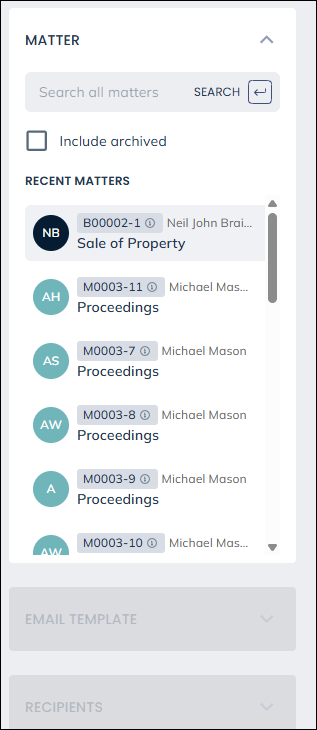
Once a client is selected, you can access any email templates, email addresses, matter history items or packages to bring into your email.
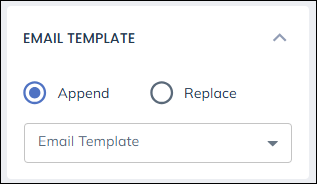
Click Email template to complete the message using the email templates from Osprey, you can choose to add it to existing text or replace it.
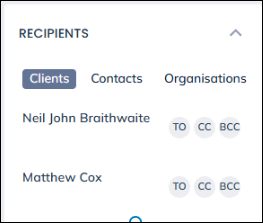
Left-click TO, CC or BCC to add the email the selected email address.
Scrolling further you can also attach any document or package available in Osprey.
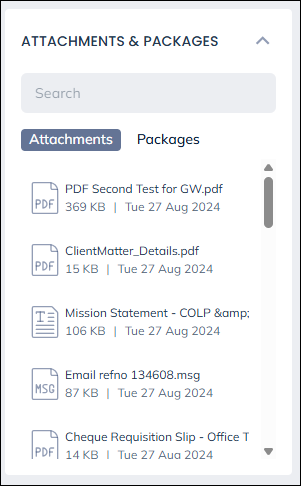
Select the document to add it to the message, when you choose a Word document, you will be presented with the option to attach it as a PDF or a Word document.

Export sent emails
Once an email has been sent, users will need to export from their Sent Items folder.
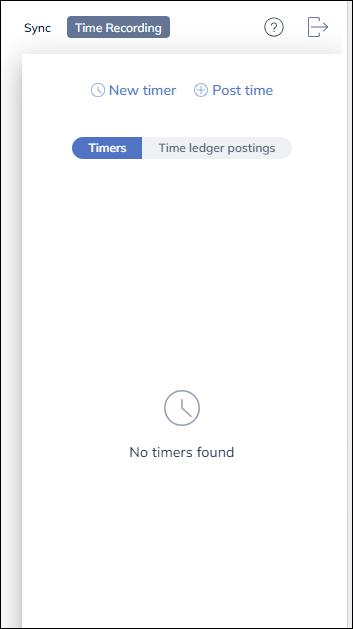
Time record your emails
Should you wish to add a time posting to your incoming and outgoing messages choose Time Recording rather than Sync and you will see the same options to time record as you do in Osprey >