Using the DocuSign Integration
Updated Mar 31st, 2026
Who is this guide for?
Any Users and Case Workers
This is a guide that provides users with information on how to use DocuSign in Osprey
You will need an active subscription with DocuSign to be able to benefit from Osprey’s DocuSign integration.
Clients will need access to the client web portal to be able to sign in and review any pending signature requests.
Logging in
Navigate to Case Management > Matters > Matter history

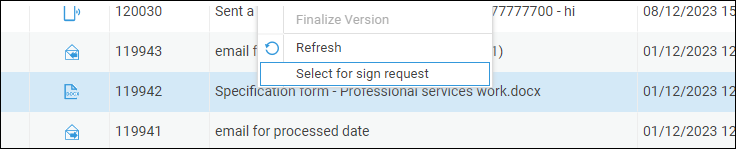
To sign into DocuSign, left-click Case Management. Then right-click on a relevant word document you wish to request a signature on, and left-click “Select for Sign Request”
Now left-click the Select for Sign Request wording beside the Keyword Search.

A confirmation of any documents to be sent for DocuSign Signature will appear.
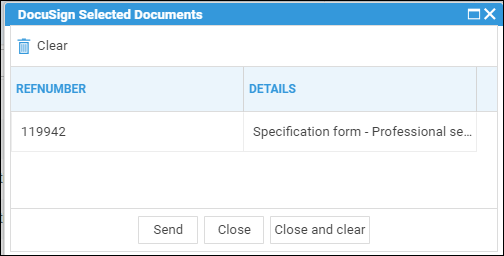
Click Send – A sign in prompt will appear.
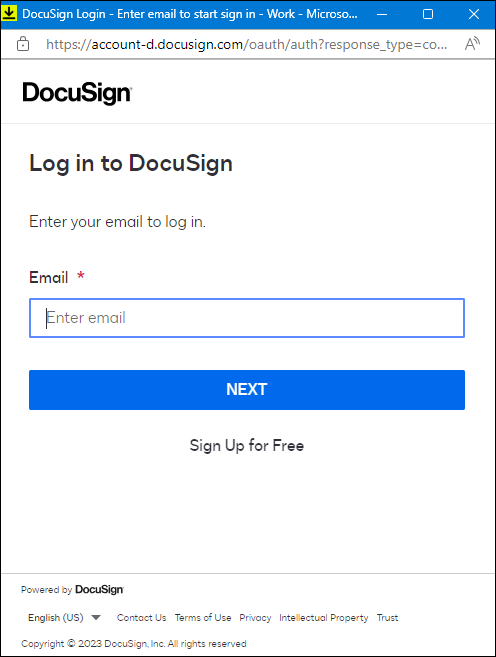
Complete signing in, and once completed, you will see the DocuSign Request Signature window.
Sending a request
After you have initially signed in, you will be taken directly to the DocuSign Request Signature window when requesting a signature.
A list of any clients or linked associates will be available to select. Confirm any additional required signers, and click Send.
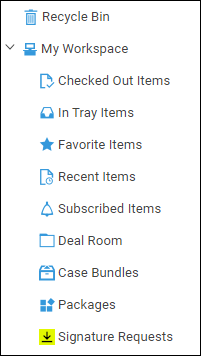
Existing requests are available via the Signature Requests area of the workspace on the left.
Signing a document
The Document will then be available from the Client Web Portal.
The Client will need to sign in and navigate to the DocuSign area.
Any pending requests, as well as completed requests, will be visible to Sign or View respectively.
Once the document has been signed by all signees, the completed document will then be uploaded as a PDF into the matter history.