Using Google Authenticator
Updated Aug 14th, 2025
Who is this guide for?
Any Users and System Supervisors
Osprey users can now choose to use a code generated independently by the Google Authenticator App for Android or iOS. This guide will take you through this process
*** Once a user has registered their account with Google Authenticator, they will be UNABLE to log in if they do not have their mobile device to hand, or another mobile device and their Secret Key. ***
Install Google Authenticator on your mobile device
In order to use the Google Authenticator method through Osprey, you will first need to install Google Authenticator on your mobile device.

Navigate to the Google Play Store or the Appstore and search for Google Authenticator, once found, click ‘Install’.
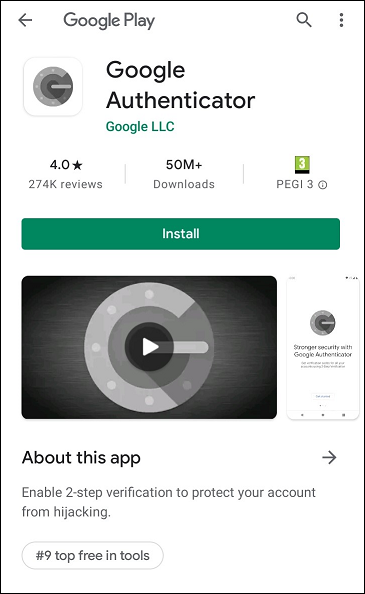
You can now open the Google Authenticator app from your phone:

Synchronising Google Authenticator
There are apps and browser extensions that enable you to generate 2FA codes on your PC just in case you don’t have your mobile device to hand.
You can obtain this key by logging in and going to the security area in your Google account.
Navigate your Google Account https://myaccount.google.com/ and log in to your account.
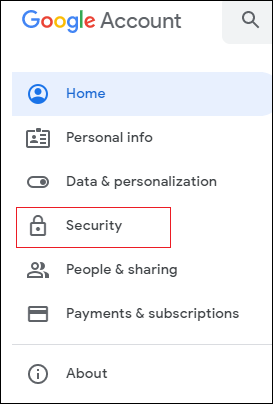
On the left hand side, click ‘Security’.
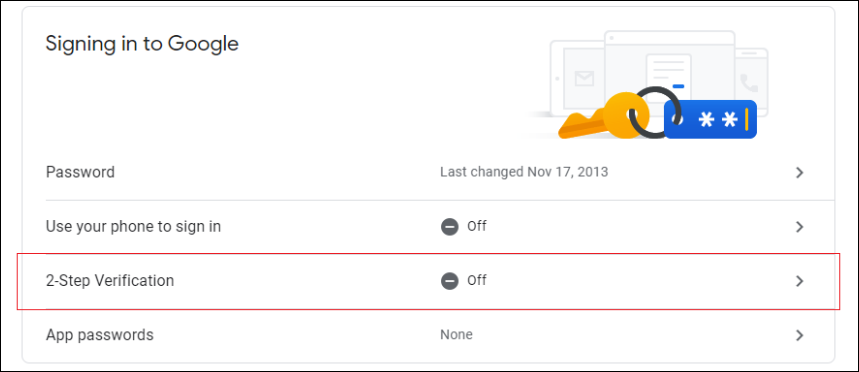
Navigate to ‘Signing in to Google’ and click ‘2-step verification’
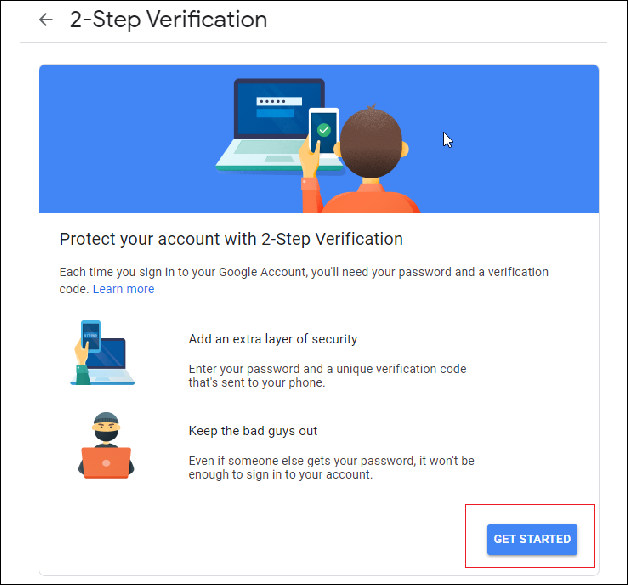
Click ‘Get Started’.
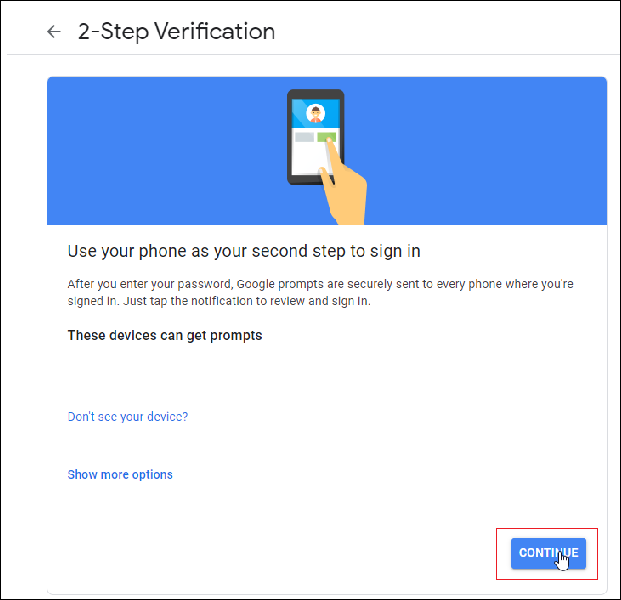
Verify your identity, click ‘Continue’.
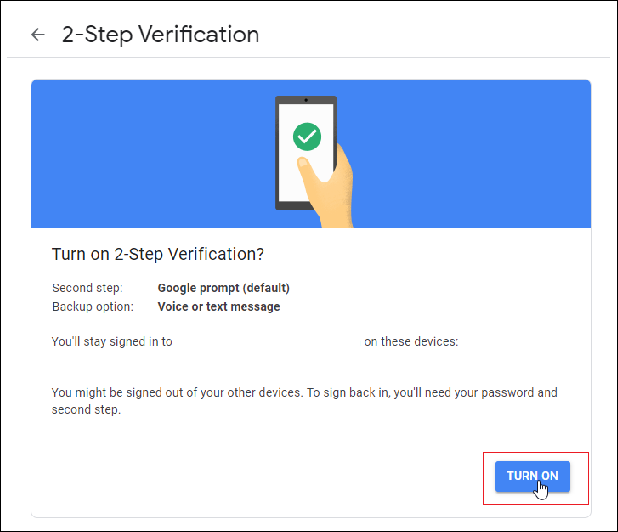
Add a backup method, click ‘Turn On’.
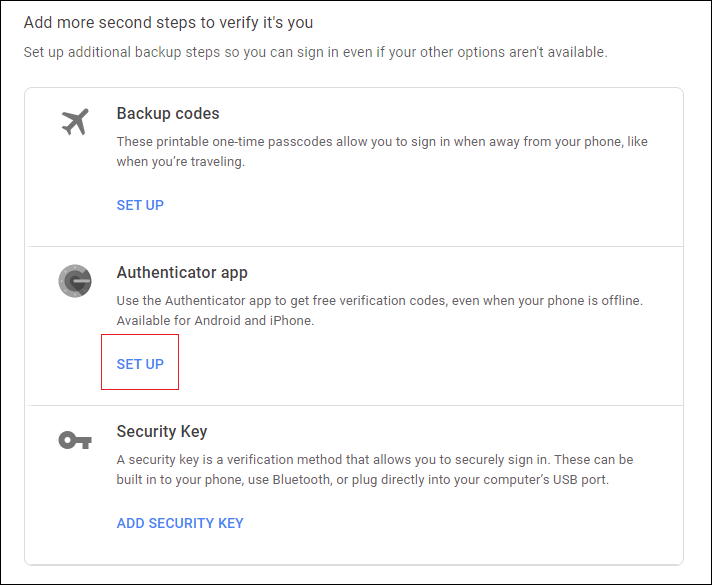
Click ‘Set Up’.
Click ‘Next’.
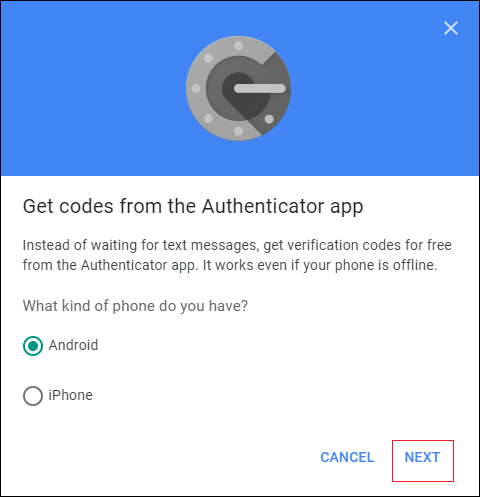
Click ‘Can’t Scan It?’
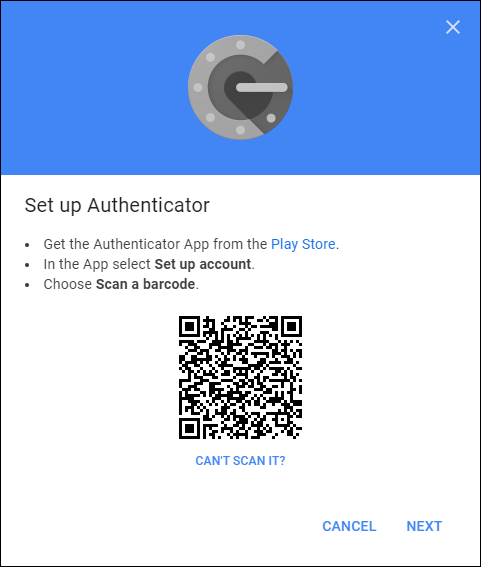
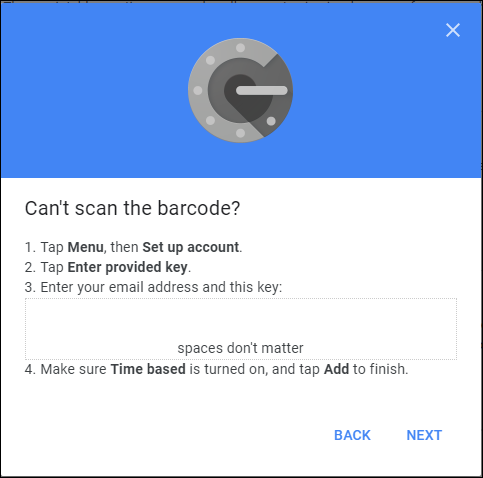
Note this key as you’ll need it while configuring an Authenticator app on your PC
Keep this tab open in your browser, click Next to verify the code your chosen Authenticator app generates.
On completion the app will display 2FA codes sent to your mobile device.
Set up the system to use Google Authenticator
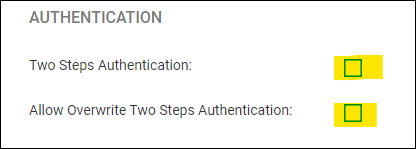
To use Google Authenticator, Two Step Authentication must firstly be enabled in Supervisor > System Setup > System Settings (Edit button) in the Authentication section:
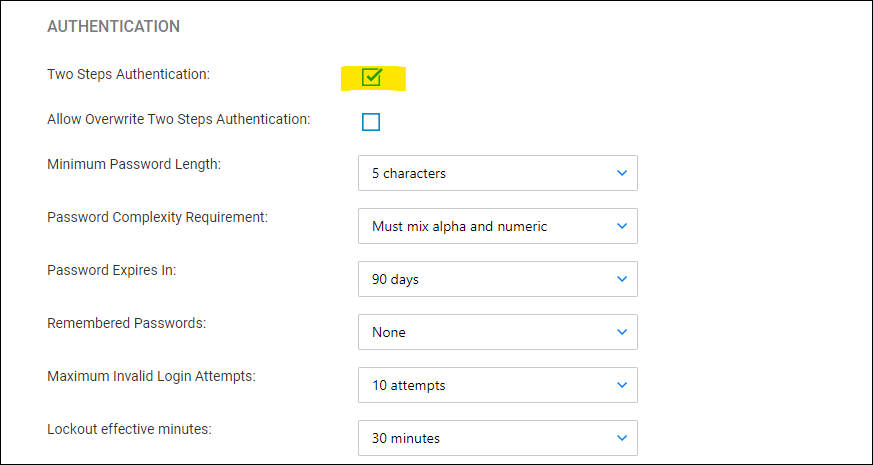
and also enabled in the User Profile area (when Allow Overwrite Two Steps Authentication is ticked in System Settings above, the user can choose to turn off the 2FA authentication requirement):

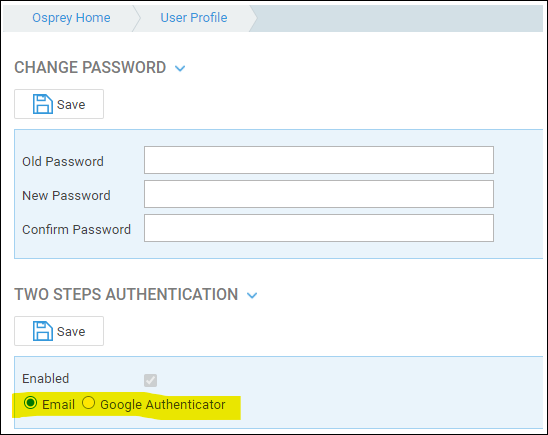
When the Enable checkbox in the User Profile section is ticked, the radio-button is visible and the user can select to use either the code received by email or the code generated by the Google Authenticator App.
First time set up
***To set up Google Authenticator for the first time you MUST be using Microsoft Edge or Google Chrome***
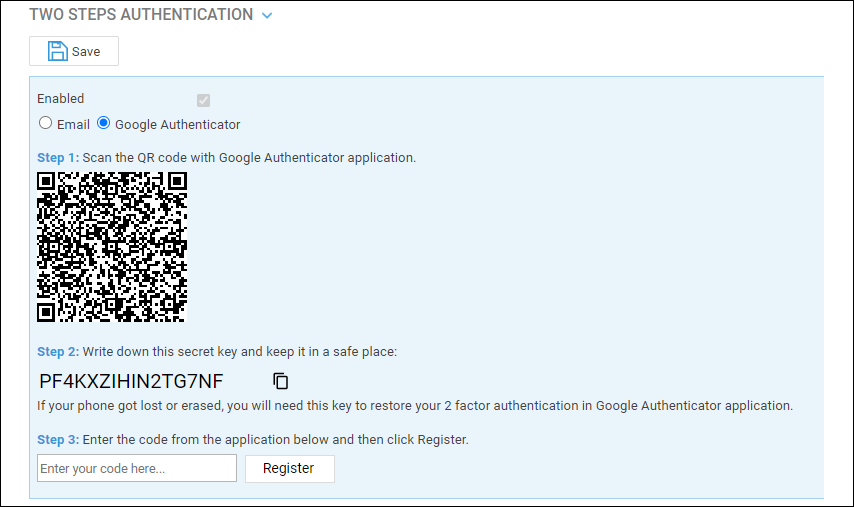
In the User Profile area, when Google Authenticator is selected for the first time, the instructions below are displayed.
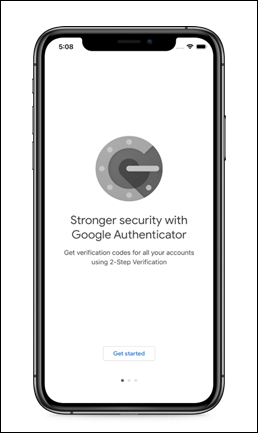
Open the Authenticator app on your mobile device, and click Get Started.
You can now scan the QR Code using the mobile device camera OR enter the Secret Key manually using the Google Authenticator App. You MUST copy the Secret Key shown in Step 2 and keep it in a safe place before proceeding to step 3. You can use the page icon alongside the secret key to copy it, and then paste into a document, or email to yourself for example. If you lose or forget your mobile device, the Secret Key can grant access to Osprey Approach Apps using any other mobile device.
- Scan QR Code – choose the Scan QR code option in your Authenticator app, and follow the instructions on screen to scan the Osprey QR code shown on screen. You will need to allow Authenticator to use your camera to use this method.
- Enter Key manually – follow the on screen instructions to enter the secret key manually.
Now enter the code displayed by Google Authenticator App into Osprey and press the Register button. Please note that the code will change every 30 seconds or so.
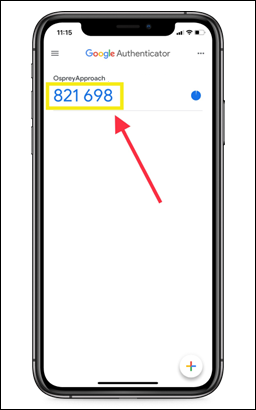
The message “Google Authenticator is registered” will be displayed once the registration is complete.
N.B. Once the Osprey account has been registered the Google Authenticator registration cannot be removed from your mobile device.
Next time you log in to Osprey, you will be prompted to enter your Google Authenticator code. Open your mobile app and enter the code showing alongside your Osprey account to access Osprey. Again, please note that this code will change every 30 seconds, so needs to be entered promptly.
N.B. The Google Authenticator code is also requested when a user has forgotten their password and requests a new one.
You’re going to need the secret key for your Google account.
I don’t have access to Google Authenticator. How can I log into Osprey?
You will need to speak to your supervisor and provide them with your Secret Key. They will then need to add a new account to their Google Authenticator using the Setup Key option, and enter your Secret Key to gain access to your authentication code.
Any additional accounts can be deleted from Google Authenticator as follows:
- iPhone – Tap the pencil button, tap the circle on the left side of any entry you want to delete (the circle will turn red) and at the bottom of the screen a delete button will appear.
- Android – press and hold the entry you wish to delete until the phone vibrates. A delete (bin) icon will appear in the top right.
If you do not have your Secret Key you will be unable to log in.
Supervisor – what to do if a user does not have their mobile device or their secret key
There are two options if one of your users is completely locked out due to losing/forgetting their mobile device and not having their secret key.
Archive the user and recreate them with a different user ID. The guide here explains how.
Turn off 2FA for the entire firm, along with the Allow Overwrite option. This can be done through Supervisor > System Setup > System Settings (Edit button).
