Your Timed Osprey Backup
Updated May 7th, 2024
Timed Backup Process
A timed backup is taken outside of our weekly backups, once you have requested a timed backup you will have been sent a quote for this as there is a cost involved.
Upon receipt of the agreement we will raise a request for our engineering team to carry out the backup, which will then be uploaded to the ftp site for you to access and download.
Downloading Your Backup
Step 1
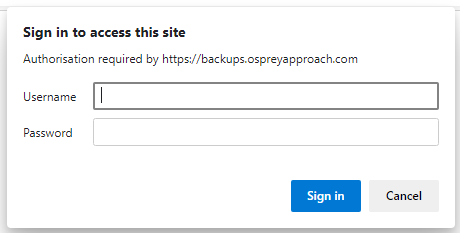
Access your Osprey backup through any browser.
You can then enter your Osprey URL, which should be a similar format to https://backups.ospreyapproach.com/yourcompanyname
The precise URL and credentials for access will have been sent to you in an email. Click ‘OK’ and you will be prompted to enter your username and password and click ‘OK’.
Step 2
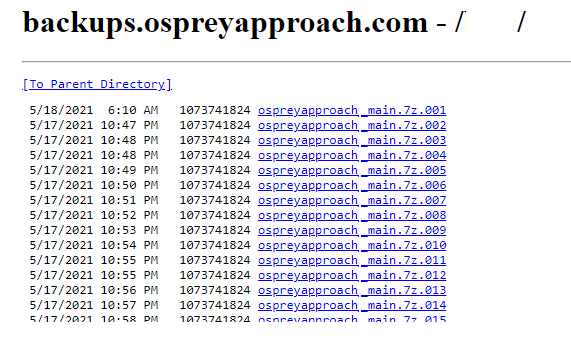
You will now be presented with your most recent backup.
N.B. You must ensure that the dates and times are exactly the same for all backup parts prior to downloading. Failure to do so will result in an inability to inflate your backup.
Click on each link in turn, and select ‘Save’ when prompted and proceed to choose an appropriate location in which to store the file.
Step 3
Once all part files have been downloaded to the same location, click on the first part file and open the archive using the 7-zip software. To extract it, enter the decryption password you have been provided with:
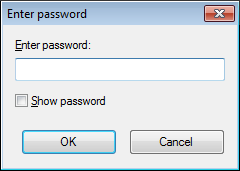
You may now extract the backup file to a suitable location. Extracting the first part of the 7-zip file will automatically look for all the other parts and inflate the backup for you. N.B. Once extracted, the backup will be in Microsoft SQL format, and will require the relevant program to be able to access your data.