Adding your Email User Signature
Updated Feb 23rd, 2026
Who is this guide for?
Any Users
Users must set up their email signatures using Osprey Web. As these are specific for their user, the user must be logged in to the account they wish to add their email signature. This guide will go through this process
Users can set up their own signatures for sending email from Osprey. Whether from themselves, a specific fee earner, or even use the Branch or Practice email signature.
Adding a signature
Navigate to the Matter history of a matter. Open the email window by selecting ‘Send e-mail’.

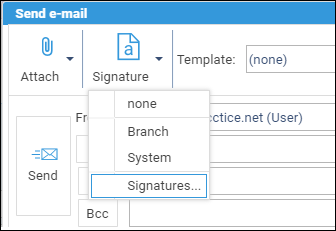
Click the ‘Signature’ tool, then select ‘Signatures…’.
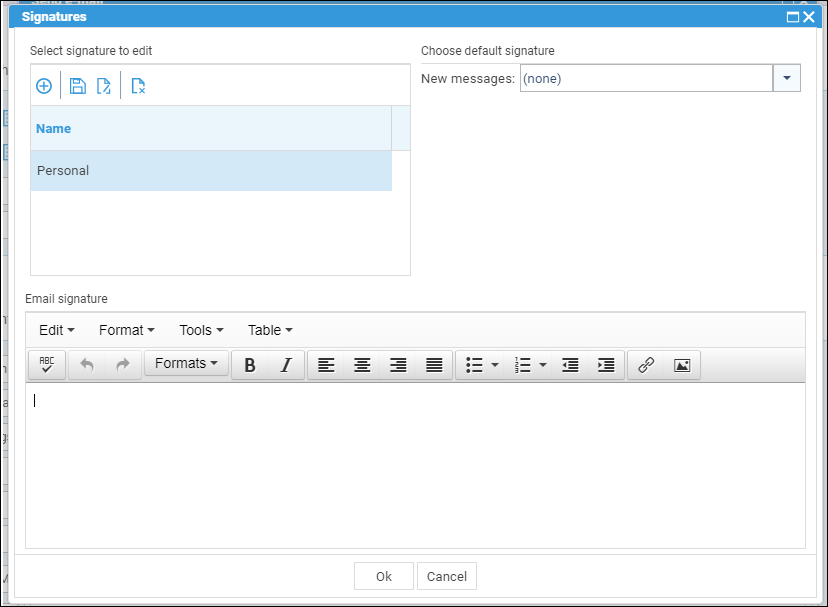
Now click + to create a new signature and provide it a name. Click ‘Save’. This will now appear as a blank signature.
Users can also set a default signature for new messages when sent from Osprey Web using the dropdown on the right-hand side.
Adding from source code
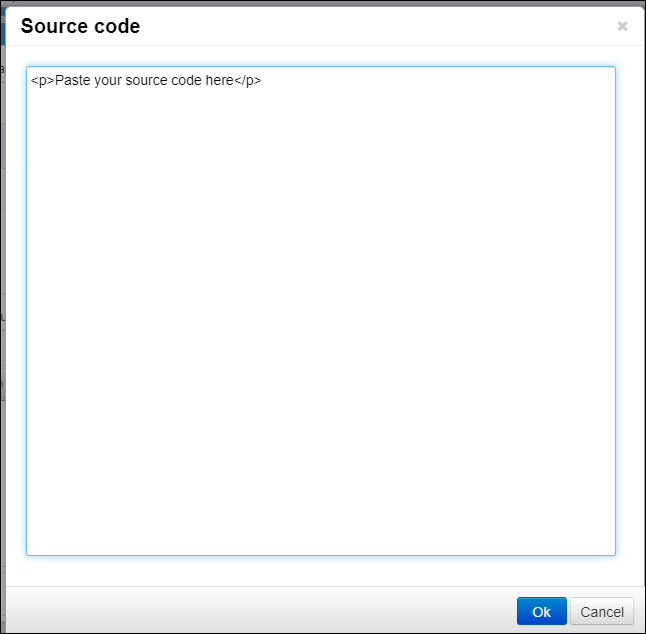
If you have the source code (HTML) of your email signature, go to Tools > Source Code.
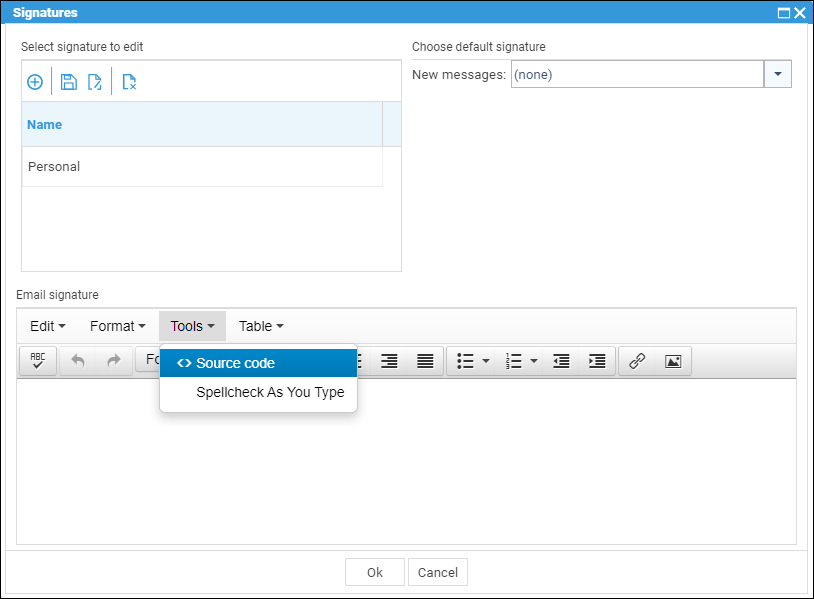
Paste your HTML code into the popup box, and then click ‘Ok’.
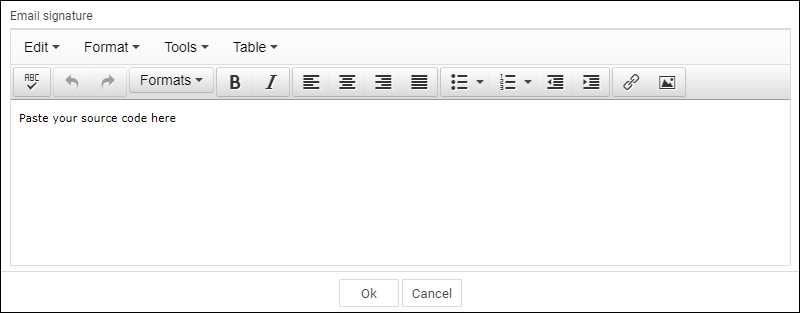
From this, you will be able to make any modifications. Such as changing contact details, making adjustments to the fonts, or just fine tune your Osprey signature.
Selecting a signature
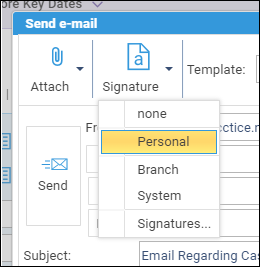
When composing an email, you can select which signature you wish to use. Do this by left clicking the ‘Signature’ dropdown and selecting the relevant one.