Include Documents Troubleshooting
Updated Mar 11th, 2026
Who is this guide for?
Case Management Supervisors and System Supervisors
This guide will cover some of the common issues when using Include Documents
Troubleshoot Images in Include Documents
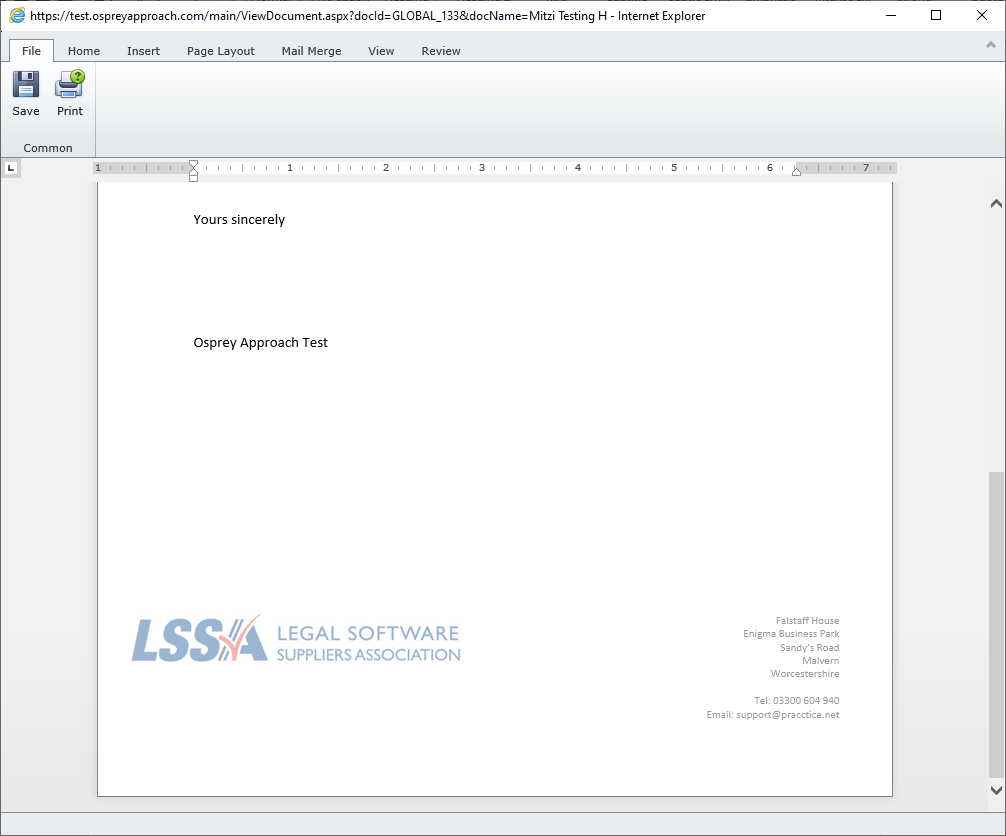
You may find that when using the Online Editor, your header and footer images do not show.
This is due to differences in the way that the images are shown across the different technologies. To resolve this, you can amend your header/footer include documents to embed the images in a table.
Navigate to Supervisor > Include Documents.
Right click the Include Document you want to amend and click the Link option.
Select the branch header or footer you want to amend, right click and View. This will download a local copy of your document.
In the document, insert a table, and set it to have no borders.
In the table cell where you want the image to appear, select Insert > Object.
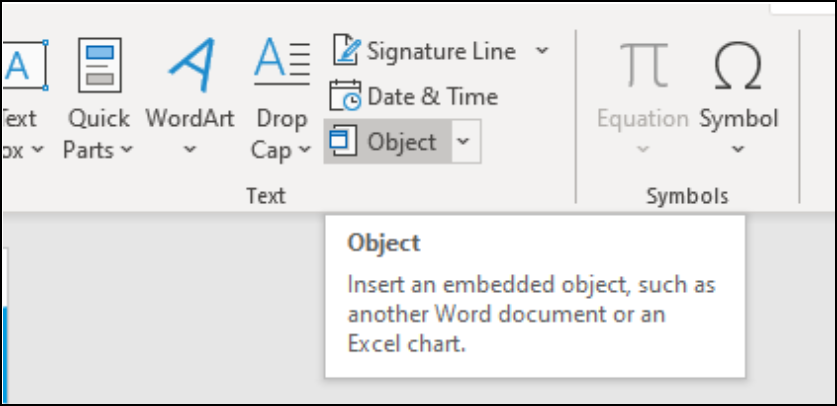
And then choose Bitmap Image.
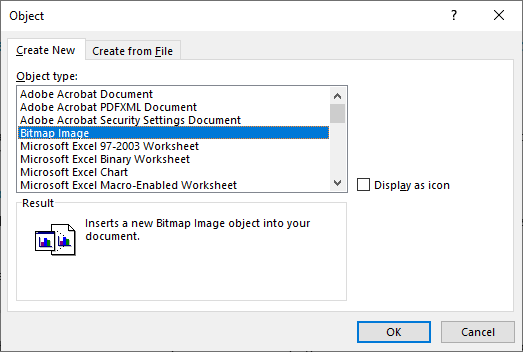
The Paint program will open. Copy and paste your graphic into this window, then close it.

Save your changes locally, then upload the Include Document, overwriting the old one.
To do this, from Supervisor > Include Documents, right click the document you want to overwrite and select Link.
Choose the branch you want to overwrite, browse for your recently saved document, and then select Save.

The Online Editor now displays the graphics when the document is run.