Configure your Browser
Updated Mar 24th, 2026
Who is this guide for?
Any Users
This guide advises you on how to configure your browser to be compatible with Osprey and its features.
To ensure Osprey runs smoothly when accessing via a browser, we recommend the below settings to be applied to your device and your browser.
Google Chrome
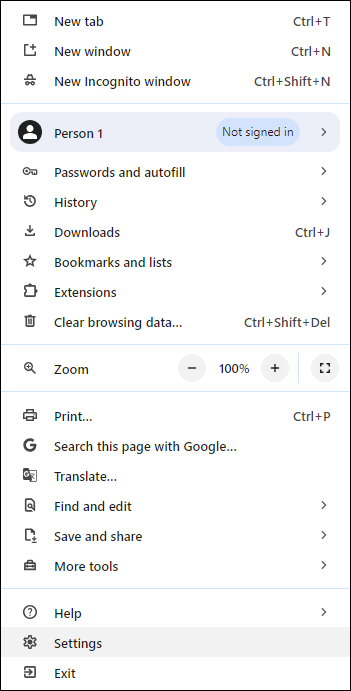
At the top right of your browser window, select the ‘Tools’ button, which should appear as three vertical dots in the top right.

Now, select the ‘Settings’ option towards the bottom of the resulting drop-down list.
In the list of tabs which will now appear on the left hand side of your screen, select the ‘Privacy & Security’ option.
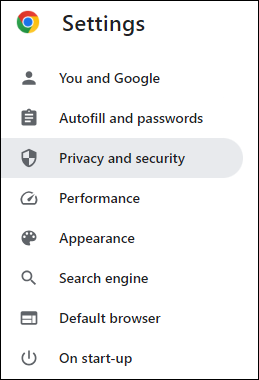
This will bring up a new menu, as shown here. Select ‘Site Settings’.
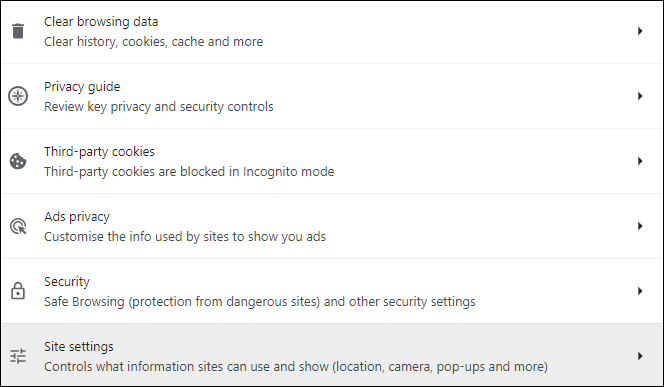
At the bottom of the resulting options, there will be an area headed ‘Pop-ups and Redirects’.
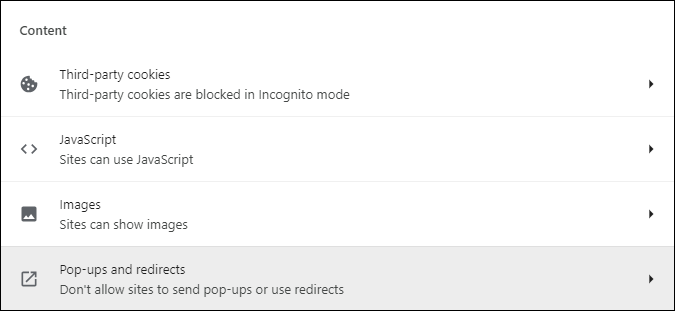
At the bottom of this page is a setting for ‘Allowed to send pop-ups and use redirects’ – Click the ‘Add’ button next to this.
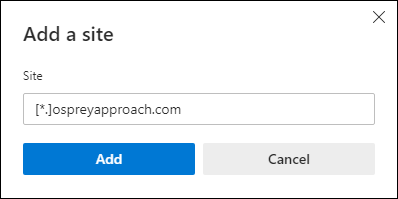
A pop-up will appear.
In the text box, enter [*.]ospreyapproach.com and click ‘Add’. Then do the same with [*.]ospreyprod.co.uk and click ‘Add’ and repeat with [*.]ospreyprod-la.co.uk.
Microsoft Edge
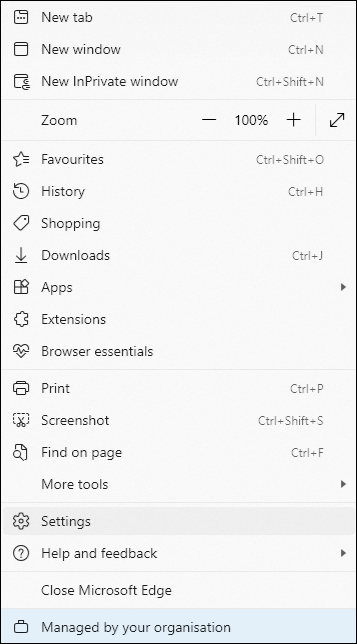
At the top right of your browser window, select the ‘Settings and More’ button, as highlighted below:

Next, click ‘Settings’ from the drop-down list.
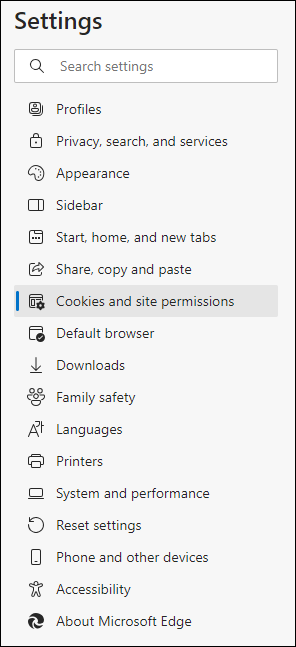
A new tab will open. Select ‘Cookies and site permissions’ on the left hand navigation bar.
Select ‘Manage and delete cookies and site data’.

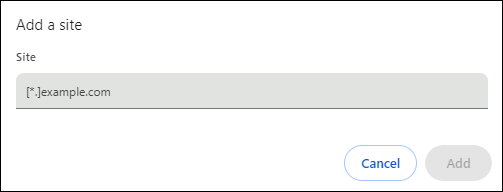
Click ‘Add’ under the section titled ‘Allow’ and a pop-up text box will appear.
In the text box, enter [*.]ospreyapproach.com and click ‘Add’. Then do the same with [*.]ospreyprod.co.uk and click ‘Add’ and repeat with [*.]ospreyprod-la.co.uk.
Next, click the ‘Back’ arrow at the top of the screen to navigate to the previous page.

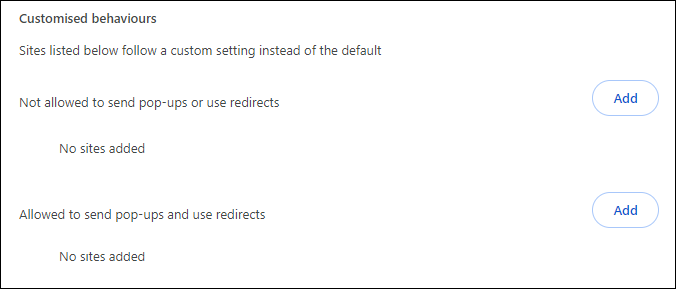
Locate a section titled ‘Pop-ups and redirects’ and click the > symbol.

As previously, there is an area titled ‘Allow’. Select the ‘Add’ button and add [*.]ospreyapproach.com, [*.]ospreyprod.co.uk and [*.]ospreyprod-la.co.uk. in the same way.


Once complete, you can close the settings tab.
Mozilla Firefox
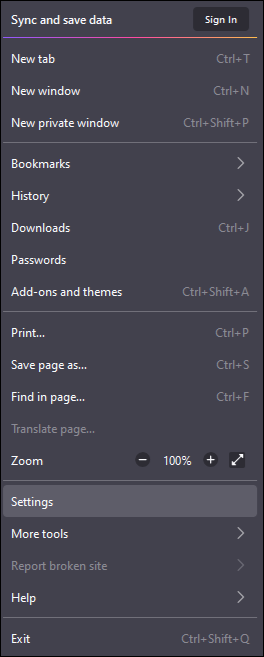
At the top right of your Firefox screen, you have a series of icons. Select the ‘Open Menu’ option (three lines), to open up a further list of options which will allow you to configure the browser.

Select the ‘Settings’ tab.
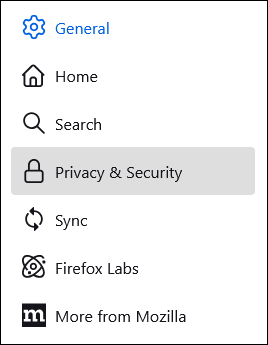
From the left hand panel which appears, select ‘Privacy & Security’.
This will open a list of website options on the main part of the page. Scroll down the list until you come to a section headed Cookies & Site Data.
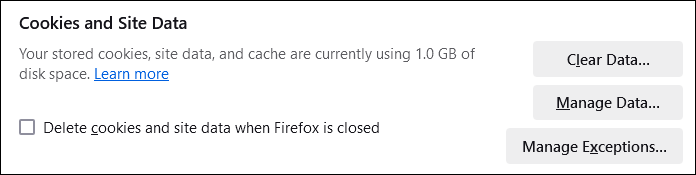
Select the ‘Manage Exceptions’ button.
This will open a pop-up allowing you to add *.ospreyapproach.com into the Address box, as below. Once added, click on Allow.
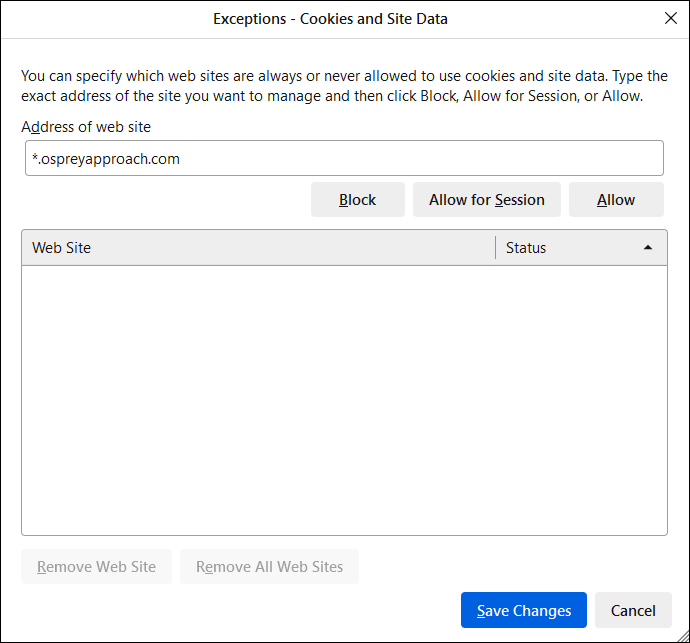
Remember to also add [*.]ospreyprod.co.uk and [*.]ospreyprod-la.co.uk. Click Save Changes once done to return to the main Privacy page.
Continue to scroll until you reach a section headed Permissions.
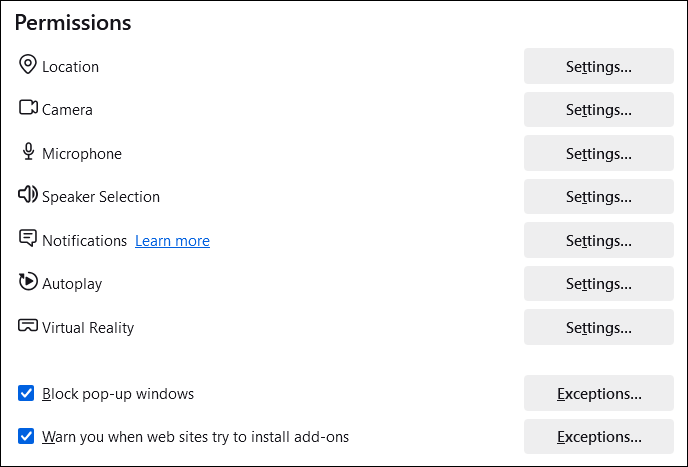
Click the Exceptions button next to the Block Pop-Up Windows check box.
Once again, add *.ospreyapproach.com, [*.]ospreyprod.co.uk and [*.]ospreyprod-la.co.uk into the Address box, clicking Allow for each one.
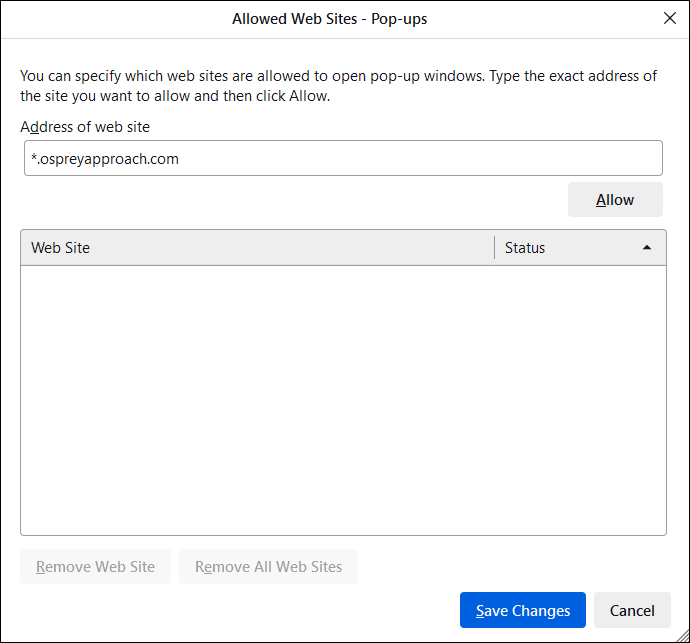
Click Save Changes when finished. This will complete the setup of Firefox and you can now close the Settings page.