Creating Packages
Updated Feb 25th, 2026
Who is this guide for?
Any Users
Packages allow you to select multiple documents, files and images from the matter history and group them together so they can then be sent to the relevant individuals. This guide will walk through how to create and send a package within Osprey
Create and send multiple files through a zip folder or as one pdf document by creating a package in Osprey
Creating a package
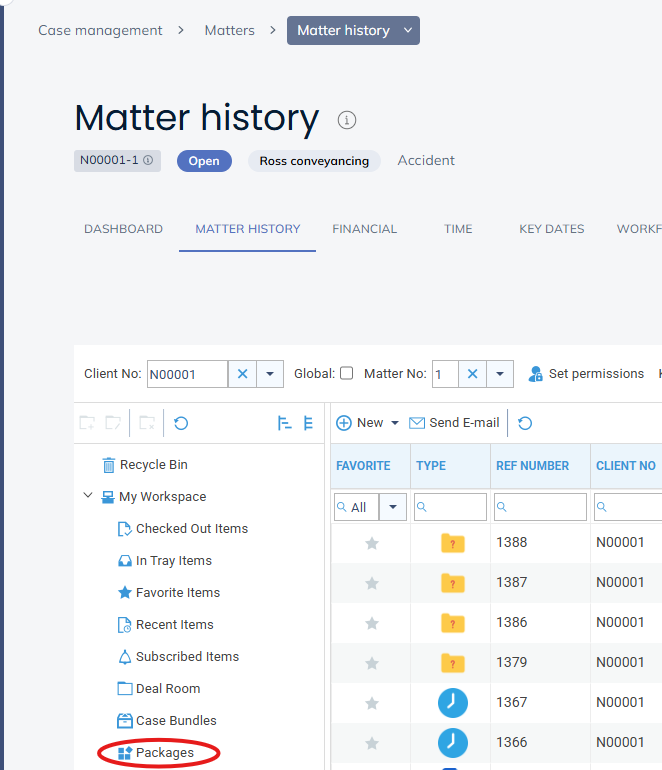
Navigate to the packages area by selecting Case Management > Packages.
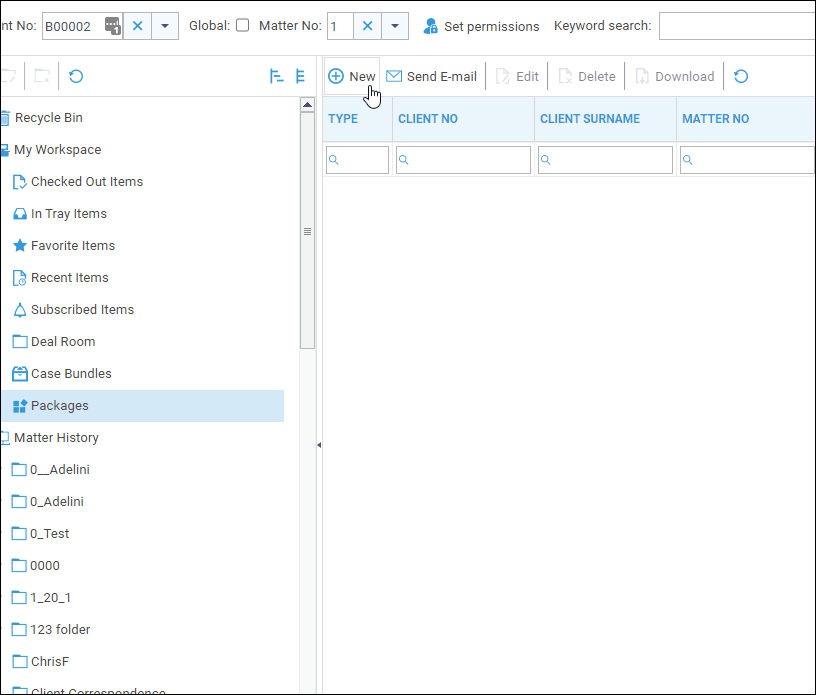
Once in the packages area, select new in the top left corner to begin creating a new package.
Once you have selected ‘New’, you can choose to create either a zip folder or a pdf. If a zip file is chosen, all of the files are stored in a zip file in the same format as they are stored in the matter history. If you choose pdf, all files will be inserted into one pdf document.
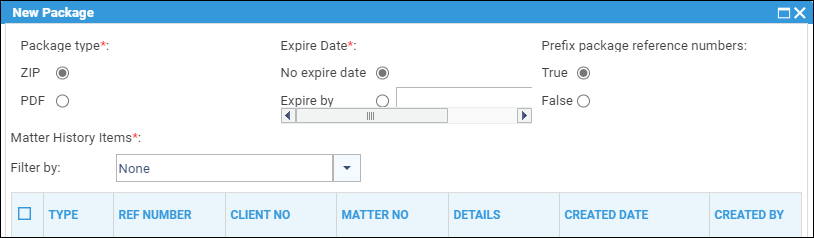
As seen in the image above, you can also choose whether the package will expire. This is to prevent your clients from opening them after a certain date has passed.
You are also able to prefix a package with the file reference numbers. Do this by selecting ‘True’ in the ‘Prefix package reference numbers’ section on the right-hand side. When toggled to ‘True’, the downloaded package renames the files. It will do this by adding their Ref Number to the beginning of each file name.
To choose the files you want to include in the package, select them by holding down the CTRL key on your keyboard. Then clicking the small square box on the left hand side of the screen:
Once you have select all the relevant files, click ‘Order Package’ to move to the next step.
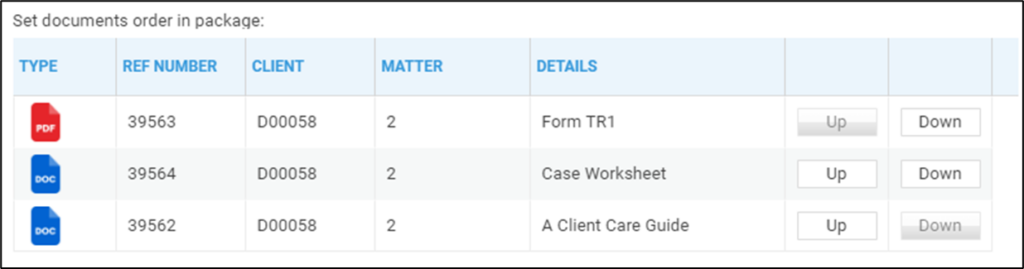
Use the up and down buttons on the right hand side to reorder your package. Once finished, click Save to create your package. You can also filter items by folder when adding them to your Package.
To email or download your the package, right click it in the packages section in the matter history. You will also have an option to export the package straight to the Matter History.