Create and Edit Workflow Tasks
Updated Mar 2nd, 2026
Who is this guide for?
Case Management Supervisors and System Supervisors
This guide will go through creating and amending your workflow tasks to tailor them to the needs of your firm
Tasks may in turn be linked to workflows – Create and Edit Workflows >
Add a Basic Workflow Task
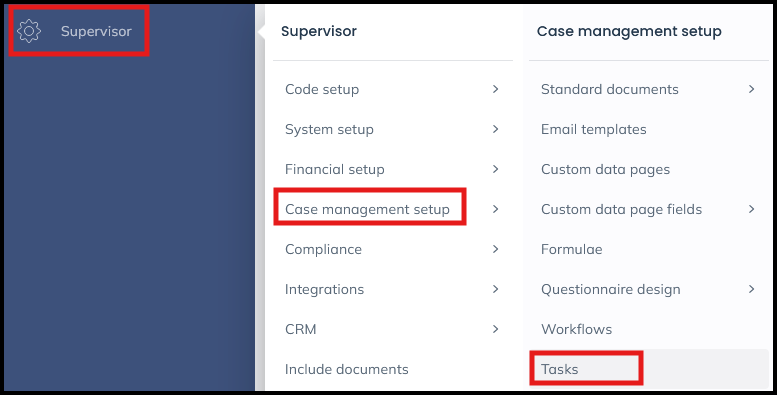
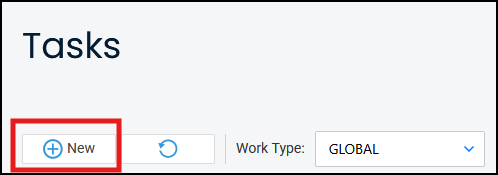
In the ‘Supervisor’ area of Osprey, go to Supervisor > Case Management Setup > Tasks. To create a new task (or step) to house the document, select ‘New’.
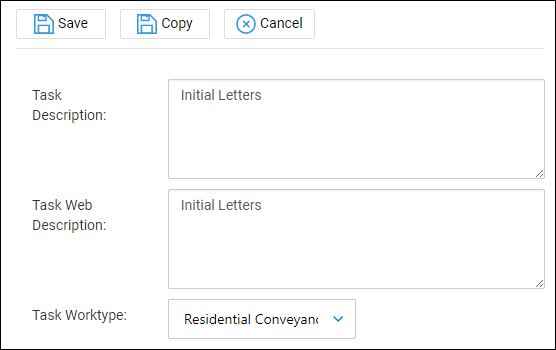
Give the task a description. If you use the Client Portal, enter a Web Description. Now choose the work type that this task will be used for and click ‘Save’ to save the new task.
You now need to add some actions to this task. Right-click on the relevant task and then select the ‘Link’ button to open up your options.
The actions available are as follows:
| Action | Description |
|---|---|
| Add Matter History Item | This action will add a pre-defined note to the relevant client’s matter history |
| Send an Automatic Email to a Client | Sends a pre-defined email to the relevant client. |
| Display a Message to the User | Allows a string of text to display to the user running the workflow. |
| Send Standard Document | This action will automatically merge a standard Word document |
| Ask User for Text Input | The user running the workflow will be able to enter a string of text which is then recorded in the Matter History |
| Add a Keydate to Matter | The user will fill in the details of a key date whilst running the workflow. It will be added to the matter. |
| Add an Automatic Keydate to Matter | The key date type will be pre-defined, so that it can be created automatically when the task is run in a workflow. |
| Send an Email to a Client | You may send an email to a client using this action. The subject and body of the email can be filled in when the task is run. |
| Allocate a Web Questionnaire | You may submit a questionnaire to the Client Access Portal for review to fill in database and dossier fields |
| Allocate a Custom Questionnaire | Enter and/or review details in database and dossier fields |
| Send an Email to a User | You can send an email to another local user of Osprey. |
| Send a Text Message to a client | This action will allow you to send an SMS text message directly to a client’s mobile. Please note that this is only available if you have subscribed to TextAnywhere. See our guide Send a Text Message from Osprey >. |
| Add a Cheque Requisition | Enables the user to fill in a requisition form. |
| Add a Dossier Date | Filling in this action during the task will add a specific value to a date field on the dossier. |
| Add a Keydate Linked to Dossier Field | This action will create a key date based on an offset from an existing dossier date. For example Hearing Date + 3 weeks. |
| Meet Unmet Keydates by Type | The action will meet any specified unmet key dates present on the current matter. |
| Set Dossier Field | This action will automatically add or update a specified value of an existing dossier field. |
| Open a Read-Only Document | The will open a PDF document while running the task. This document cannot be edited. |
| Tick Task | This can be used in conjunction with criteria to prevent a task being ticked unless fields are set to particular values |
| Send Merged Email Template | You will be able to send an email which has been set to include client and matter data. |
| Post to Debt Ledger | When this action is run you will able to select a posting to the Debt Ledger, there is also the possibility to print the Debt Ledger |
| View Debt Summary | This will present a view of the debt |
| Posting to Time Ledger | Displays the time posting screen to complete a time posting manually. |
| Send an automatic email to a user | A pre-defined email can be sent to a specified user from either the user or the matter fee earner |
| Unpublish a Published Matter | A published matter matter is edited to remove access to the Web Portal |
| Update Workflow Status Bar | The Workflow Status Bar is updated with pre-defined text |
| Produce Lexis Nexis Documents | This action will automatically merge a Lexis Smart Form |
Select the action you want to insert into your workflow task by right clicking and then choosing the ‘Select’ button.
In our example we will add a ‘Send Standard Documents’ action, which will run one of your standard documents available in Osprey and then, when closed, give you the option to save the document to the matter history.
Once you have selected the ‘Send Standard Document’ task, a list of available documents will be shown. These will all be of the same work type as the selected task.
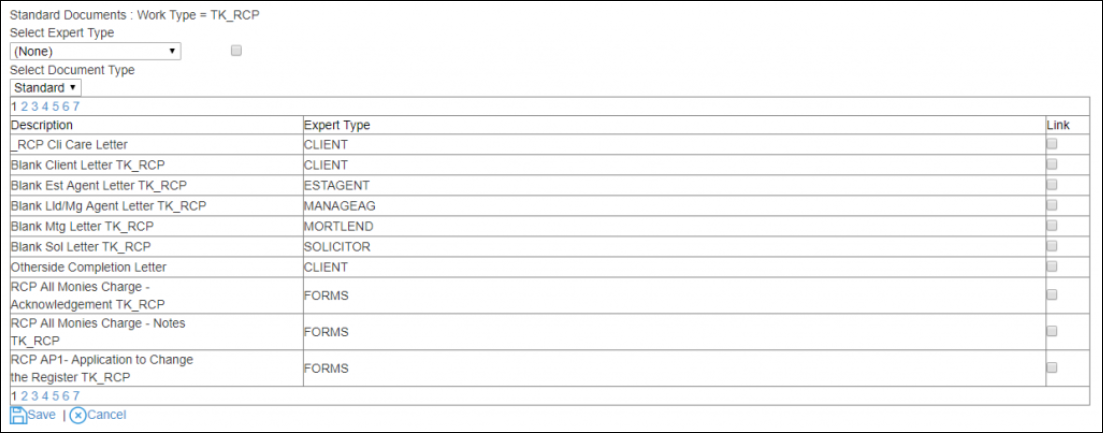
Tick the box in the ‘Link’ column for any letters you wish to include in your task, then select the ‘Save’ icon. Your letters will now appear on the left-hand side.
Click on the ‘Save’ icon in the top left to keep your changes to the task.
The task will now need to be linked to the Workflow you wish to use it in. Go to your ‘Supervisor’ area in the left-hand side panel and select ‘Case Management Setup’.
Now select ‘Workflows’ to open the list of currently available workflows.
Go through the list and locate the workflow you wish to add the task to. Right-click on it and select the ‘Link Tasks’ icon.
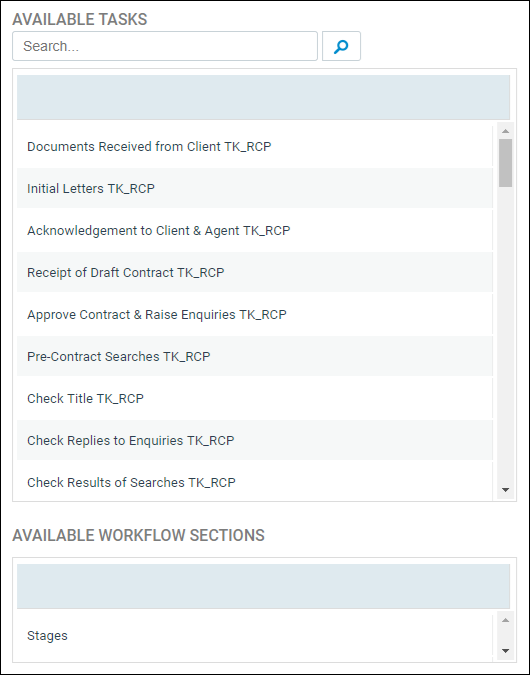
On the right hand side of the screen, locate your newly created task and click the ‘Select’ icon.
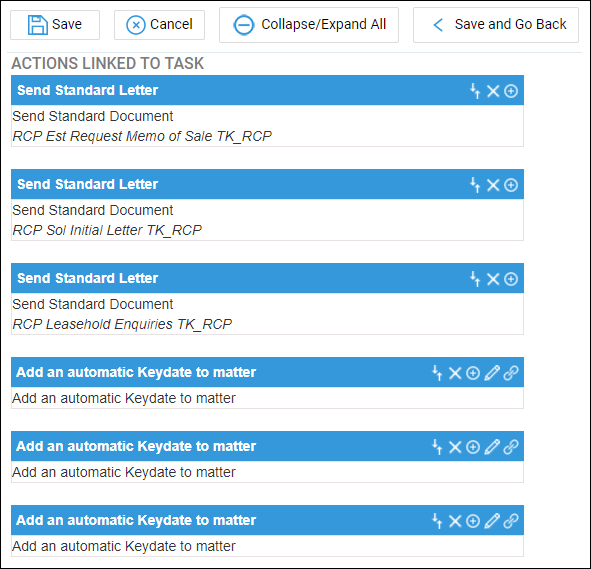
Your task will now appear on the left-hand side. You will be able to see the details of the actions which make up your task. Select the ‘Save’ icon in the top left to keep your changes.

Now click ‘Back’ to return to your workflows list.
You are able to edit any of your existing tasks. Go to ‘Supervisor’ and select ‘Case Management Setup’, then click on ‘Tasks’. Select the relevant worktype and then right-click on the task and select ‘Link’ to bring up the task details.
You may add new actions using the method described previously. You can also drag and drop existing actions by holding down the left mouse button on the relevant action and dragging it to the appropriate place.
Once you have finished editing, select ‘Save’.
Adding Criteria to Workflow Tasks
Actions that can have criteria set against them will have the following symbol showing to the right hand side of the actions heading.


This option gives the ability to set criteria on certain action types and, once set, criteria can decipher whether an actual action is run or not dependent on information filled in on a client’s file and matter. Criteria can be set on the following action types
Send an automatic email to a client
Merged Email Template
Send an automatic email to a user
Display a message to a user
Send Standard Letter
Add an automatic key date to a matter
Allocate a custom questionnaire
Send an email to a user
Send a text message to a client
Add a key date linked to a dossier field
Meet unmet key dates by type
Open a read only document
Tick Task
Criteria is set based on existing data held on a client’s matter and file. This can be information held at both Client and Matter level, for example, standard system information such as details from the address page or matter page. If available, information can be used from both Client and Matter level dossier pages.
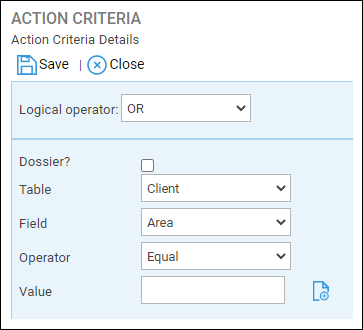
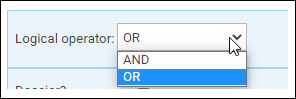
Logical Operator – Use the ‘Or’ Option if you wish an action to run when either one or more criteria are met. Use the ‘And’ Option if you only wish an action to run if it meets multiple set criteria.
If Dossier remains unchecked, you will have the ability to set criteria based on standard system information from the areas shown within the drop down menu.
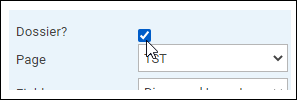
If you check the Dossier option, you will have access to Dossier pages (both client level and matter specific) and the fields within them, this will depend on the system set-up
When setting criteria you also have the following functions available:
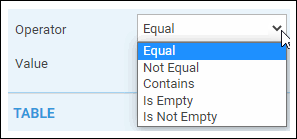
Equal to: When added, the operator will display as ‘=’. Use this option when you wish an action to run if the selected field’s data is equal to the specified criteria.
Not Equal: When used, the operator will display as ‘N’. Use this option when you wish an action to run if the field’s data is not equal to the specified criteria.
Greater Than: When used, the operator will show as ‘>’. Applicable when setting criteria against numeric values/fields. Use this option if you wish an action to run if the selected field’s data is greater than specified criteria.
Less Than: When used, the operator will show as ‘<‘. Applicable when setting criteria against a numerical value/field. Use the option if you wish an action to run if the selected field’s data is less than the specified criteria.
Is Empty: When used, the operator will show as ‘E’. Applicable when setting criteria against fields that have not had any data added to them such as a date box or text box. Use this option if you wish an action to run if the selected field’s data is empty.
Is Not Empty: When used, the operator will show as ‘F’. Applicable when setting criteria against fields that have had any data added to them. Use this option if you wish an action to run if the fields contain data.
Click the Add icon


You may add further criteria if you desire and click Save when finished.