Managing Purchase Ledgers
Updated Mar 12th, 2026
Who is this guide for?
Accounts Users and Accounts Supervisors
You can set up new purchase ledgers to record invoices from and payments to your suppliers. This guide will go through this process
Export a list of purchase ledgers
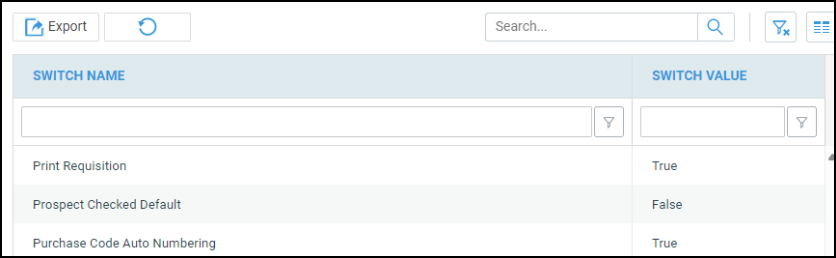
It is best to ensure you are familiar with your Purchase ledger numbering structure prior to adding any new codes. When adding new suppliers the system will ask for a purchase code, unless the configuration switch Purchase Code Auto Numbering is on. This can be located under Configuration Settings in Supervisor > System Setup.
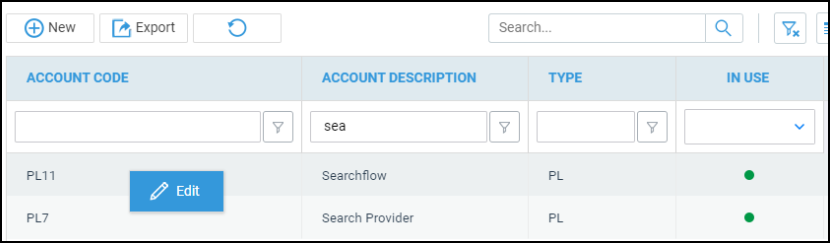
To export a list of all of your existing Purchase Ledgers, navigate to Purchase Ledgers, then click the Accounts List button.
You can then use the filter row to filter your suppliers down if required. Then click the Export button in the top left of the screen.

Add a new purchase code
Occasionally, you may need to add a new supplier. To do this, navigate to the Accounts menu, then Purchase ledgers, and finally click Purchase header

On the new screen click New

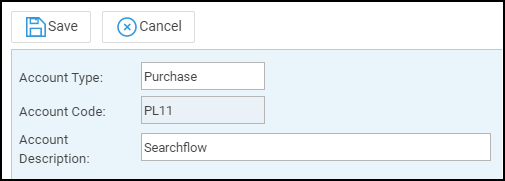
If you have turned on the Purchase Code Auto Numbering switch, your purchase code will be assigned already as shown below. If not, enter a code, and a description for the supplier.
In the next section, enter the address details for your new supplier (optional)
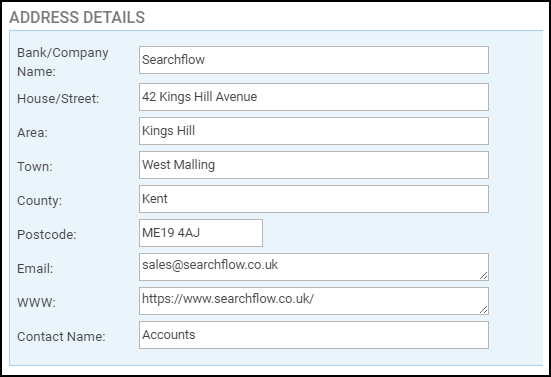
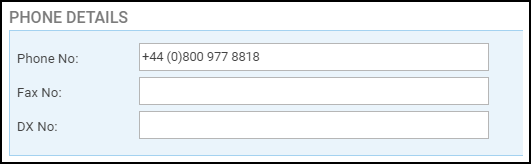
Then any communication details (optional)
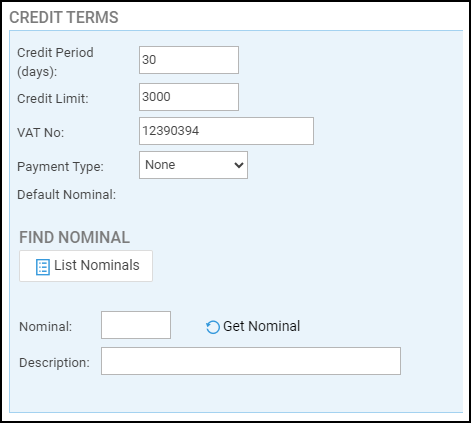
You can now enter any credit terms you have been given by your supplier. The credit period is in days, and is used by the Suggested Purchase Ledger Payments report to work out which invoices are due for payment based on when they were raised, and how long the credit terms are.
You can also add a credit limit (how much credit your supplier will allow). As well as their VAT number, and a payment type of BACS, CHQ (Cheque), DD (Direct Debit) and SO (Standing Order). Finally, if you wish, you can add a default nominal for any invoices to be posted to. Although this can be changed during the posting routine.
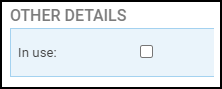
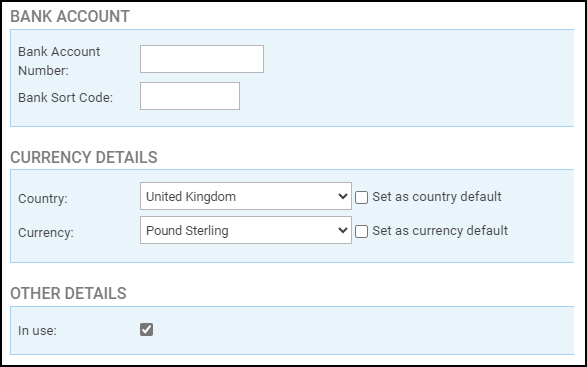
The final sections are for the Bank Account details (your supplier’s bank account details for payments). As well as country and currency defaults, and whether the Purchase Ledger is currently in use or archived.
Scroll back to the top and click Save once you are done.
Edit a purchase ledger
If you need to change any of the details of a purchase ledger/supplier (other than the code, which cannot be amended), you can do so from Accounts > Purchase ledgers > Purchase header. Locate the purchase ledger to edit, right click it and select Edit.
You can now change any details other than the code, and click Save to save your changes.
Archive a purchase ledger
To take a purchase ledger out of use, follow the steps to Edit a purchase ledger above. Scroll to the bottom of the details page and take the tick out of In Use. Then scroll back to the top of the screen and click Save.