Managing your Work Types
Updated Mar 12th, 2026
Who is this guide for?
Case Management Supervisors and System Supervisors
This guide will go through adding, amending and managing your Work Types in Osprey
Work Types dictate the area of law being carried out. This will also provide you with access to any documents, emails and workflows relevant to the file.
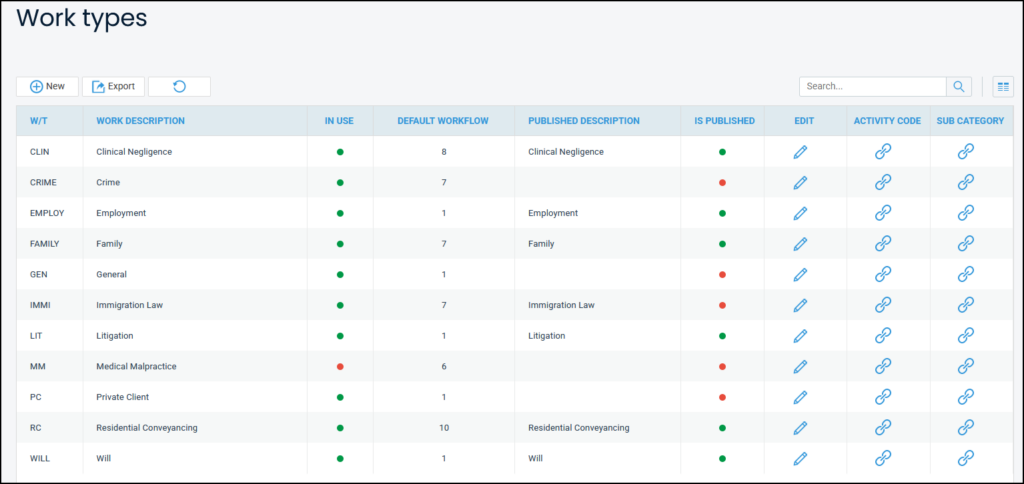
View your current Work Types
Navigate to Supervisor > Code Setup > Work Types. This will provide you with a list of all current and archvied work types.
Adding a Work Type
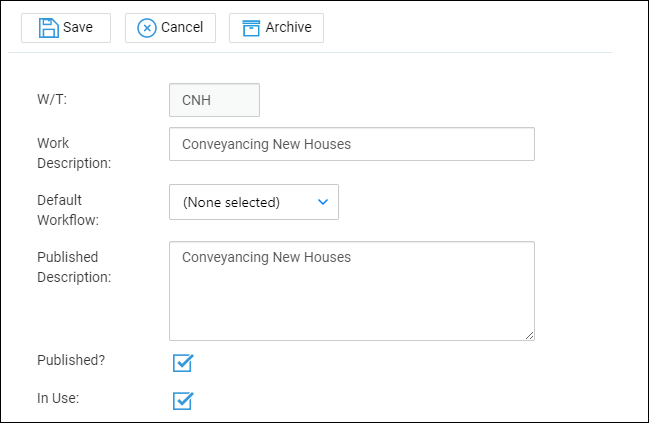
To create a new Work Type, click New.
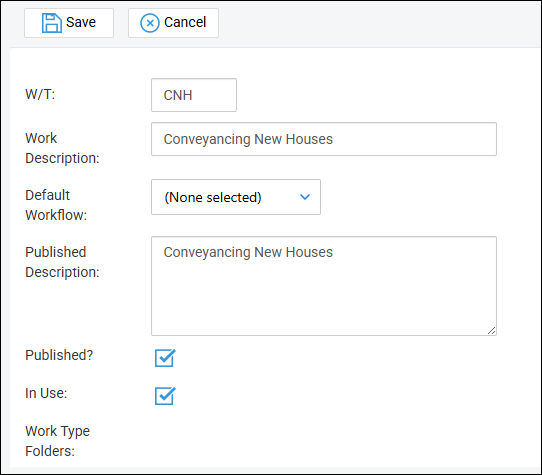
- W/T: The Work type ID. This field can contain up to 6 characters.
- Work Description: A user-friendly description of the Work type
- Default Workflow: Select a workflow to be enabled by default.
- Published Description: This is the description visible to the client in the client Web Portal
- Published?: Matters assigned to this work type are available to be published to the web portal.
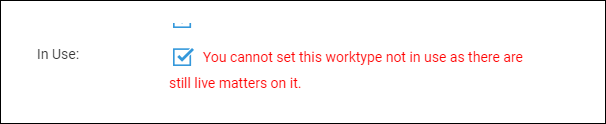
- In Use: Unticking this box will archive the work type, preventing matters being allocated to this area of work.
Amending a Work Type
Any details of the Work Type can be edited, with the exception of the Work Type ID. Select the Edit icon, or right-click on the relevant work type, and select Edit.
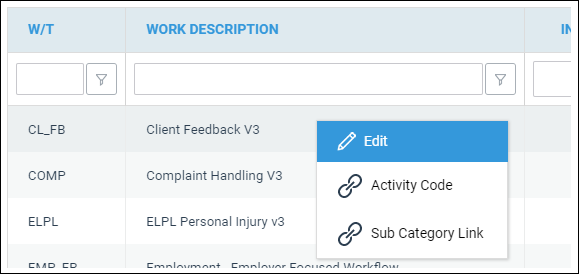
From here, make any changed required, and click Save.
Removing a Work Type
You can archive any Work Type that does not have live matters allocated to it.
Whilst on the edit screen, click the Archive button. A confirmation will appear.
If there are any live matters present, a message will appear. To find any open matters, run a Live Matters report to show all live matters.