Bill Printing
Updated Apr 23rd, 2024
Who is this guide for?
Any Users, Accounts Users and Accounts Supervisors
This guide will go through the bill printing process in Osprey, as well as demonstrating how to save them into the Matter History
To Print bills in Osprey you will firstly need to have set up your bill template. This can be done by your supervisor. If you are a supervisor, please refer to our Create a Bill Template guide.
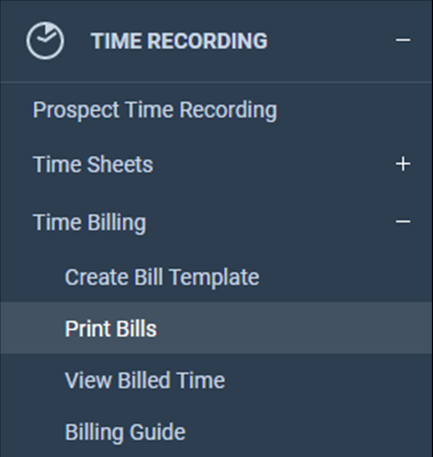
Bills that have been marked as spooled for printing when posted by your accounts department can be printed and saved to your matter history by navigating to Time Recording > Time Billing > Print Bills.
The screen below will open where you now have options to choose what to print.
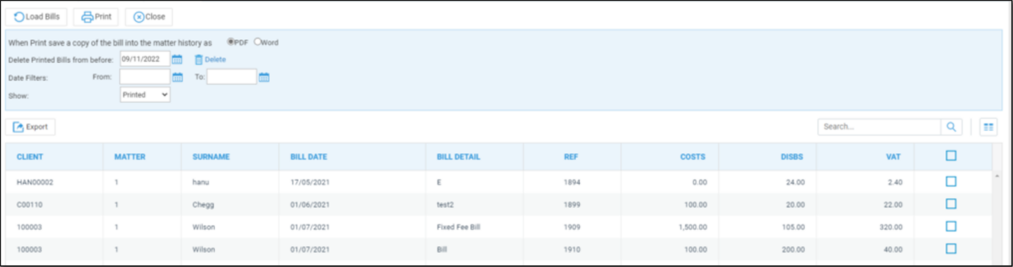
- Firstly choose either PDF or Word. this is how the document will be produced and saved to the matter history
- Delete Printed Bills From before – This option is for tidying up the list of stored printed bills. All bills from before the date chosen will be removed from the Stored printed Bills list and will now not be available to print from this screen. They will however still be in the matter history.
- Date Filters – Allows you choose a date range for bills you wish to print
- Show – from the drop down you can select either Pending or Printed. Pending will show a list of bills that have not been printed and saved to the matter history. Printed will show a list of previously printed and saved bills.
Once you have selected the criteria above you can select the bills you wish to print by placing a tick in the box at the end of each row. Then click the Print button at the top of the screen. The bills selected will now open for review in a new window.
The Export button will export the list of bills shown to an excel spreadsheet.