Setting up Lexis Smart Forms
Updated Mar 24th, 2026
Who is this guide for?
Case Management Supervisors and System Supervisors
To use Lexis Smart Forms, a Supervisor level user will need to add the relevant forms into Osprey. This guide will take you through this
Osprey Approach offers integration with Lexis Nexis, allowing you to run their library of legal forms through Osprey.
Please note that you must have an account with Lexis Nexis and will require Adobe Reader to be set as your default PDF viewer to view the forms.
Supervisor level users will be able to add new Lexis Nexis forms to the Osprey Approach database.
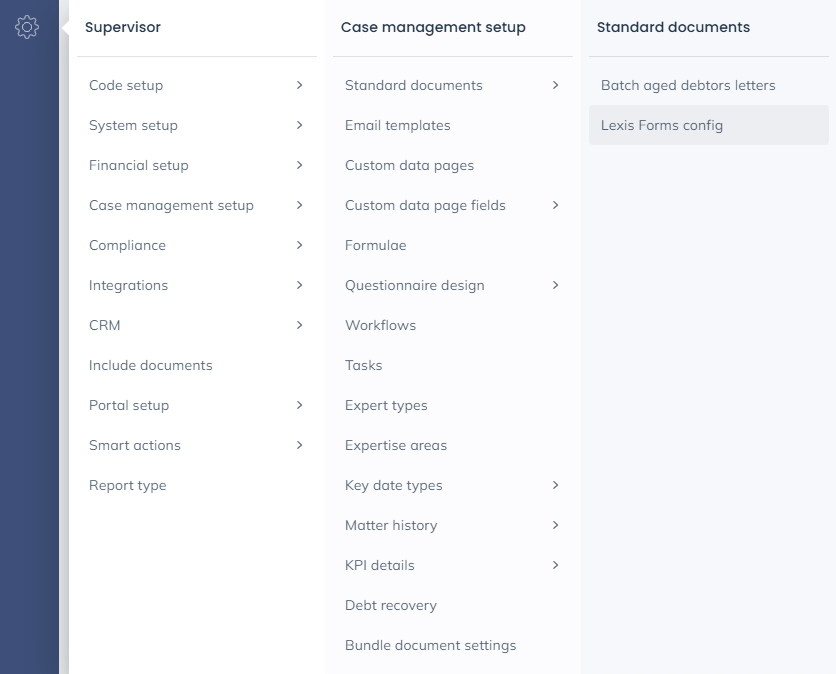
Select the ‘Supervisor’ tab. Then select ‘Case Management Setup’ followed by ‘Standard Documents’ and click ‘Lexis Forms Config’ as shown below.
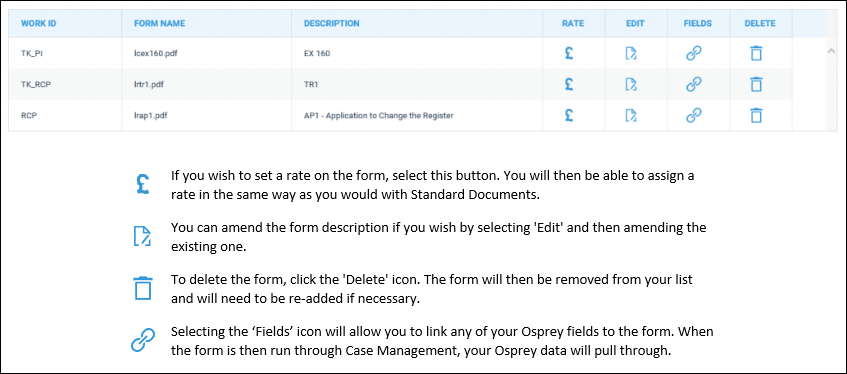
If you have added any forms previously, they will be listed here. You can filter by work type or export the list as a CSV file if required.
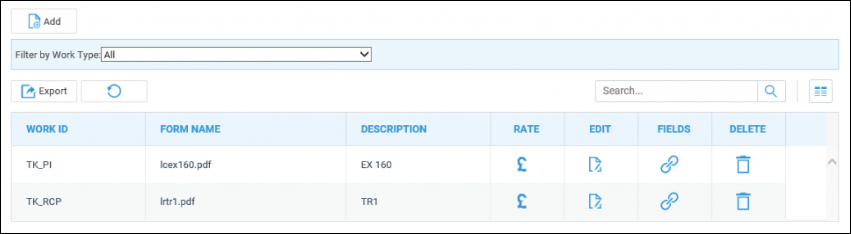
Select ‘Add’ to open the Add Form screen.
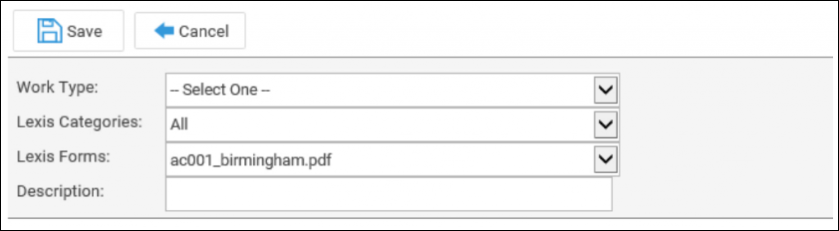
First, select a relevant Osprey work type to link the form to. You can leave ‘Lexis Categories’ as ‘All’. Now select the relevant Lexis Nexis form from the available list. Please note that these forms are populated from the Lexis Nexis forms library.
When you have selected a form, give it a relevant description.
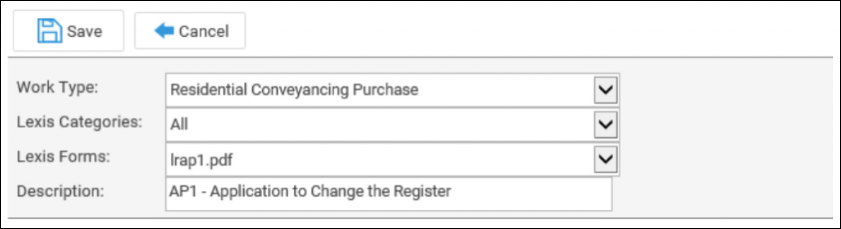
Now click ‘Save’ to be returned to the forms list with your new form displayed.
After selecting the ‘Fields’ icon, the below screen will appear.
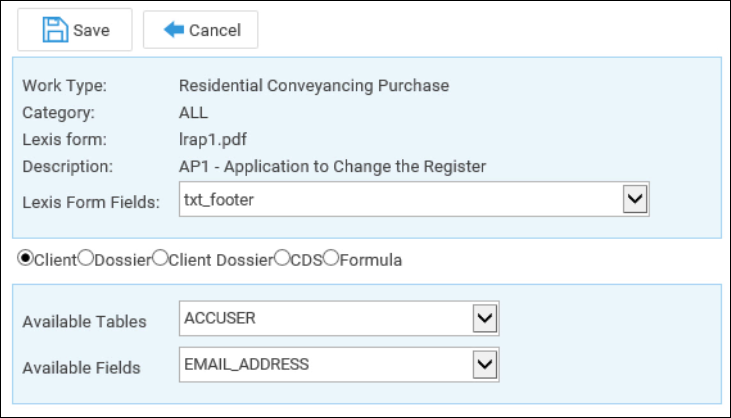
The ‘Form Fields’ drop-down list will display all available fields in the form. Please note that this is populated by data from Lexis Nexis, rather than Osprey.
Select a field from the available list that you would like to map Osprey data to.
Now select an area of Osprey from which to retrieve the information. You can map from the client and dossier areas, as well as any formulas.
Now select the field in Osprey and click the ‘Save’ button to map the field. You can link as many fields as you need.
In the following example, we have mapped the client’s full name, including the title, forename and surname.
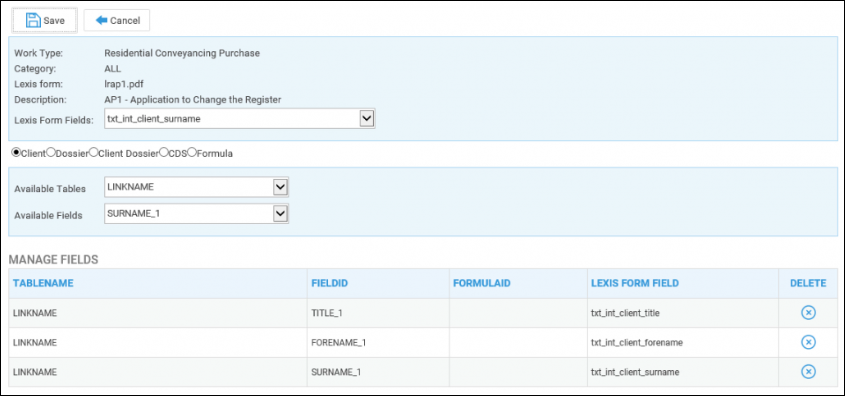
When you have finished mapping fields, select ‘Cancel’ to return to your list of forms. Please note that this will not undo any of the mapping.
Now, when the form is run through the Case Management area, the client’s name will be pulled through using data from Osprey.