Running Lexis Smart Forms
Updated Feb 24th, 2026
Who is this guide for?
Case Workers, Case Management Supervisors and System Supervisors
This guide will take you through running Lexis forms through Osprey’s Lexis Nexis integration
Osprey Approach offers integration with Lexis Nexis Smart Forms, allowing you to run their library of legal forms through Osprey.
Please note that you must have an account with Lexis Nexis and will require Adobe Reader to be set as your default PDF viewer to view the forms.
Generating a Lexis form
Navigate to +New > Document > Lexis form.
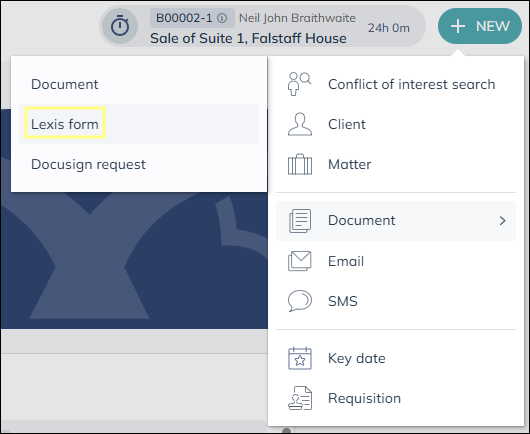
You will see a list of Lexis Smart Forms relevant to the kind of work you are doing.
If any forms are missing, please speak to your system supervisor who will be able to easily add them to the list.
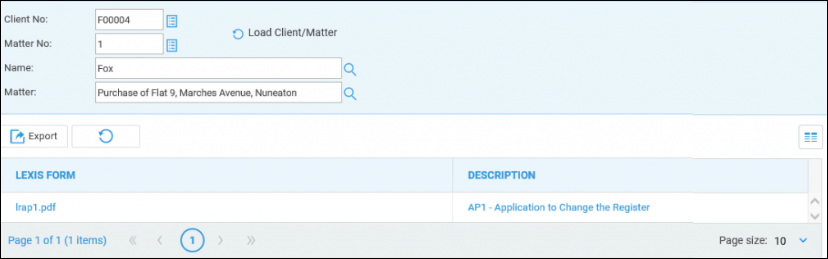
Left-click on the Lexis Smart Form to automatically save a copy to your matter history ready for printing or distributing.
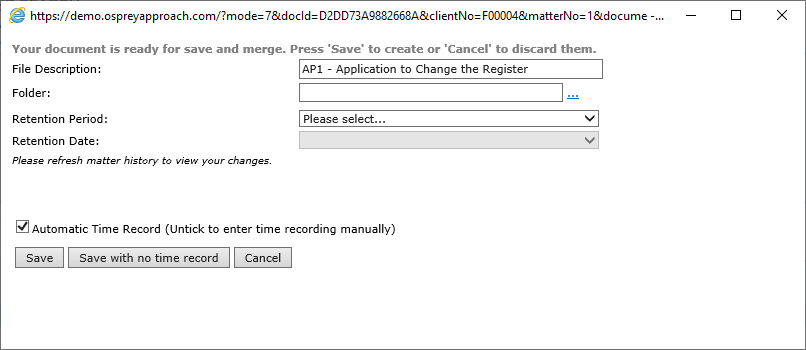
You can amend the description, assign the form to a folder and set a retention period if required.
Select Save to add the form to the Matter History.
Upon saving a form for the first time, this message will appear advising that the form has been saved into your matter history.
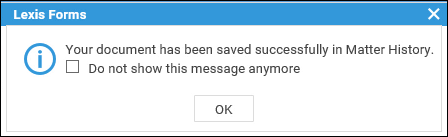
Tick the available box to prevent the message from being shown again if you wish.
Editing the Lexis Nexis form
Navigate to your Matter History. The form which has just been saved will appear at the top of the list.
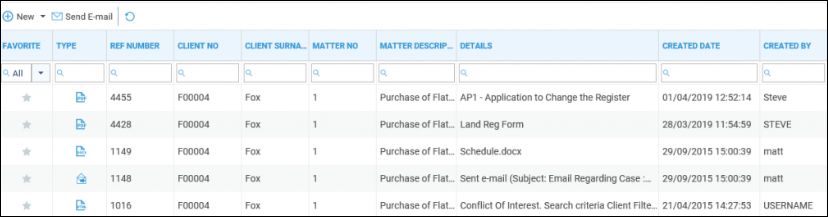
Right-click on the form to bring up the item menu.
If you wish to make amendments, select Check Out.
Select the tick box to download a local copy, then select the option to ‘Check Out’.
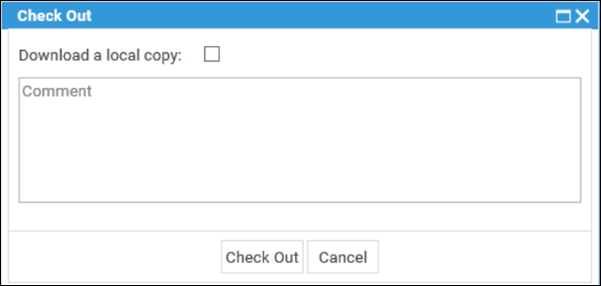
If the Lexis Smart Form has been mapped by a system supervisor, any data captured within Osprey can be automatically populated into the form.

Close and save the form locally and then right-click on the form in the Matter History.
Select the option to Check In.
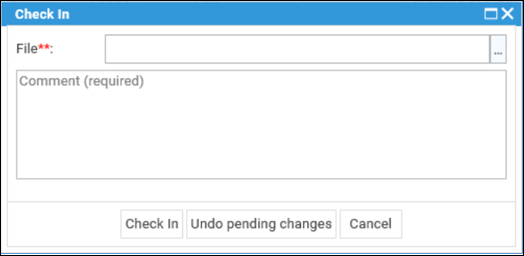
Select the button to the right of the File box and select your locally saved form.
Comments are required when checking in. Select the Check In button to upload the latest reversion of the form to your Matter History.