Setting up Loqate Integration
Updated Aug 14th, 2025
Who is this guide for?
Accounts Supervisors, Case Management Supervisors and System Supervisors
This guide will demonstrate how to use the Loqate integration to look up an address
You will need to set up an account with Loqate. This documentation takes you through setting up a free trial, Loqate will contact you for billing purposes once this has expired.
Set up your Loqate account
Navigate to https://account.loqate.com/register/
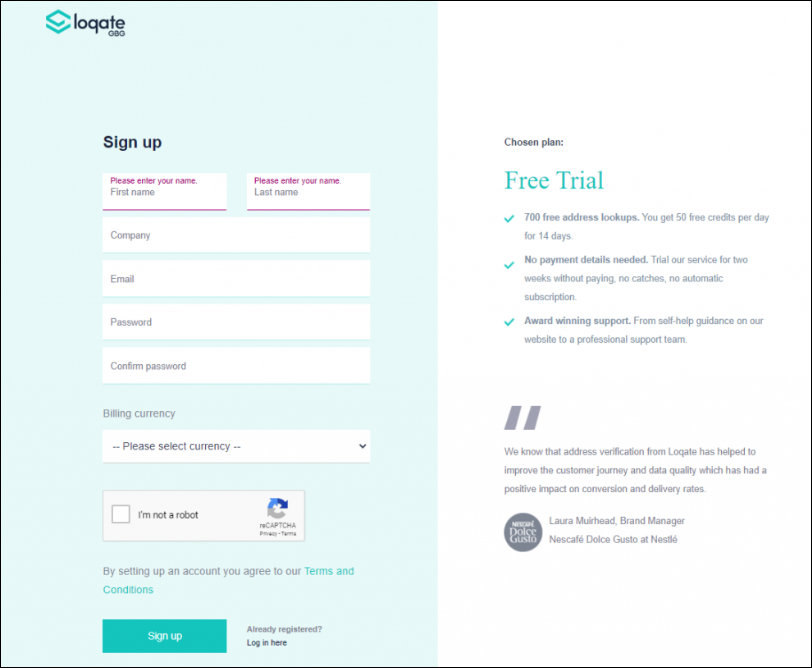
Fill in all the details and click Sign Up. You will receive an email from Loqate informing you of your unique account code – keep this safe as you will need it later:
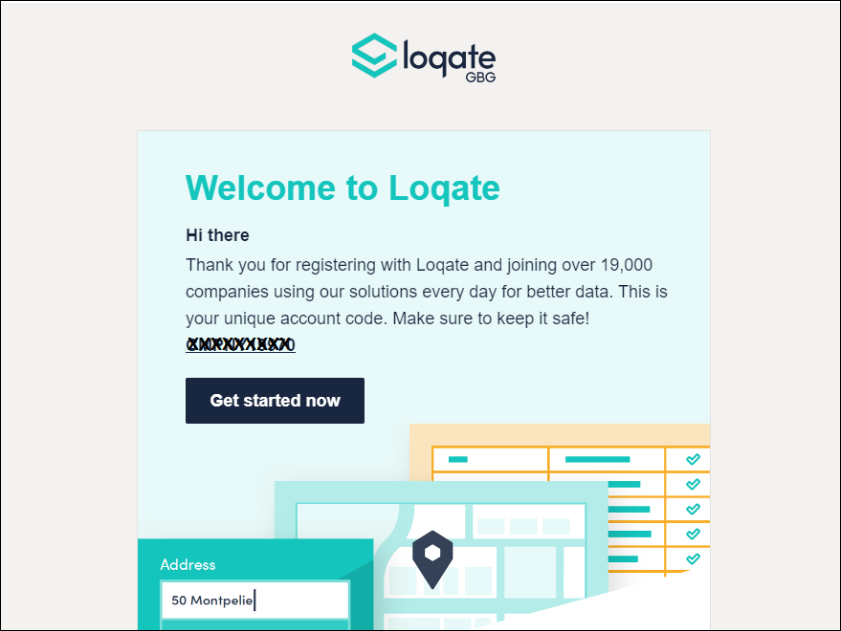
At the top of the screen, click Add service:

Answer the GDPR questions, then click Finish.
In the Let’s get started section, select API Key:
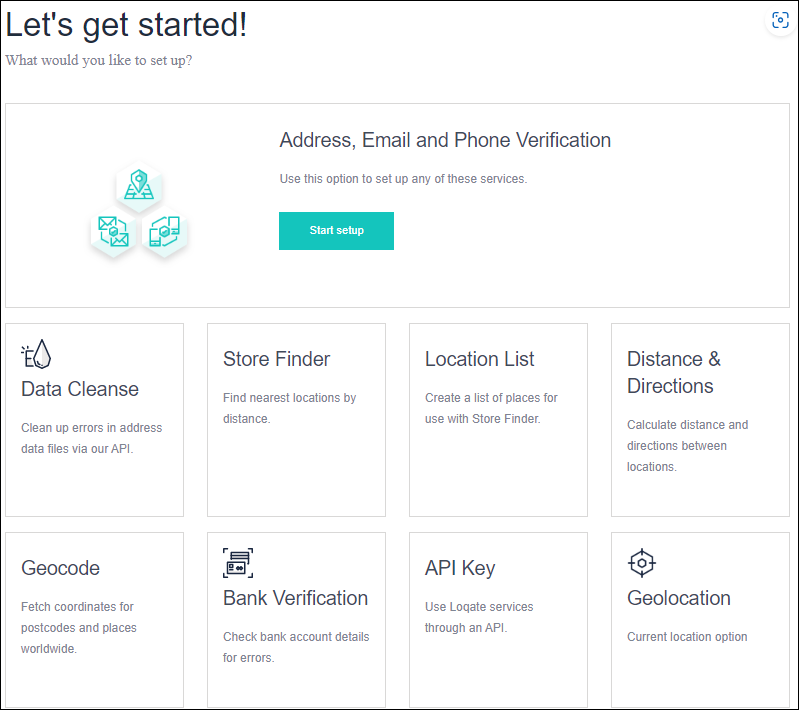
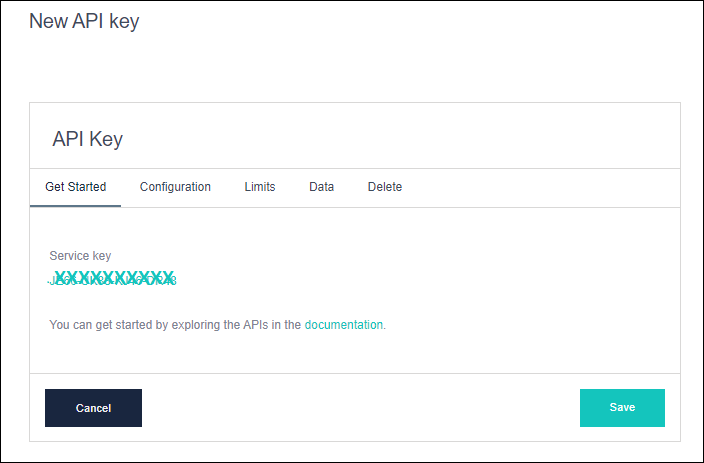
Copy down the service key – keep this safe – and click Save:
Switch on address locator
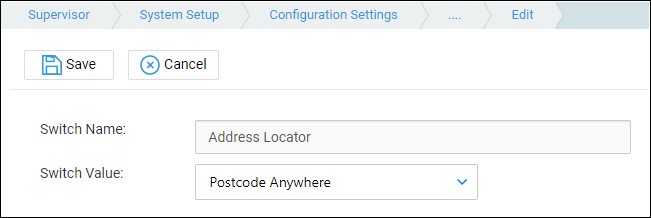
Navigate to Supervisor > System Setup > Configuration Settings. Locate the switch called Address Locator, right click to edit and select Postcode Anywhere from the list. Save your changes.
Link Osprey to your Loqate account
Navigate to Supervisor > System Setup > System Settings > Third Party Data.
Locate the POSTCODEANYWHERE setting and right click to edit.
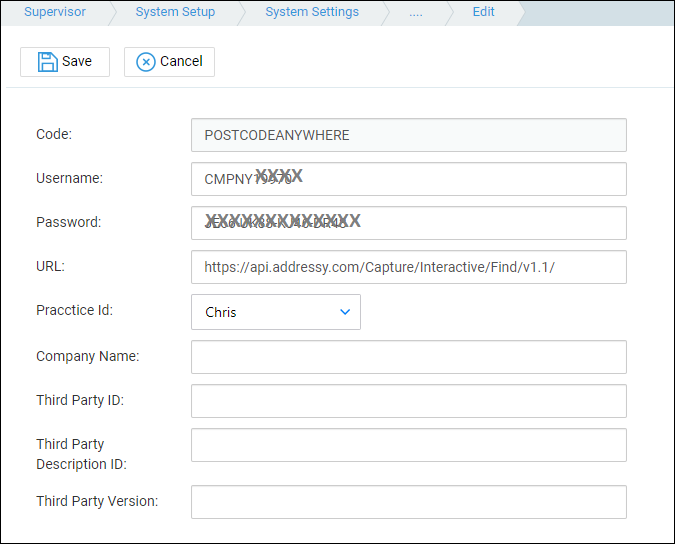
- Username – set this to your unique account code received by email when you signed up.
- Password – this is the API service key you generated in the Let’s get started section.
- URL: set this to https://api.addressy.com/Capture/Interactive/Find/v1.1/
Use the address locator
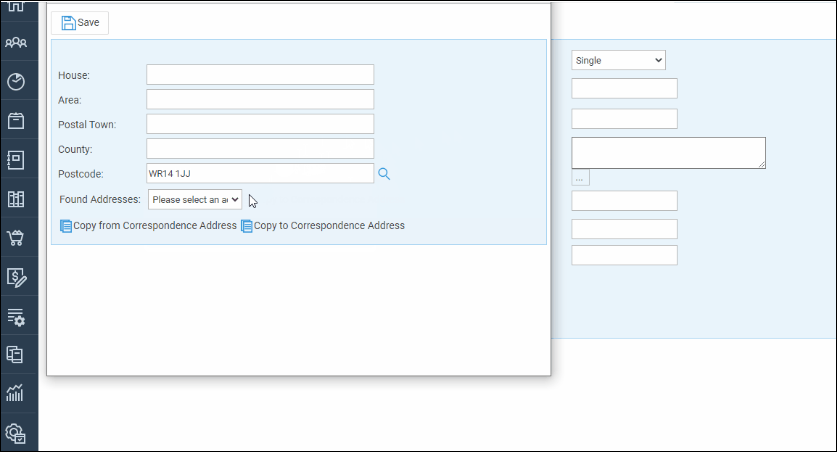
Once you have followed the steps above, Osprey will allow you to search for addresses given a post code.
Where you see the icon below, you can use this button to look up an address from the entered post code:

Enter the post code, and click the magnifying glass icon. You will then see below a list of found addresses to choose from.
