Time Record with Timesheets
Updated Mar 27th, 2026
Who is this guide for?
Any Users
This guide will take you through using time sheets in Osprey Approach
The Osprey Time Sheets function is the most efficient method for uploading multiple time entries across various clients. You can review and make amendments before posting the time to the relevant client ledgers.
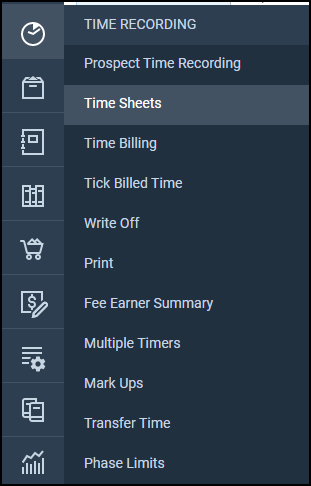
Creating a Time Sheet
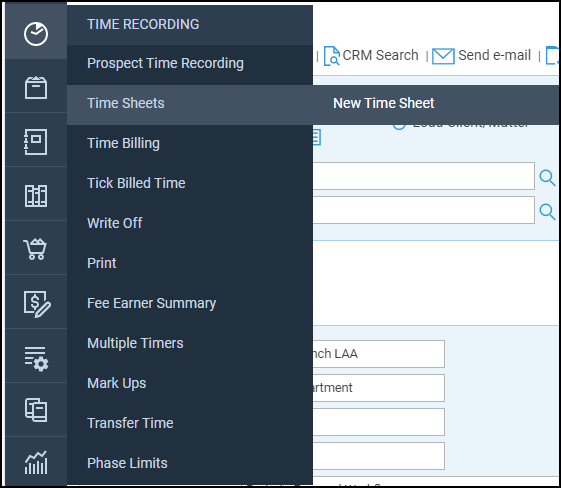
To create a new time Sheet, go to Time Recording > Time Sheets > New Time Sheet.
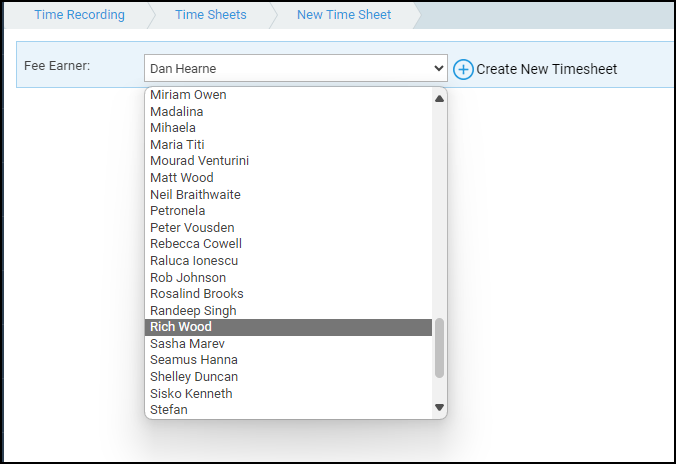
Select a Fee Earner to record time for and click Create New Timesheet.
Building the Time Sheet
When building up the time sheet, you will need to click New Line to add a new entry.

Locate the client, enter the posting details, and save.
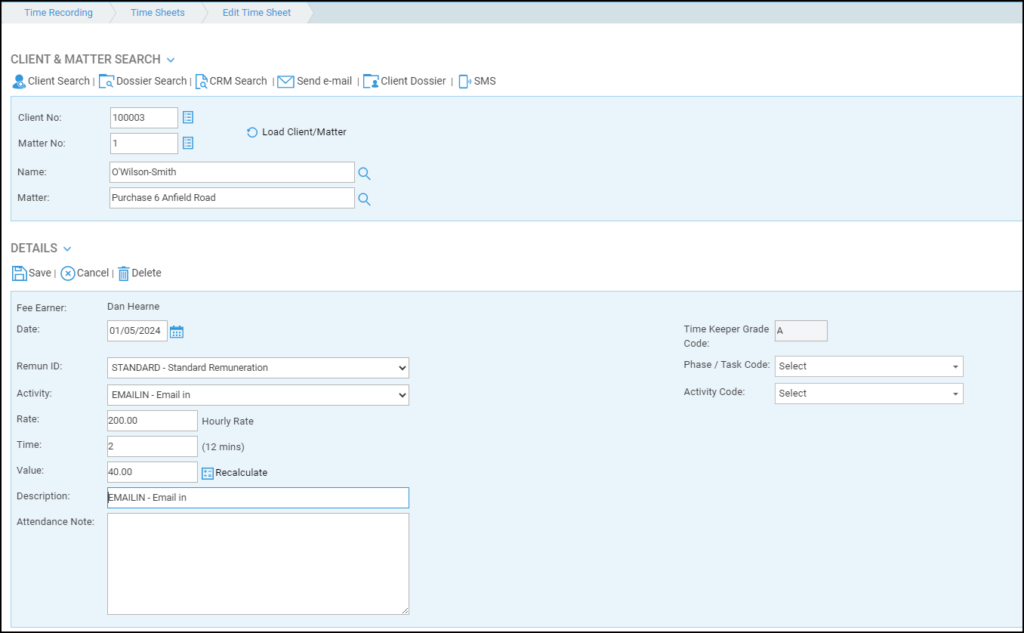
Repeat this process as required.

Amending the time entries
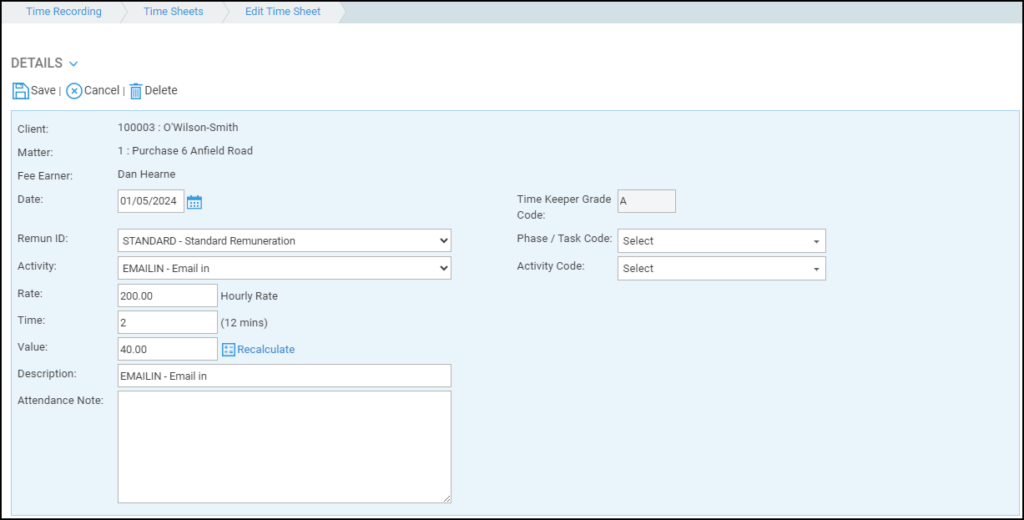
As the time has not been posted to the ledgers yet, you are able to modify elements of the time entries.
Click the Edit icon. You can now amend the time entry, add an attendance note, or delete the entry.
If the time posting is against the incorrect client, you will need to delete and repost.
Printing and deleting the Time Sheet
When viewing the Time Sheet, you also have options to Print or Delete

Submitting the Time Sheet
Once the timesheet it ready to submit, navigate to Time Ledger > Time Sheets.
A list of all the pending timesheets are visible.

If you wish to amend the time sheet further, click Select.
Delete will remove the time sheet.
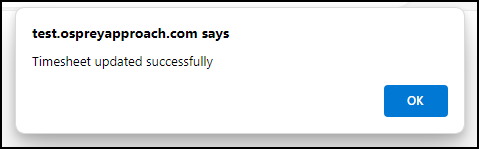
Once the time sheet is ready to submit, tick the relevant tick box, and click Update.
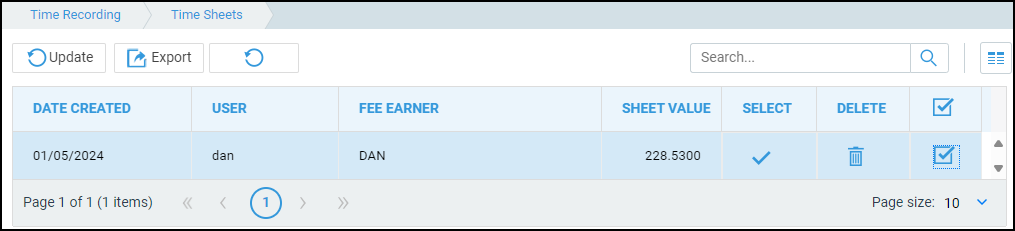
A confirmation will appear, the time sheet will disappear, and the time postings be posted onto the relevant time ledgers.