Using J Codes
Updated Feb 24th, 2026
Who is this guide for?
Case Workers
J Codes allow further categorisation of charges and expenses incurred during litigation, based on the experience of the litigator. This guide will take you through how to use them in Osprey
To record time with J Codes, please ensure your grade codes have been set up to your fee earner by a relevant System Supervisor.
Recording New Time
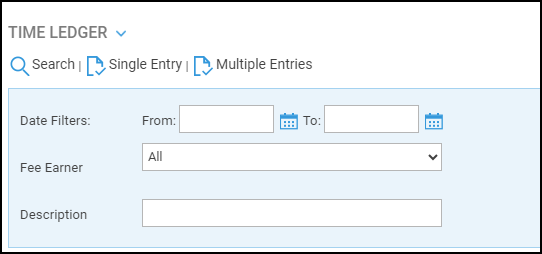
Open the Post Time Entry screen by going to Time Recording and selecting Single Entry or Multiple Entry.
When using multiple Entries, the J Code selected will apply to all entries. These can be amended individually once posted.
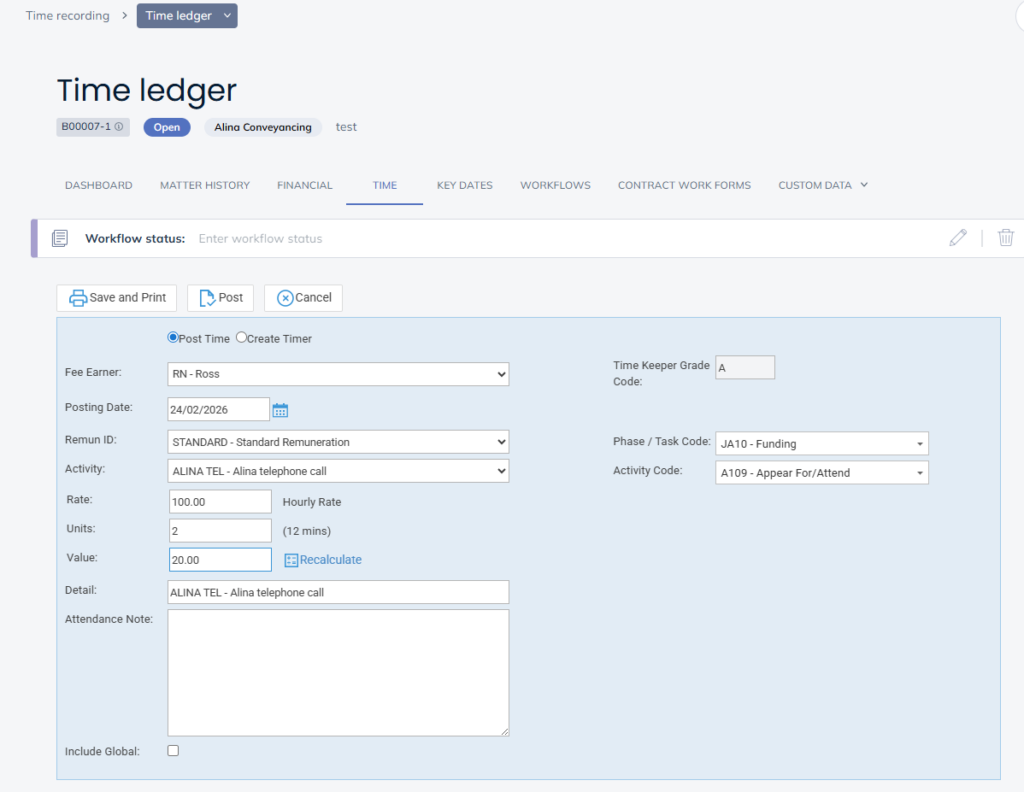
Enter Details for your Time Entry. Use the Phase / Task Code and Activity Code dropdowns to select the relevant J Codes/
Adding J Codes to existing Time Entries
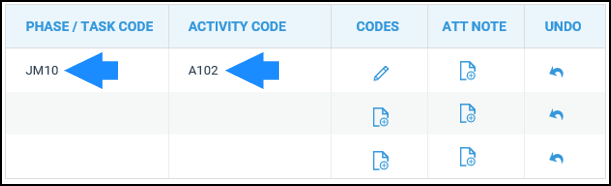
Navigate to the Time Recording area to bring up the Time Ledger. You will notice there is a column headed Codes.
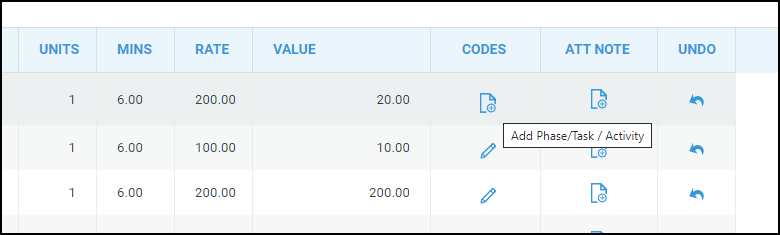
Click the icon in this column to add or amend a Phase/Task and Activity.
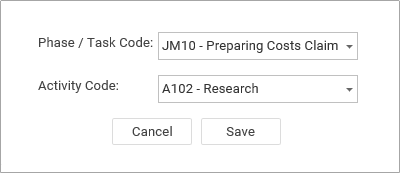
Select the relevant code(s) from the drop-down list and then click Save.
Once saved, you will be returned to the Time Ledger and you will notice that the Phase/Task Code and the Activity Code columns will have the chosen information displayed.
Credit Limits
You can also add limits to show in Credit Limits and the reports.
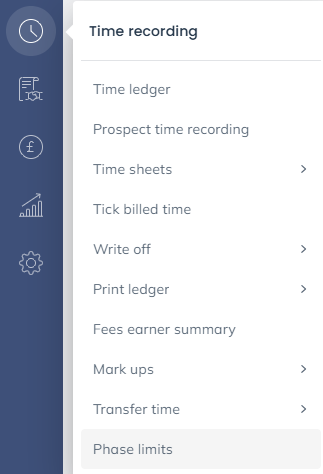
Go to Time Record > Phase Limits
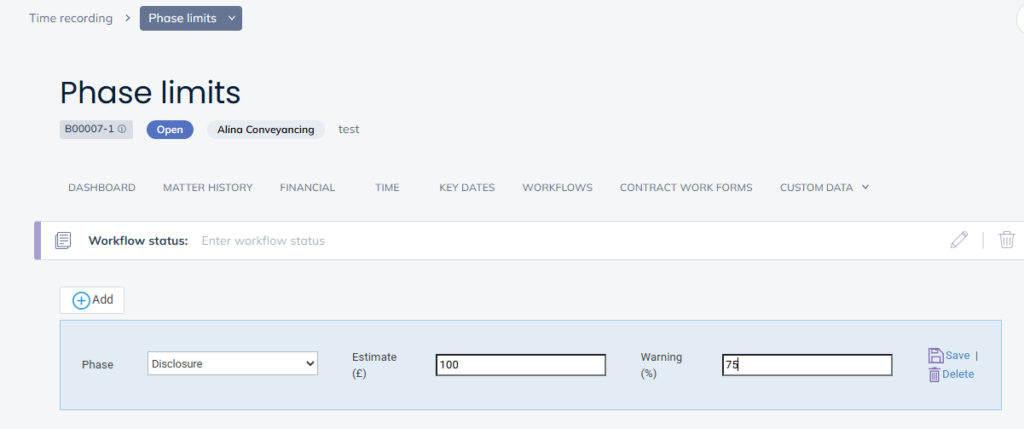
Select the Add option to create a new limit.
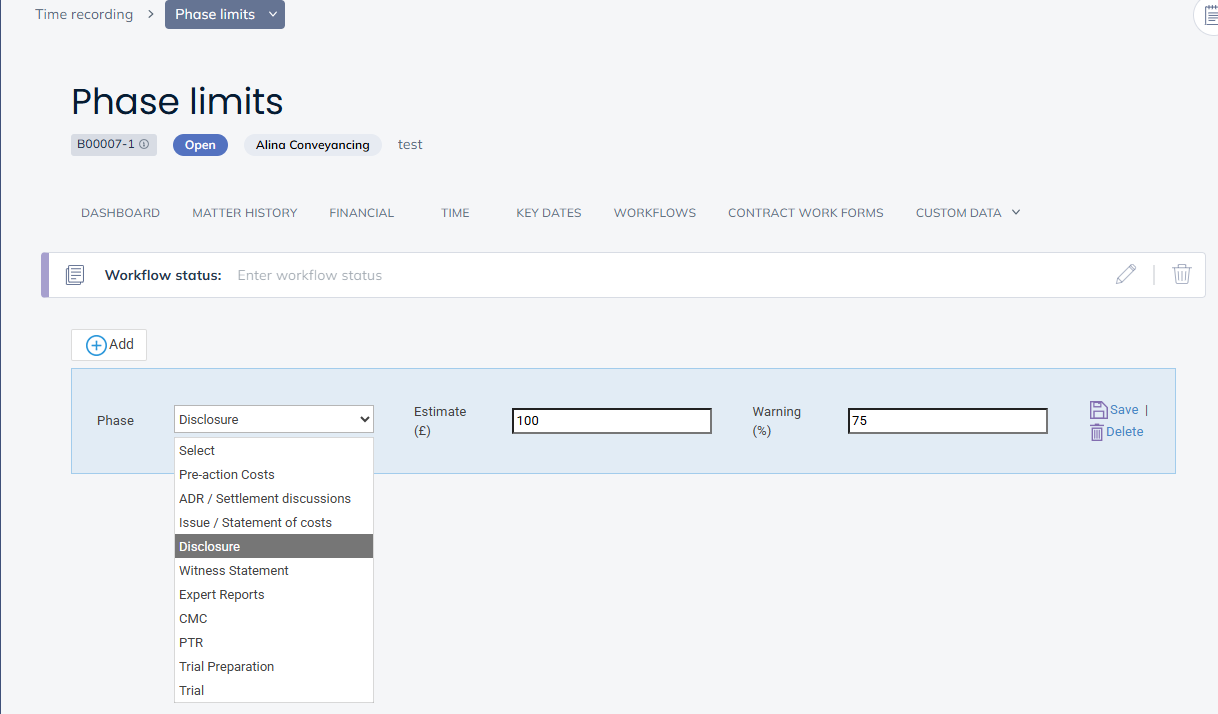
Select a phase and then add an estimate. You can then add a percentage value at which the limit warning will appear.
Click Save to add the new limit.
Linking Expense Codes to Disbursements on the Client Ledger
Navigate to Client Ledger for your selected file.
Ensure that Show Ledger Expense Codes is selected.

Columns displaying Phase / Task and Exp Code will now be shown, along with an option to Add.

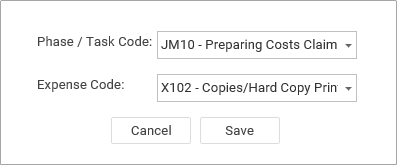
Select Add. A pop-up window will appear, allowing you to select the Phase / Task and Expense Code(s).
Click Save.
The selected information will now be present on the Client Ledger.
