Sending an Email from Osprey
Updated Aug 14th, 2025
Who is this guide for?
Any Users
This guide will show you how to send emails directly from Osprey, with a copy saved directly into the matter history
Please ensure your SPF record is configured. Failure to do so may result in emails being flagged as illegitimate and may even be blocked by the recipient’s email provider. Your domain hosts will be able to perform this.
Accessing the send e-mail window
This can be accessed from various screens when a client is loaded.

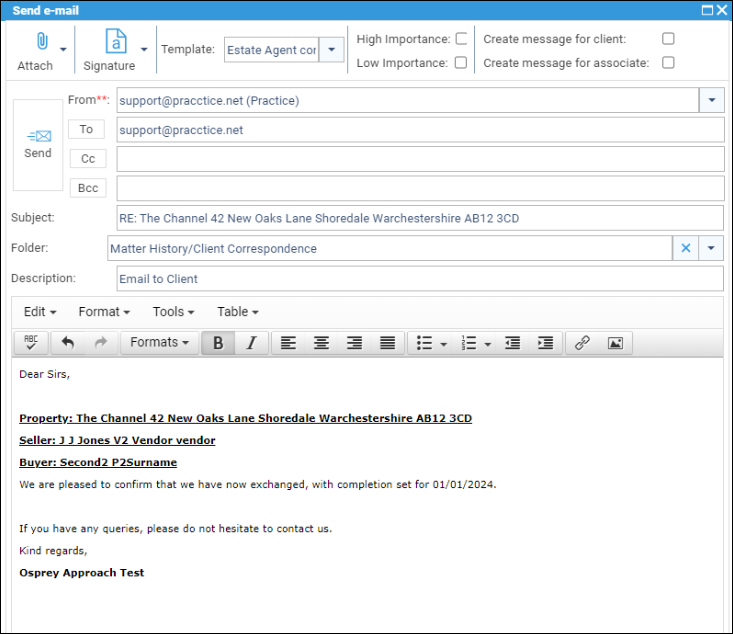
Upon selecting, the Send Email window will appear.
Composing the email

- From: Select who the send the email from. Options are User, Fee Earner or Practice.
- To/CC/BCC: Clicking this will show a list of all email addresses linked to the matter. You can also select a contact or organisation from your Osprey system, or manually enter the email address.
- Subject Line: Subject line of the email
- Folder: Matter history folder to save a copy of the email into
- Description: Email description to appear within Matter History
You can also attach items from your PC or Matter history, by selecting the Attach toolbar icon.
If configured, you can also select a signature or email template to help compose your email. If you apply a template, any previous information within the Subject Line or Email Body will be overwritten.

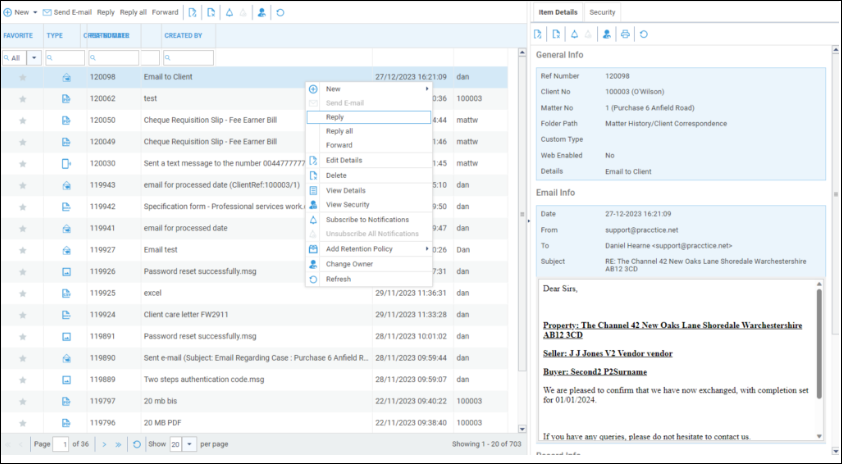
Once sent, the email will automatically appear within the matter history.
