Managing your Branches
Updated Feb 24th, 2026
Who is this guide for?
System Supervisors
This Guide will cover adding and updating your branches on Osprey Approach
Adding a new branch
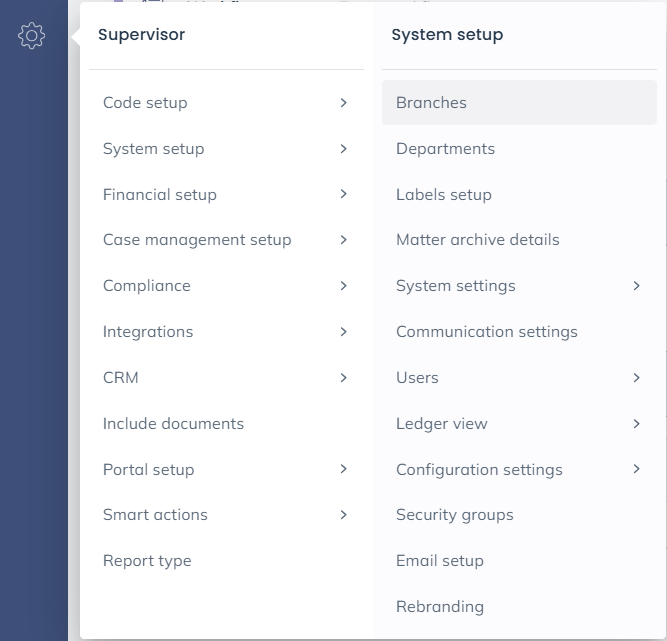
To add a new branch, go to Supervisor, System Setup, then select Branches.
Click New to add a branch.

Enter in the details of the new branch.
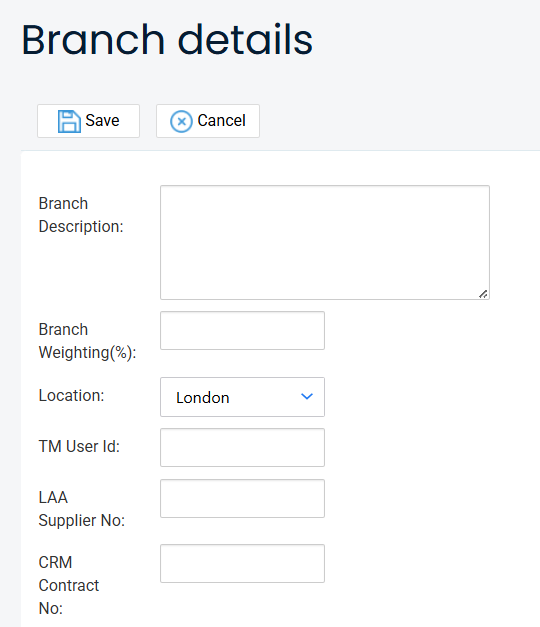
- Branch Description – The name of the branch
- Branch Weighting – All branches need to add up to 100%, however this does not affect any current feature of Osprey
- Location – London or not London (Location determines whether the London or National rates are used for time recording on legal aid matters)
- TM User ID – No longer needed
- LAA Supplier Number – needed for Legal Aid
- CRM Contract Number – needed for Legal Aid
- CRM Schedule Number – needed for Legal Aid
- CLS Schedule Number – needed for Legal Aid
- VAT No – for VAT submissions
- Address and contact details – Can be used with document, email and SMS templates.
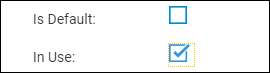
- Is Default – Set this branch to be the default branch
- In Use – Marks the branch as In Use/Archived
- Email Signature – Set up a branch email signature
Once the details have been entered, click Save.
Editing a branch
To make amendments to an existing branch, such as updating address or contact details, go to Supervisor, System Setup, then select Branches.
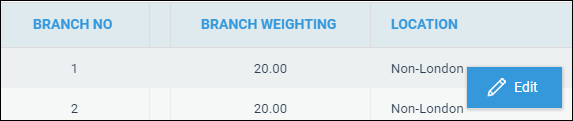
Right-click and edit the required branch.
Once the changes have been completed, click Save.
Removing a branch
You can only archive a branch if there are no live matters currently assigned to the branch.
To archive a branch, go to Supervisor, System Setup, then select Branches.
Right-click and edit the required branch.

Untick the In Use box and click Save.