Reports: CRM6/11
Updated May 28th, 2024
Who is this guide for?
Accounts Users, Accounts Supervisors, Case Management Supervisors and System Supervisors
Osprey can provide you with a CSV file to upload all your criminal claims to the LAA portal, as well as automatically posting all the bills and receipts for your legal aid claims. This guide will show you how to generate this.
System Setup
To use the CRM6 auto billing, the system must first be set up correctly. You can if you wish, simply produce the CRM6/11 reports and post the bills and receipts yourself manually, but to speed things up we recommend use of the auto billing functionality.
Please use our guide CRM Billing Setup > to ensure your system is set up correctly for the CRM6 auto billing.
Set up your matters for billing
Each matter that you wish to claim for must be correctly set up within the system for it to appear for billing. To run through our check list CRM6 and CRM7 Checklist >.
Run the reports and bill your matters
To run the CRM6 report you must be logged into the Browser, and have already installed the Osprey Gateway >.
To run the CRM6 and 11 reports, navigate to Reports > Miscellaneous > Contract Work Reports.
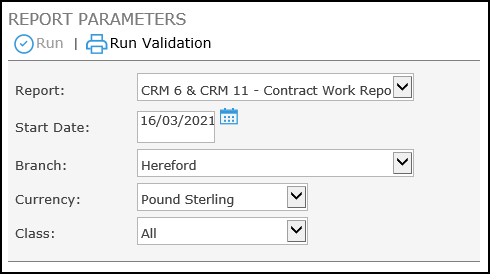
Select the CRM6 & CRM11 report from the Report: list box.
Leave the Start Date as entered.
Select the Branch you wish to run the matters for.
Leave the currency as Pound Sterling.
If you wish, you can select the Class to run, or leave as All for all claim types.
Click Run Validation. The list of matters available to bill will show.
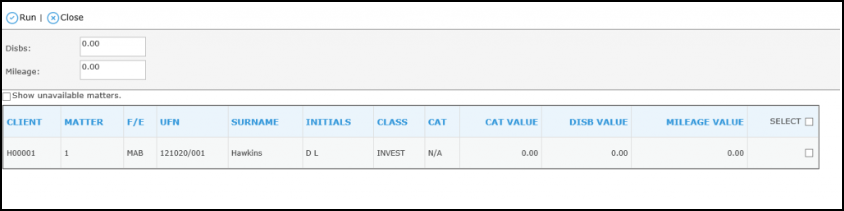
Tick each matter that you wish to bill, if any disbursements have been posted to the client ledgers, these will appear to the right of the list, and you can select whether they are vatable or not (default is vatable).

When ready to run the billing, select Run in the top left hand corner.
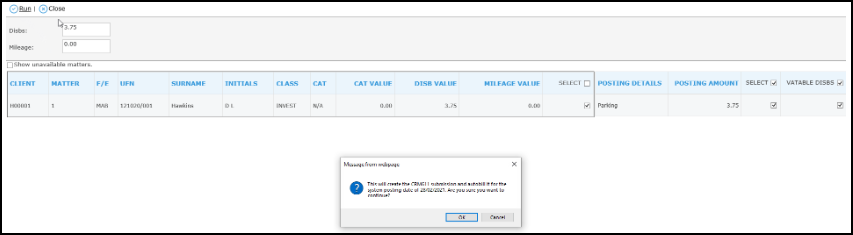
If you have selected to auto bill your matters, you will see a prompt displaying the posting date that the system will use, please check this carefully and select Cancel if incorrect, or OK if correct. If the posting date is incorrect you will need to amend this from Supervisor > Financial Periods > Set Posting Period Date.
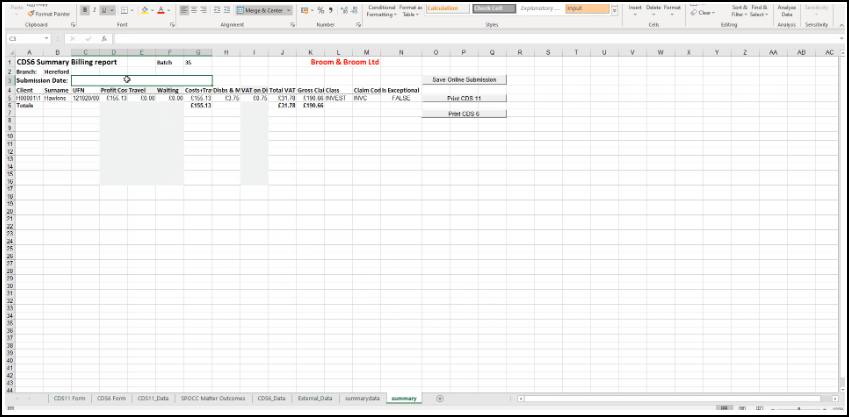
When you are happy that the posting date is correct, click OK to run the CRM6/11. Excel will open. Wait for the spreadsheet to finish its calculations, then enter the submission date in the summary page box C3 as shown below. You can print this page if you wish to compare with the LAA portal summary sheet.
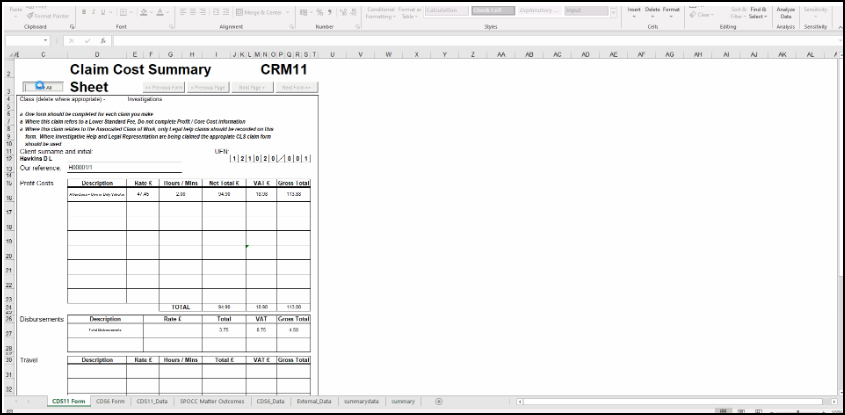
Print your CRM11s
To print the CRM11s from the spreadsheet, select the CDS11 form tab, then click the Print All button:
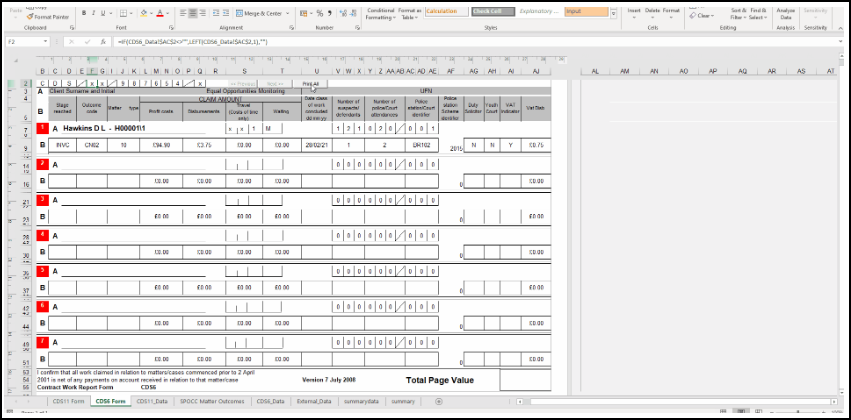
Print your CRM6s
If you wish, you can also print your CRM6s for your records. Navigate to the CDS6 Form tab, and click the Print All button:
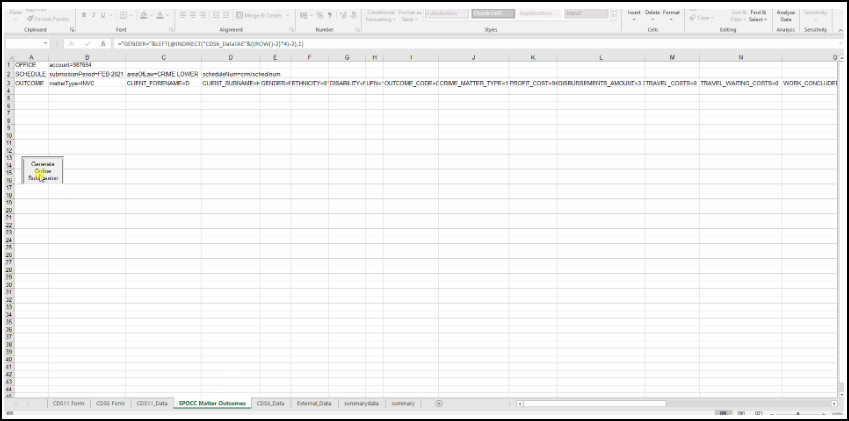
Generate your CSV file for upload to the LAA portal
To generate your CSV file to upload, navigate to the SPOCC Matter Outcomes sheet and click the Generate Online Submission button. Select the folder you wish to save the file into on your local machine or network drive, and click Save:
You can now log into your LAA account and upload the submission file.
Should you need to, you can reprint any submission batches that you have generated in Osprey. Reprint CRM6 and CRM11 Forms >
Balancing your LAA and Office Banks
Once you have uploaded the submission to the LAA web site, ensure that you reconcile the LAA Claim Summary back to the Osprey Billing Summary. Any changes you make to the data on the LAA web site after uploading it will need to be replicated on Osprey, undoing and reposting any transactions as necessary.
You will need to transfer the balance from the “dummy” office bank you created for the receipt postings to reduce the balance on your monthly payments control ledger.
If the control ledger is a client ledger card, you need to use the posting type Office Bank Payment and select to post from the “dummy” bank. If the control ledger is a nominal, you will need to use the posting type of Payment, selecting to post from the “dummy” bank.
In the Banks and Journals area, select the “dummy” office bank and click Refresh.
Tick the transaction you just posted on the “dummy” bank.
Now select to Tick by Ref and enter the batch number of the CRM 6 batch you just ran – ensuring that the total equals the amount for that batch.
Once these items have all been ticked, the bank balance on your “dummy” bank should return to 0.